Through the Window: Hiking Table Mountain’s Most Infamous Trail

The Venster Spot

Table Mountain is the famous flat-topped mountain overlooking Cape Town, South Africa. Rising to 1,085 metres (3,563 feet) above sea level, it had always been high on my bucket list of mountains I’d wanted to climb.

In 2023, I finally made it to the Western Cape and immediately pencilled in a day to attempt the summit via the more adventurous India Venster Route — one of the most thrilling, steep and technically challenging routes up Table Mountain.
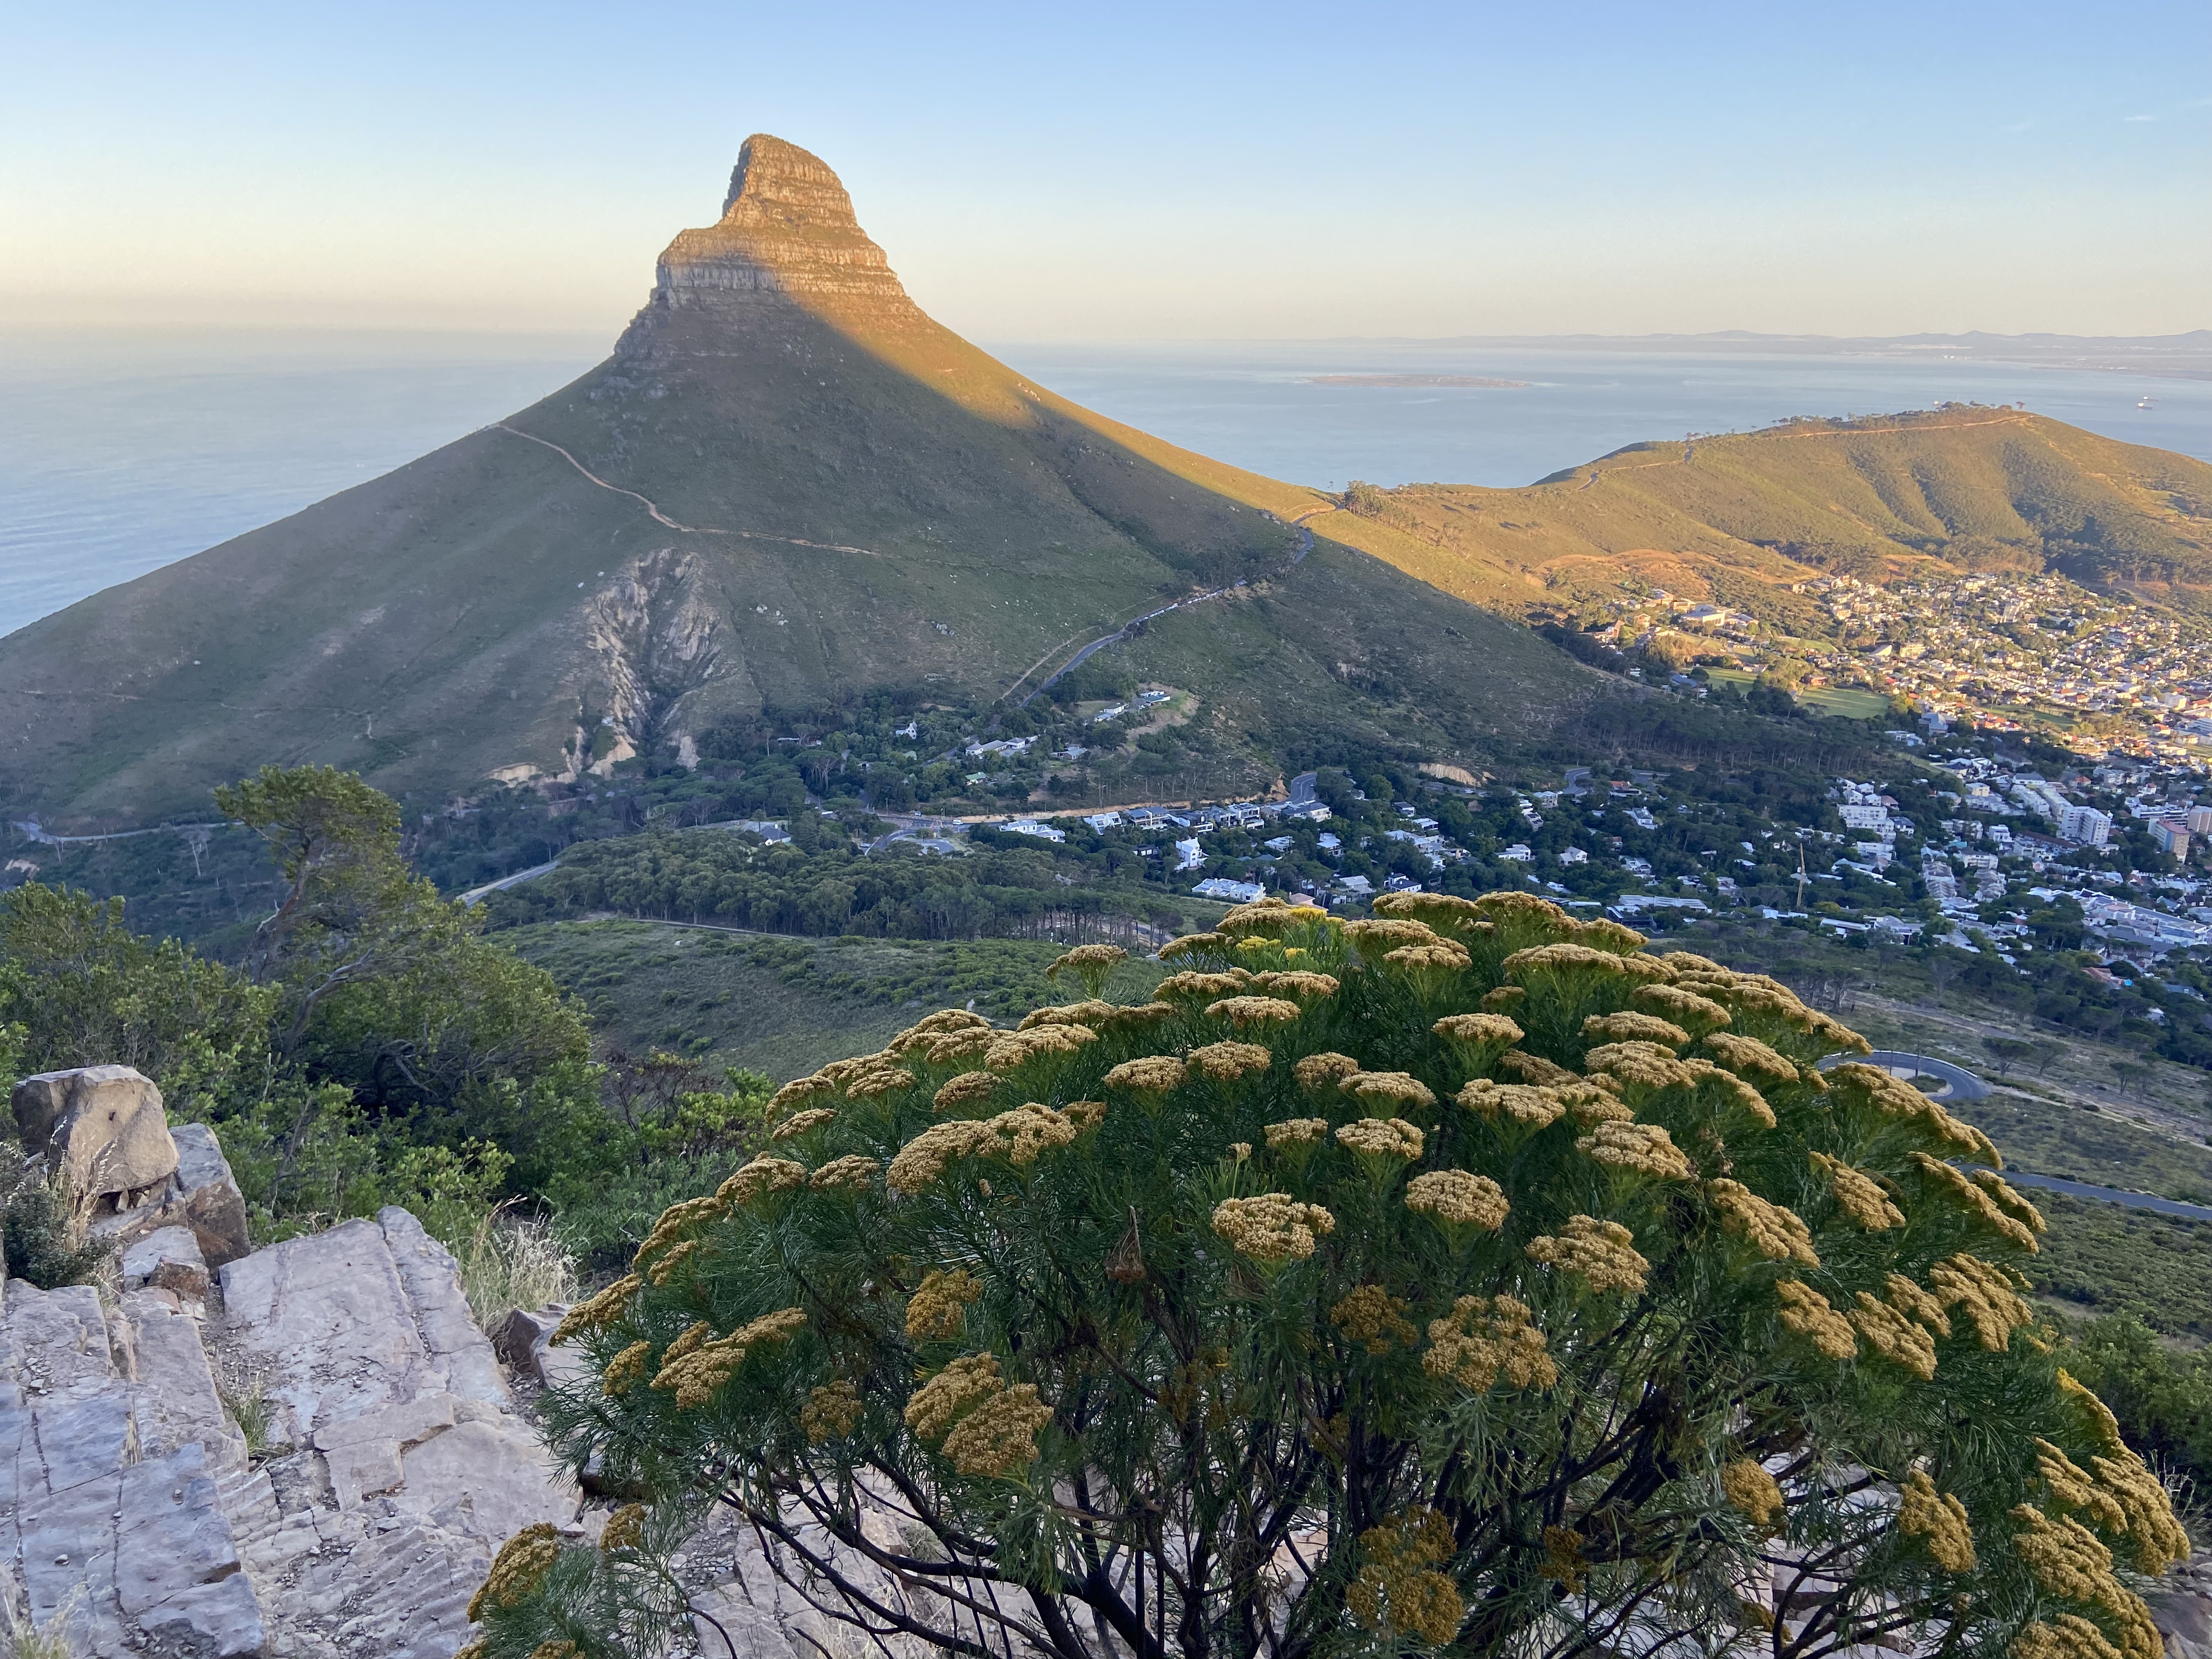
The Lion's Head

What and Where Is the India Venster Route?

So, what exactly is the India Venster Route?

The name India Venster translates roughly to “India Window” from Afrikaans and refers to two distinctive features along the route.

Firstly, the trail passes directly through India Ravine. When viewed from the City Bowl below, the contours of this green ravine are said to vaguely resemble the triangular shape of the Indian subcontinent.

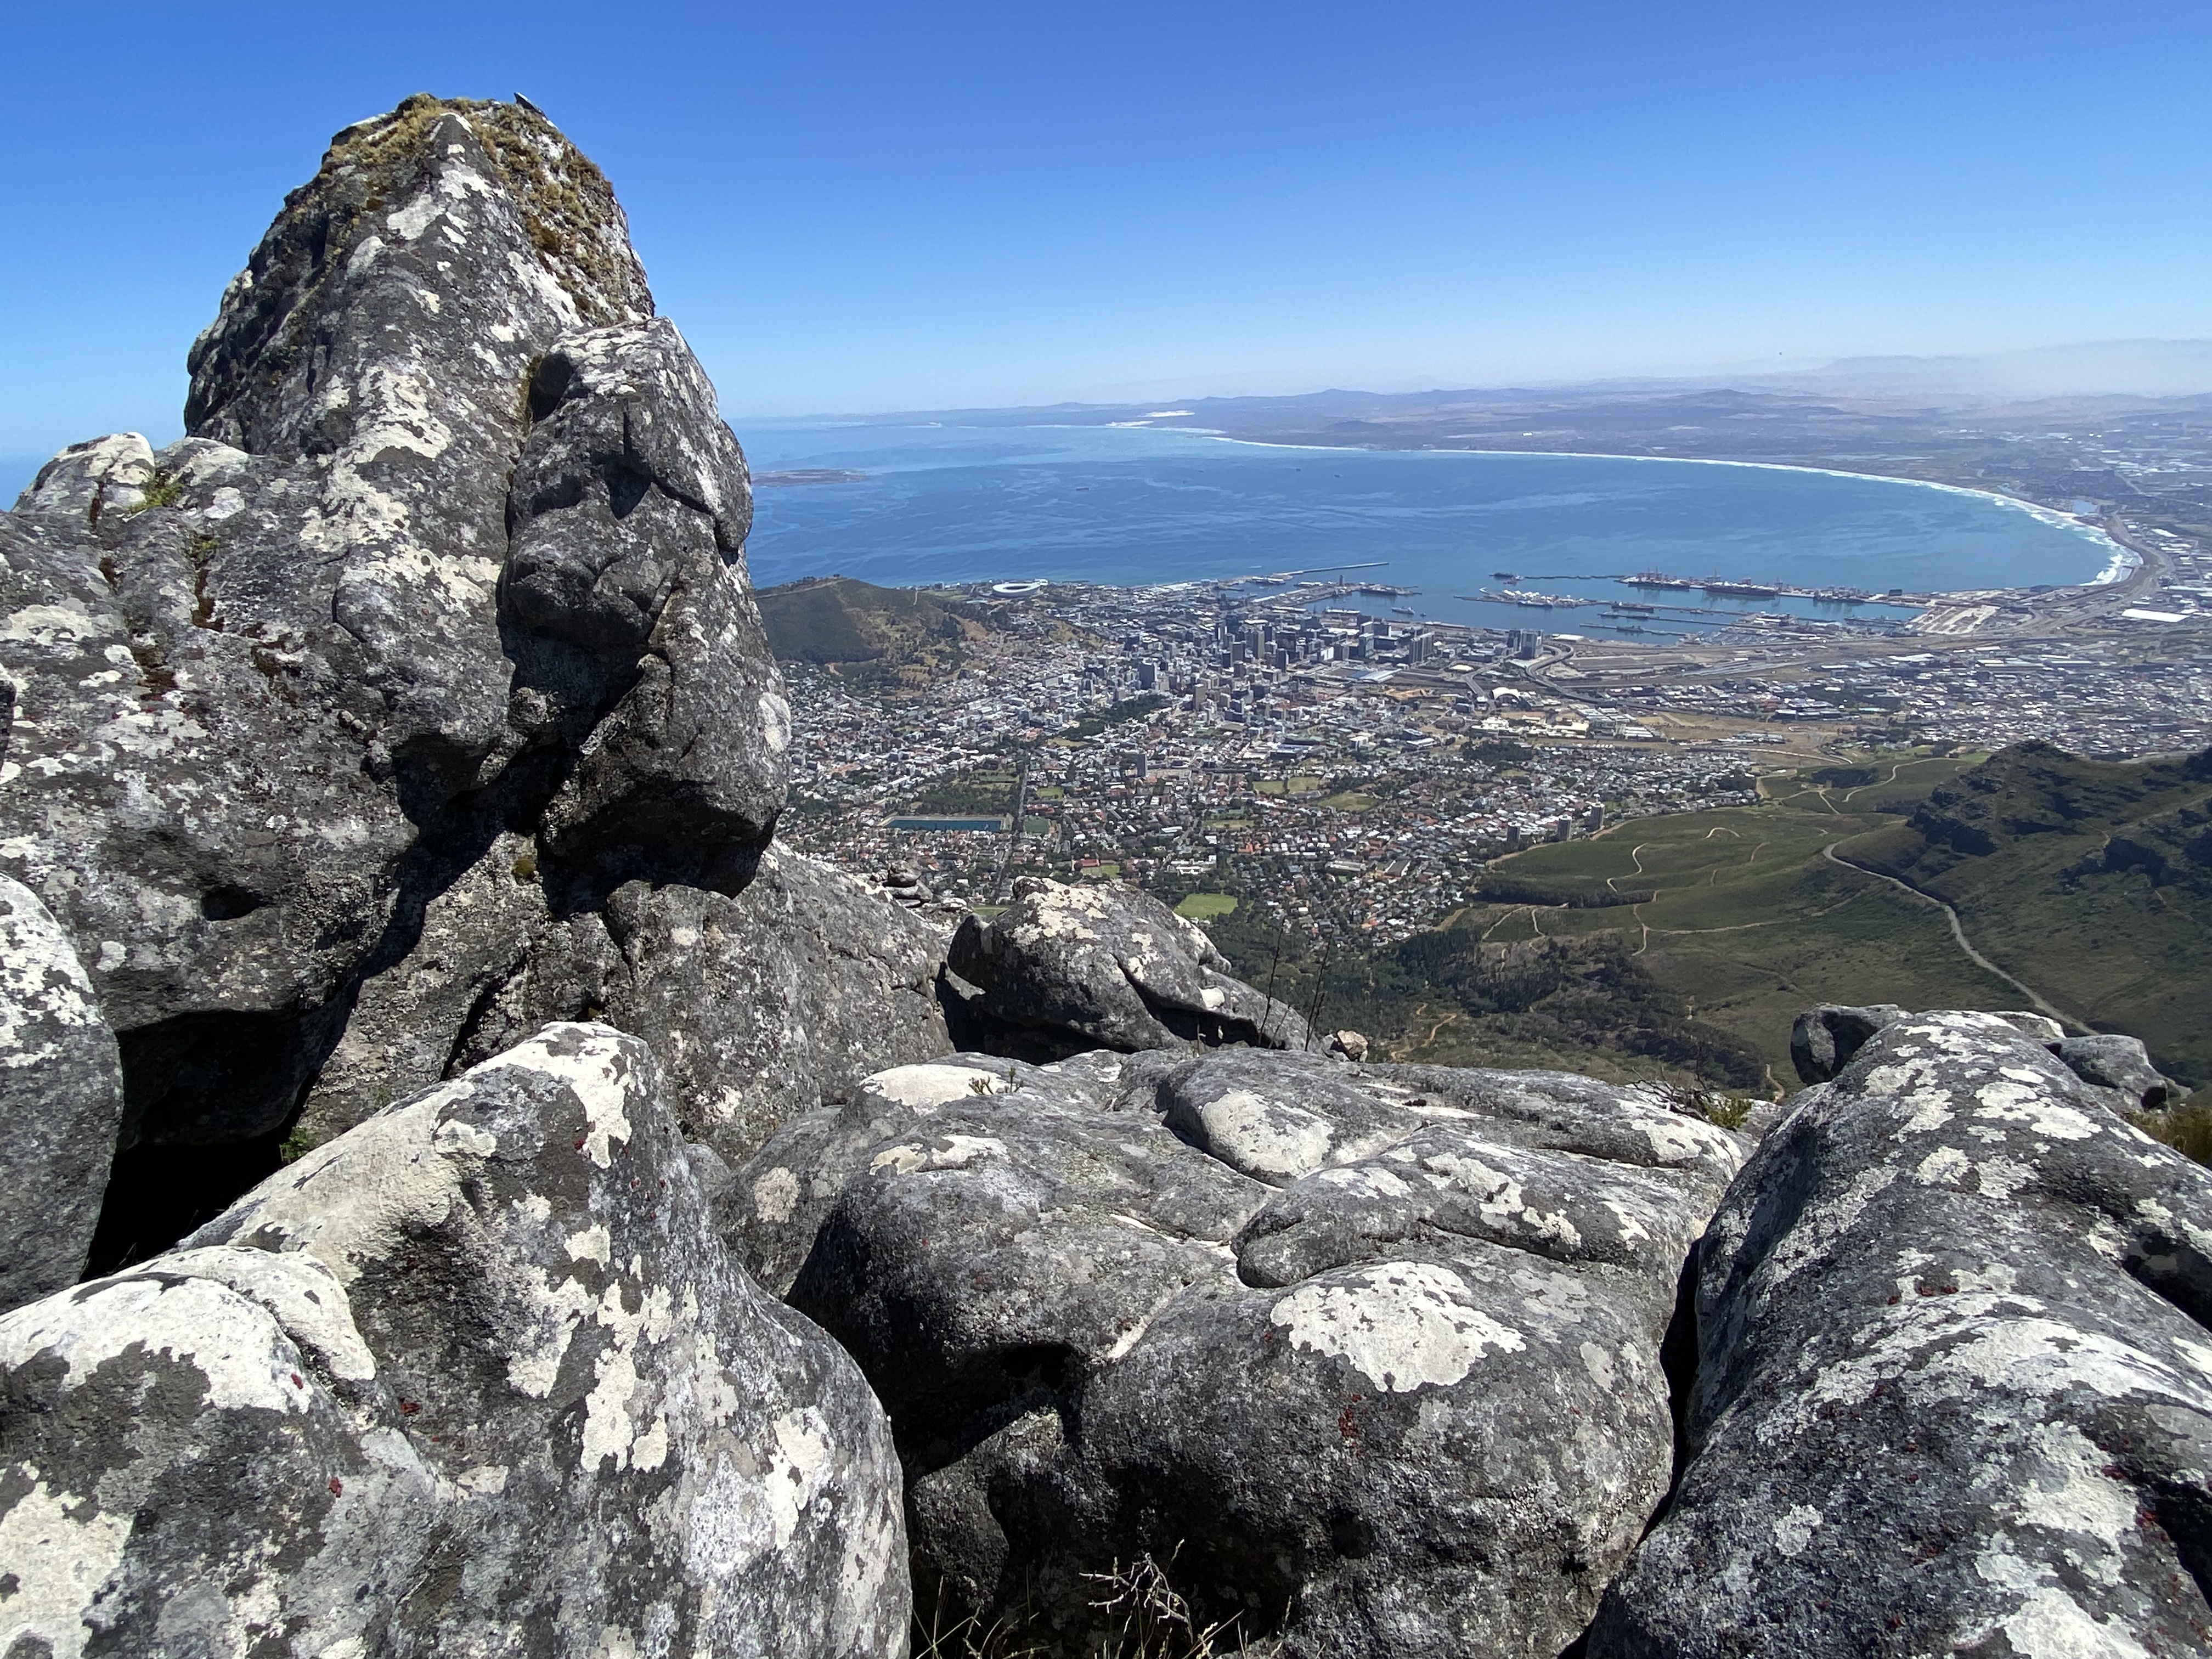
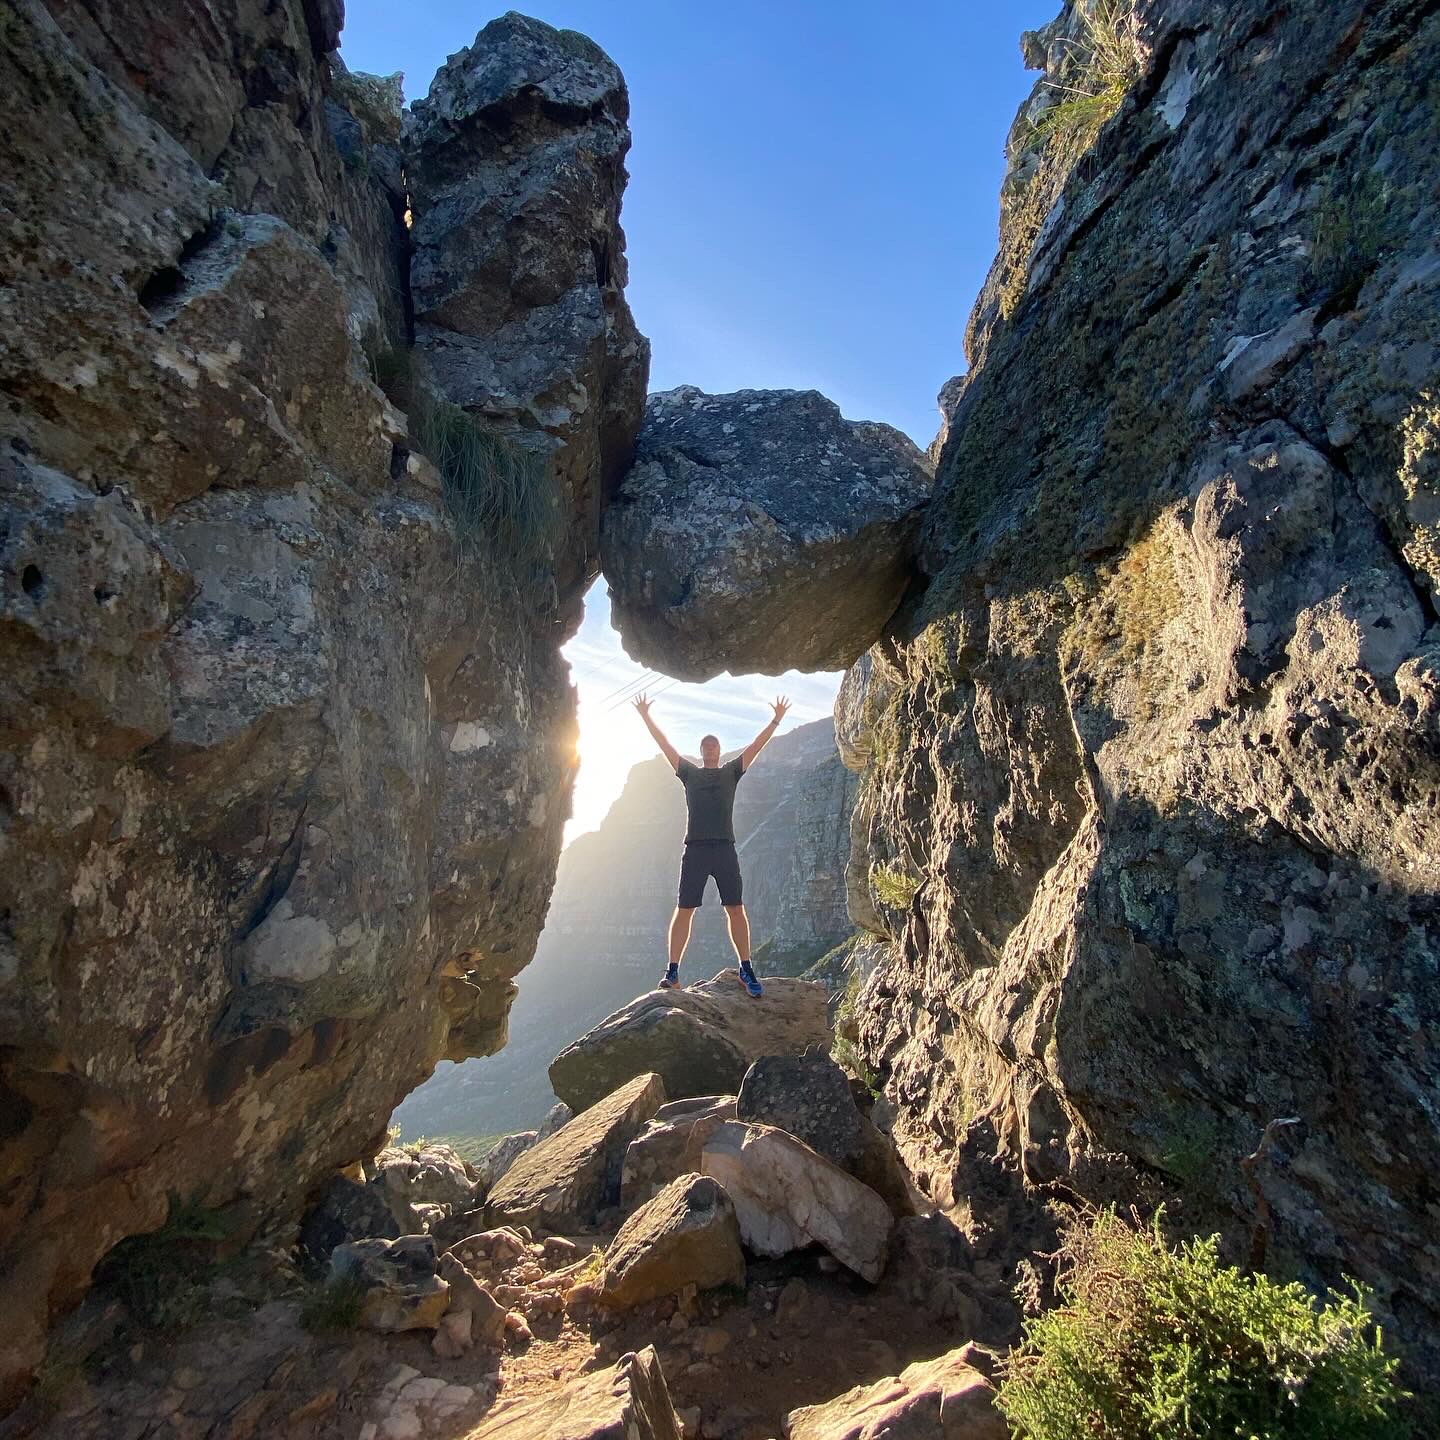
Secondly, the “Venster” part of the name means “window” in Afrikaans and Dutch. About two-thirds of the way up the hike, you reach a famous natural rock formation where a large chockstone creates a frame. This forms a literal “rock window”, perfectly framing a spectacular panoramic view of Cape Town, Lion’s Head and the Atlantic Ocean.

But what is the route itself actually like?

A Brief Trail Overview

  • Distance: Approximately 3.7 km (2.3 miles) one way
  • Time required: 3–4 hours
  • Total elevation gain: 722 metres
  • Starting point: Tafelberg Road at Kloof Corner
  • Finishing point: Table Mountain summit plateau, near the Upper Cableway Station
  • Difficulty: High (Grade B scrambling)

The route follows a well-defined but rugged trail consisting of gravel, massive boulders and uneven stone steps. Approximately 15% of the route involves mandatory rock scrambling and traversing of narrow ledges.

Yellow paint markings — including dots and footprints — act as visual guides along the rock faces. The most vertical sections are equipped with safety chains and metal staples bolted directly into the rock to help you pull yourself upwards.

Although the route isn’t particularly long, the combination of steep terrain, heat and exposure means an early start is highly recommended.

THE START OF INDIA VENSTER
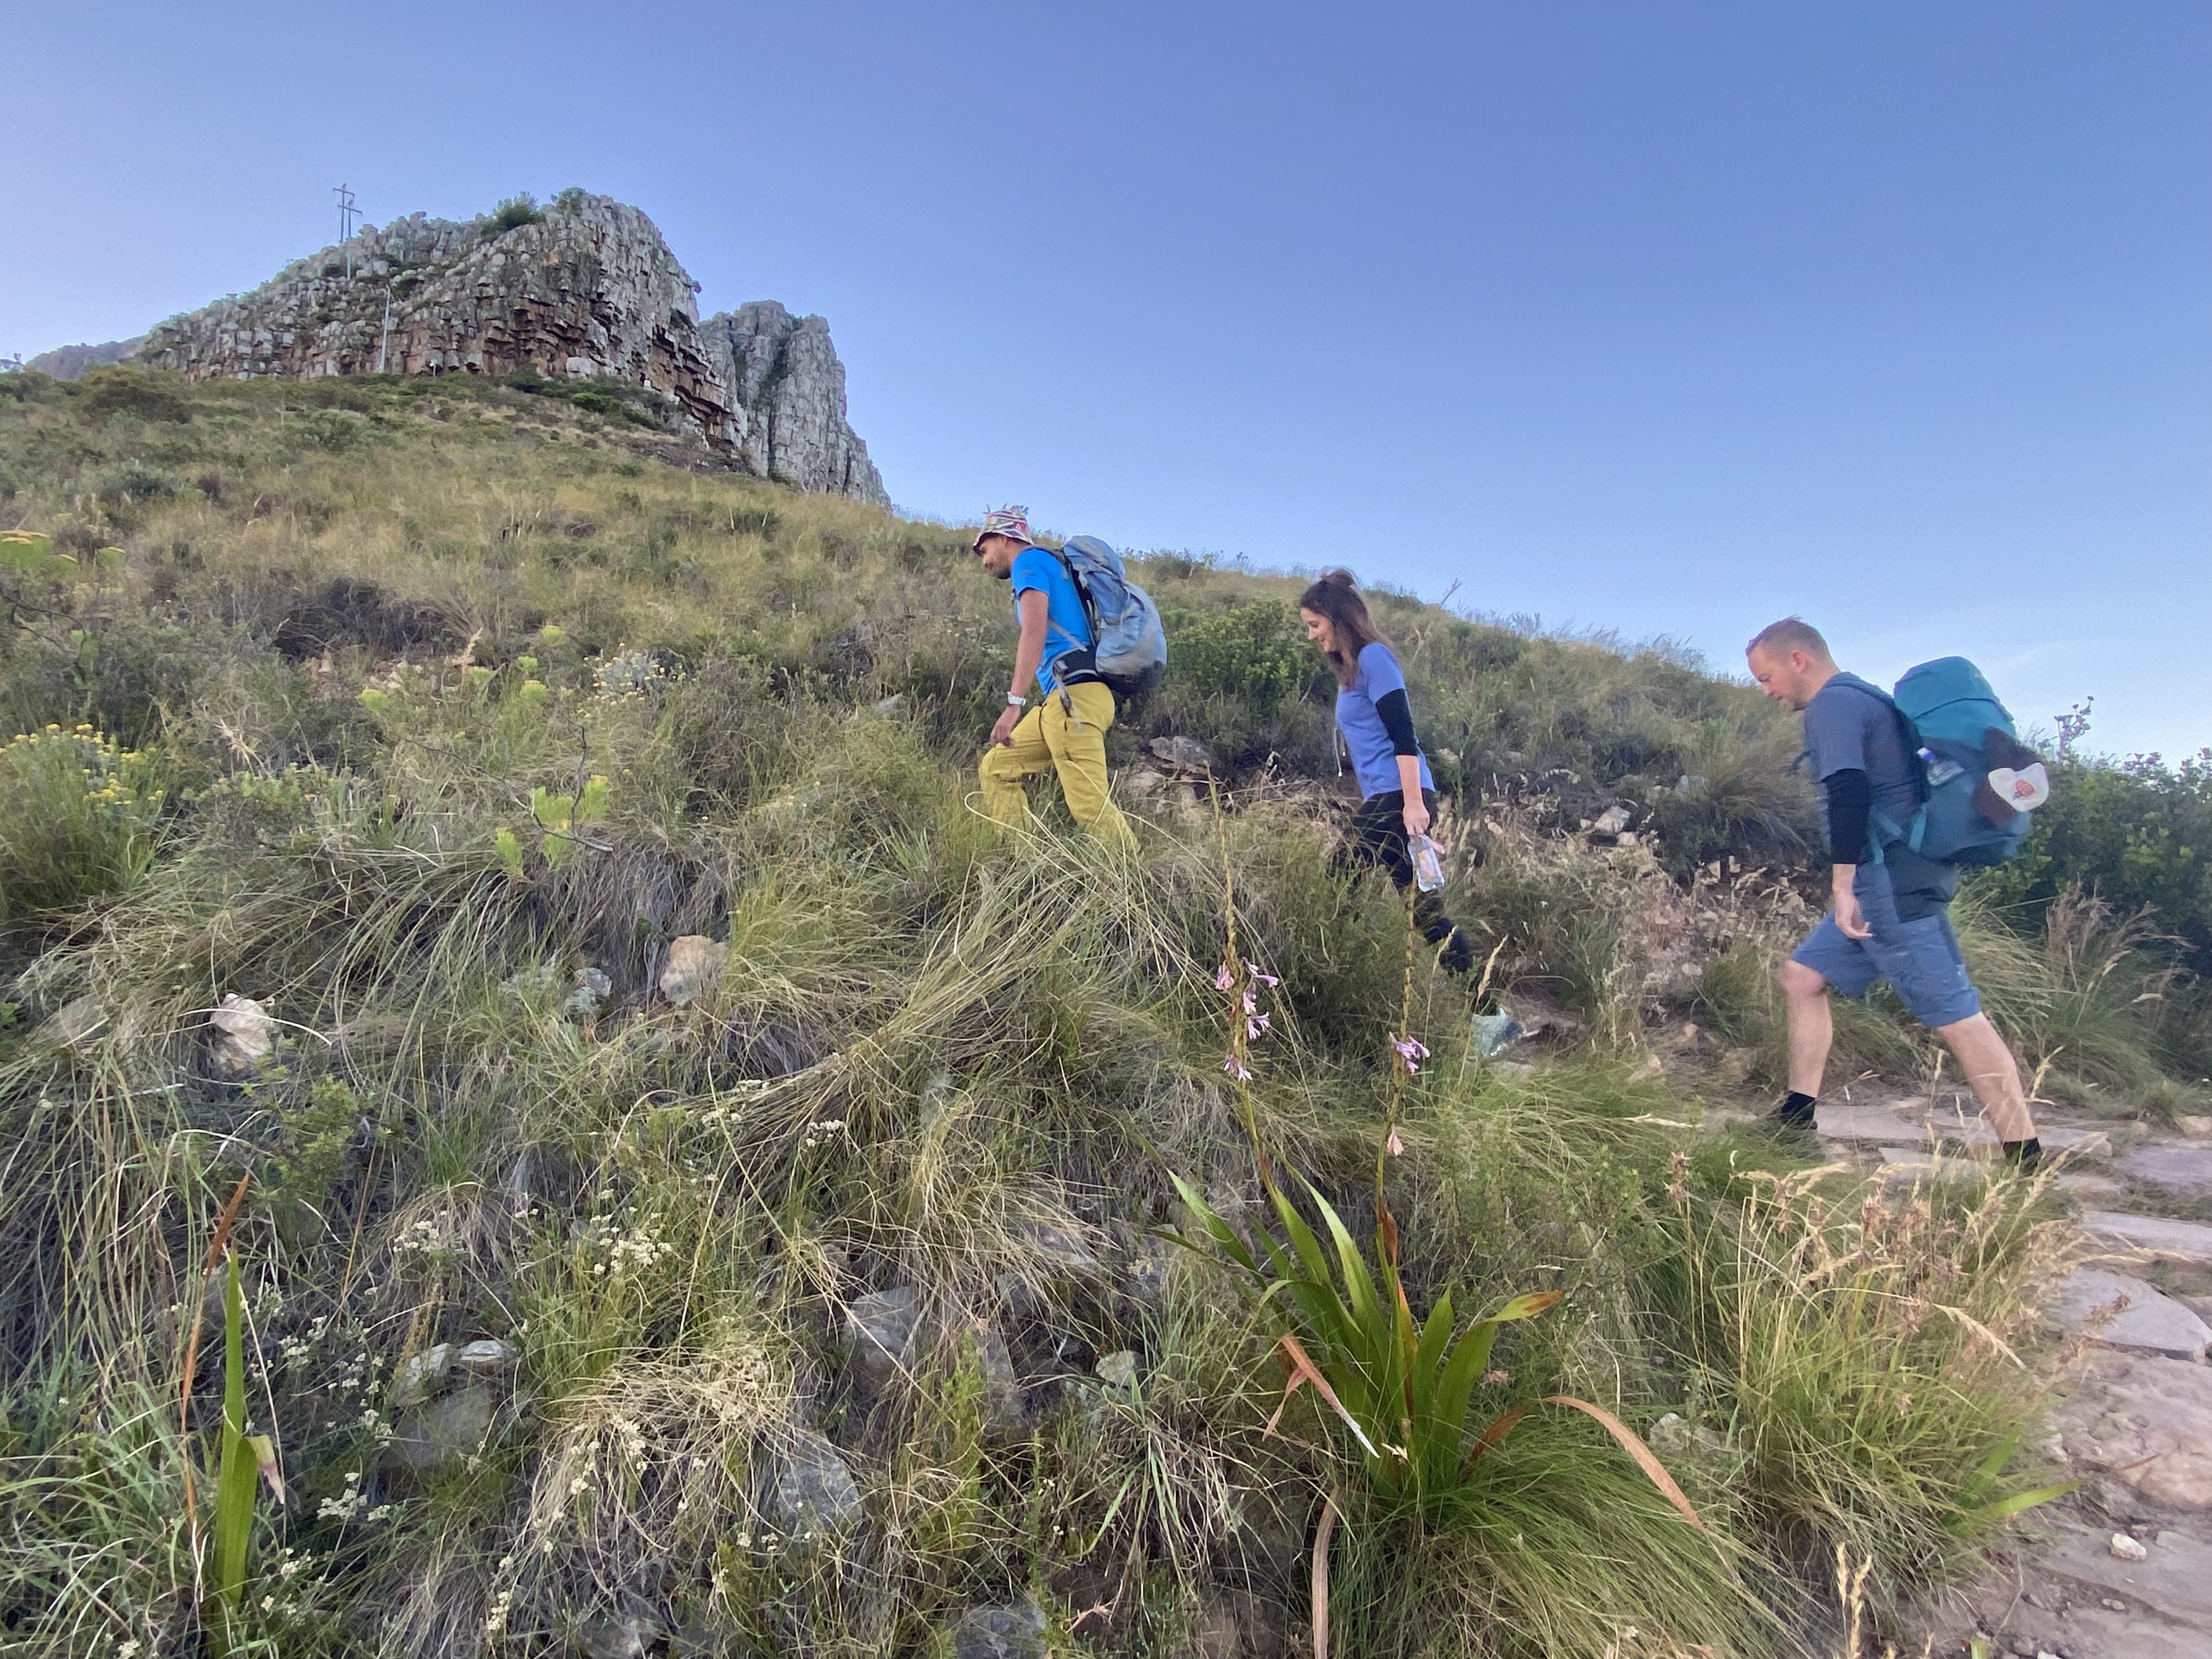
Starting out from Kloof Corner

Some steps and then zig-zagging begin almost immediately after setting off from Kloof Corner near the water Treatment Centre eventually bringing you to the Contour Path. From here, the trail traverses southeast for a while before the real fun begins.
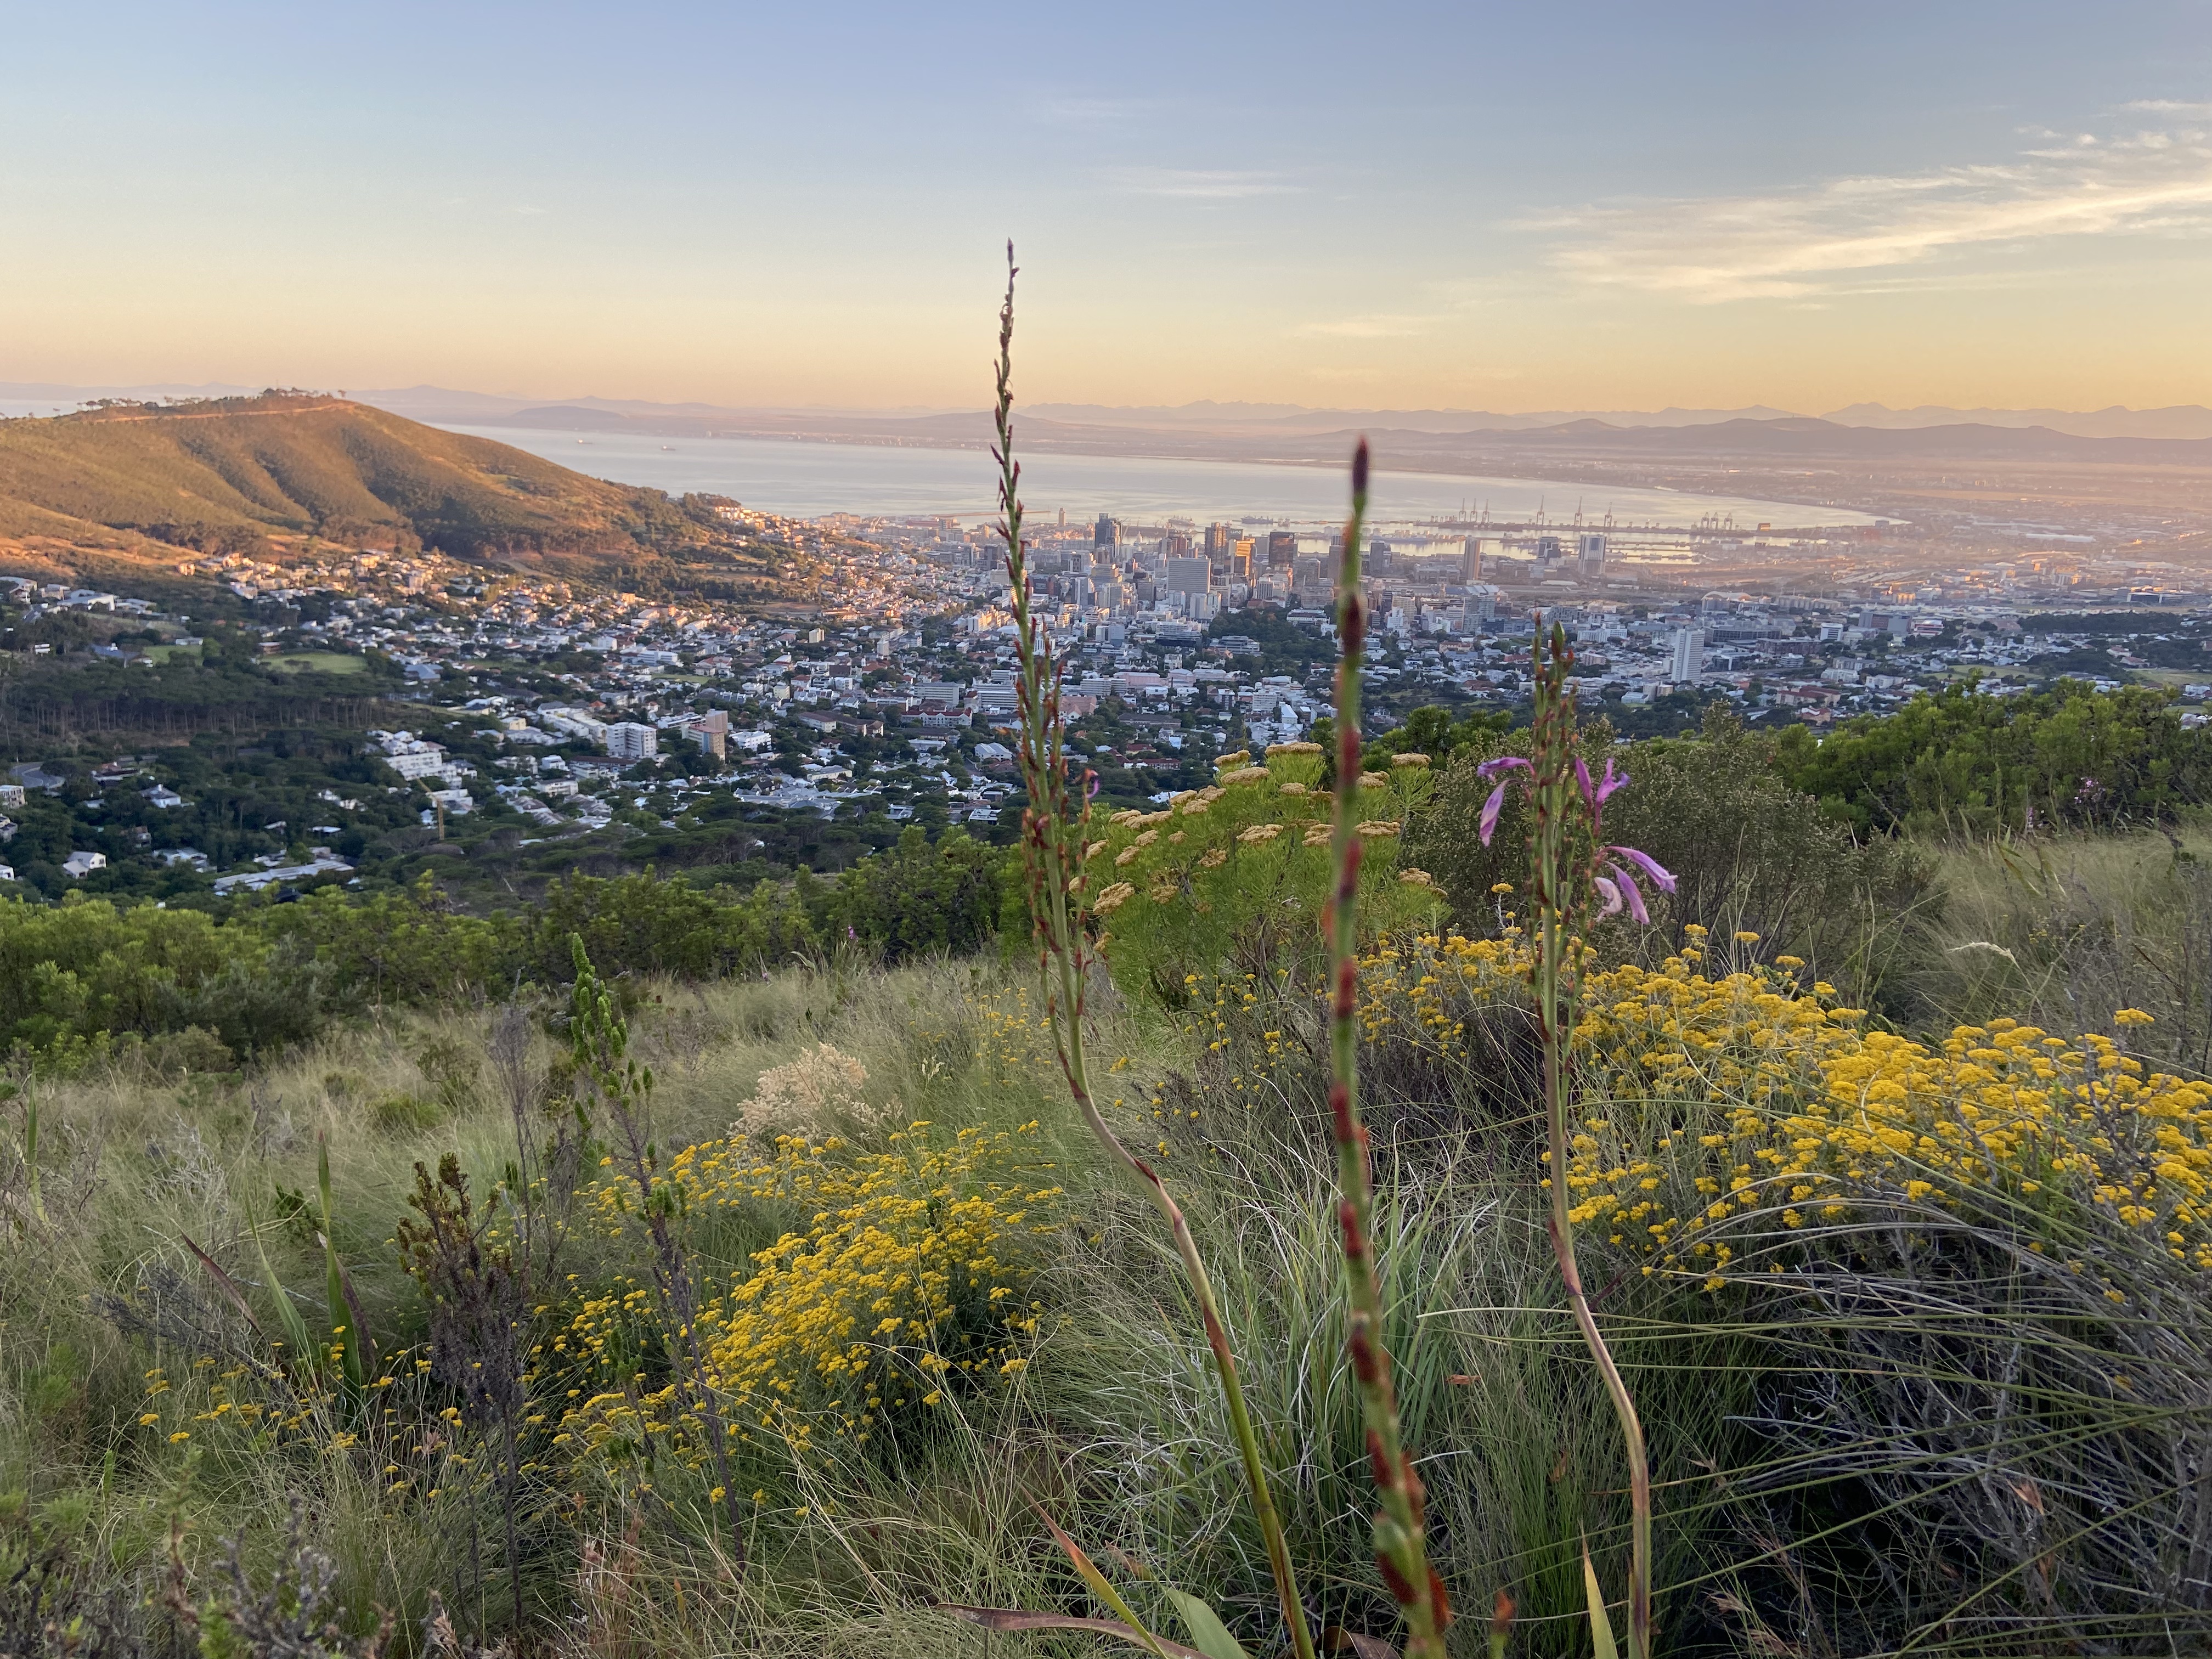
Cape Town at dawn

You soon come across a green sign warning that this is a dangerous ascent and recommending Platteklip Gorge as the safer alternative.
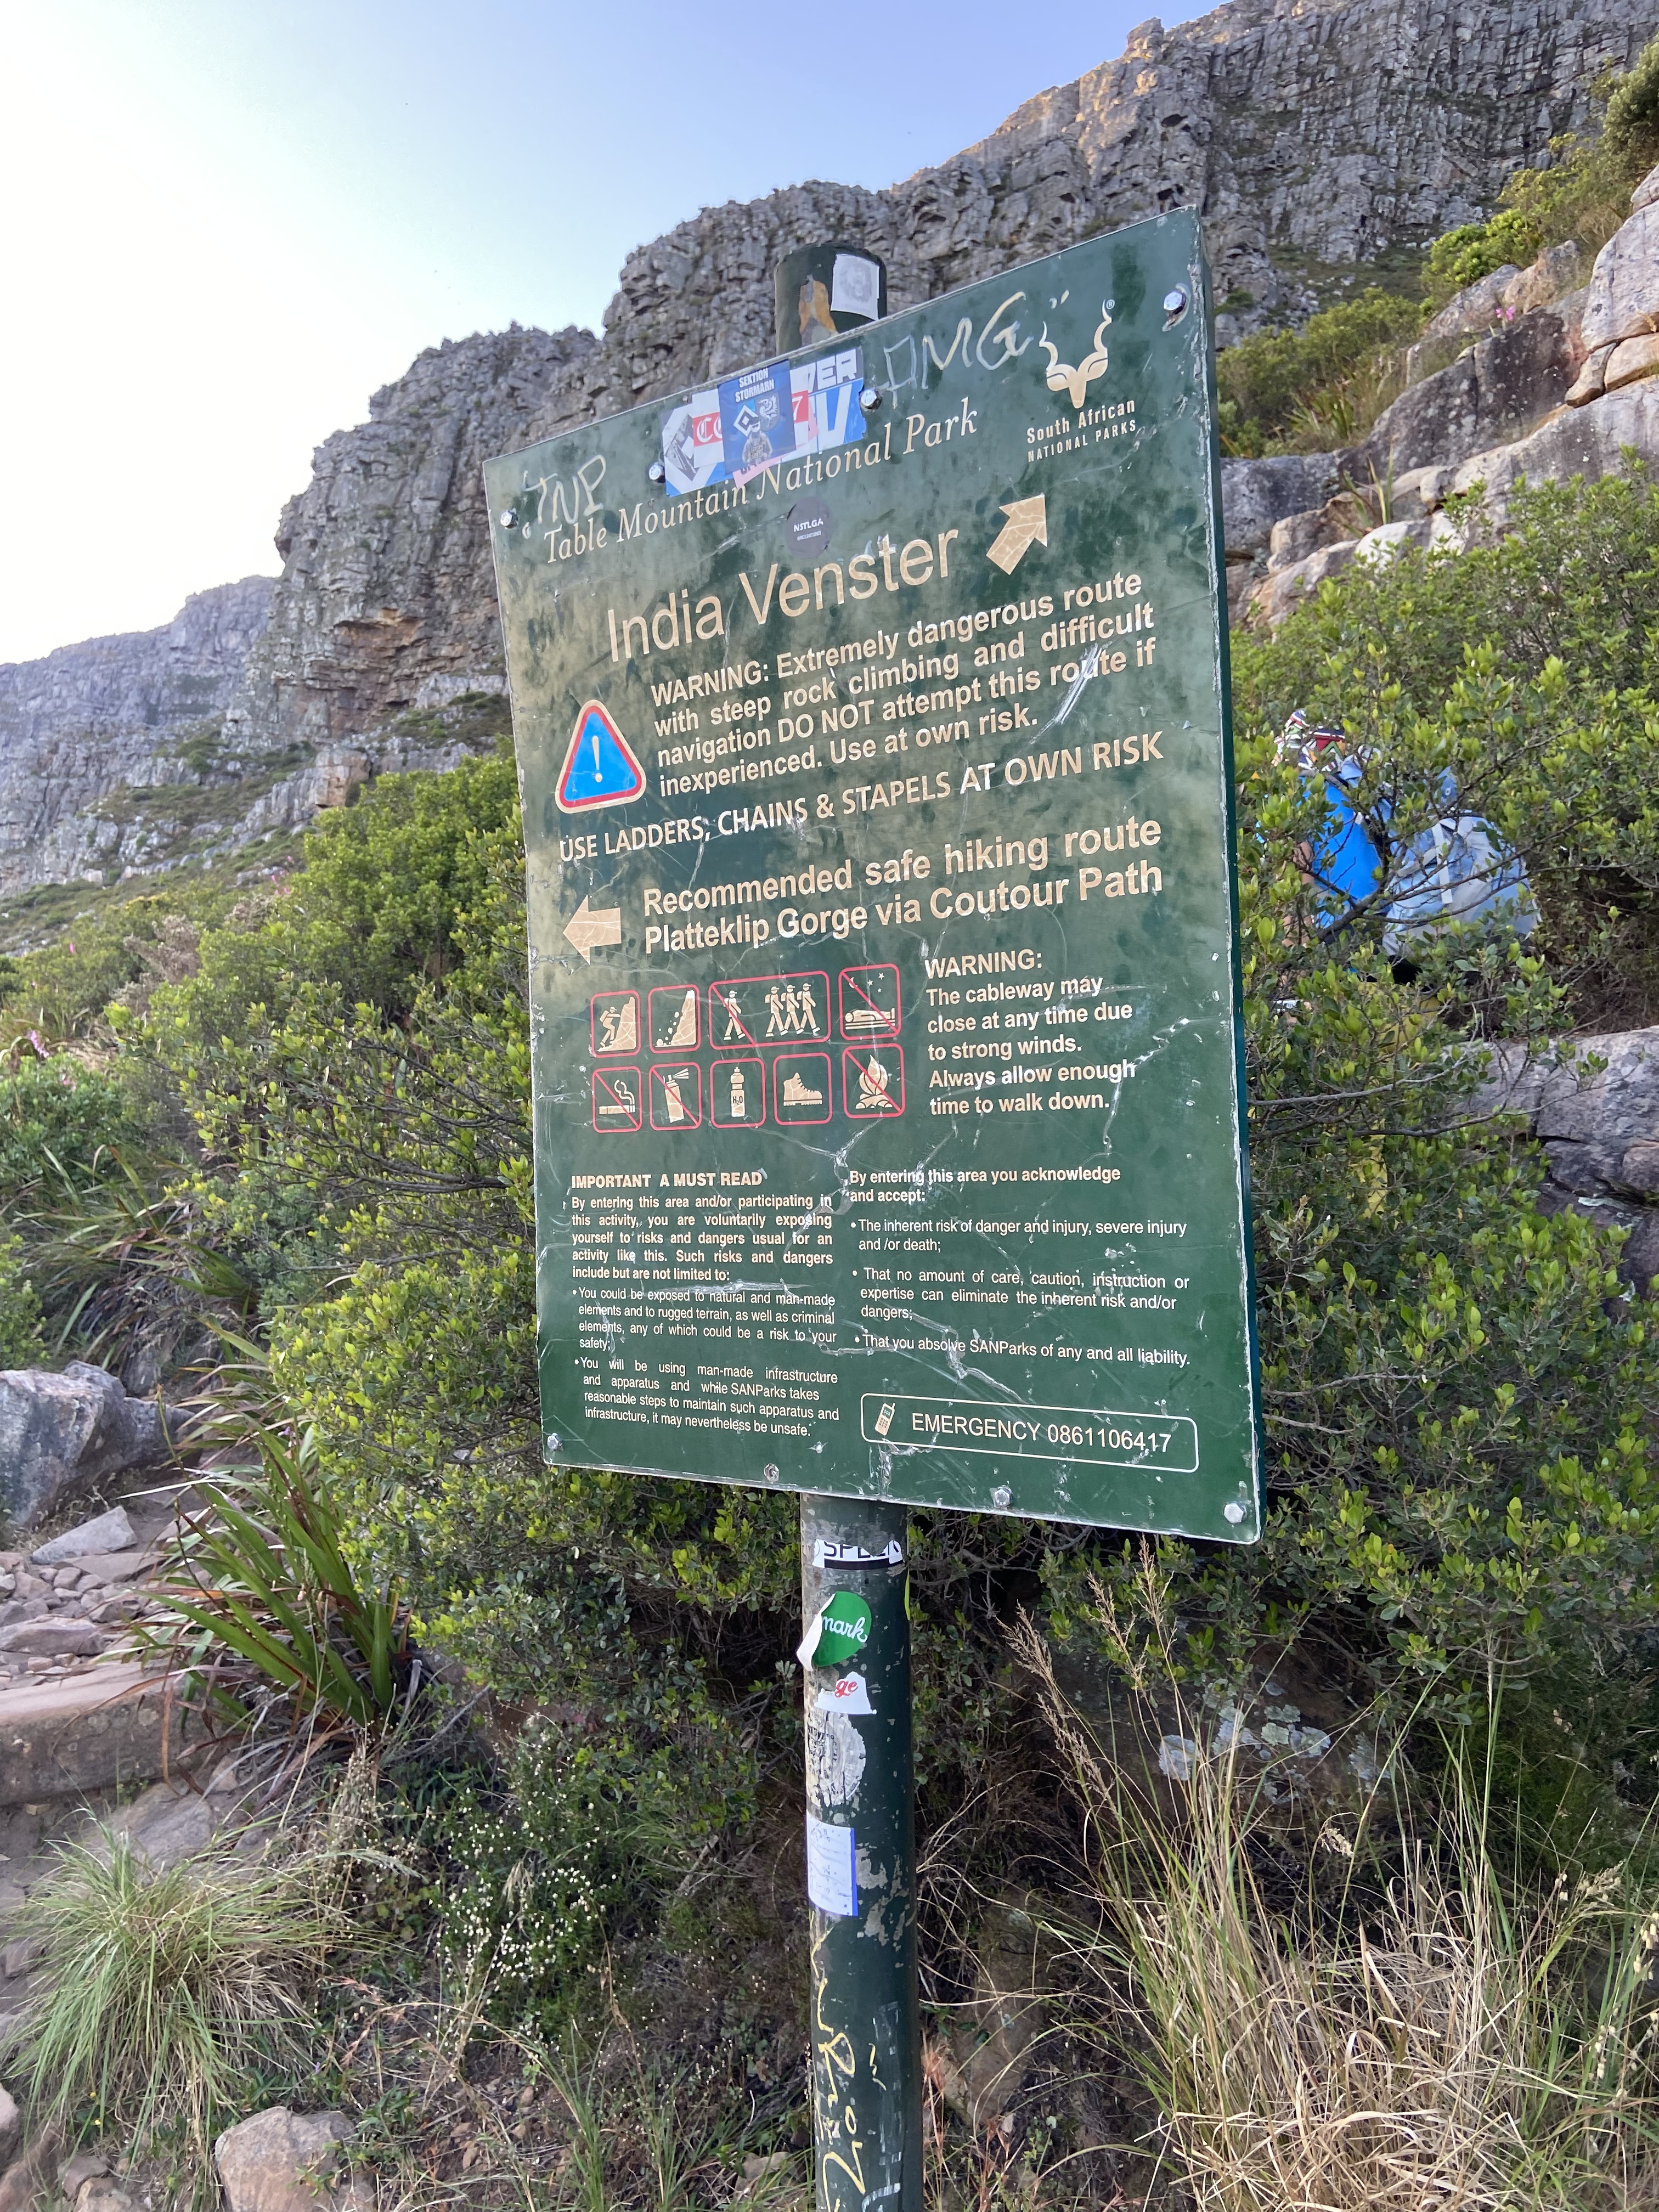
Take another route sign!

This is where you leave the easy option behind!

THE START OF INDIA VENSTER

The path starts steeply, heading up the right side of the Venster Buttress. The trail is fairly well worn, so it isn’t too difficult to follow. There is some scrambling involved, but nothing particularly technical at this stage.
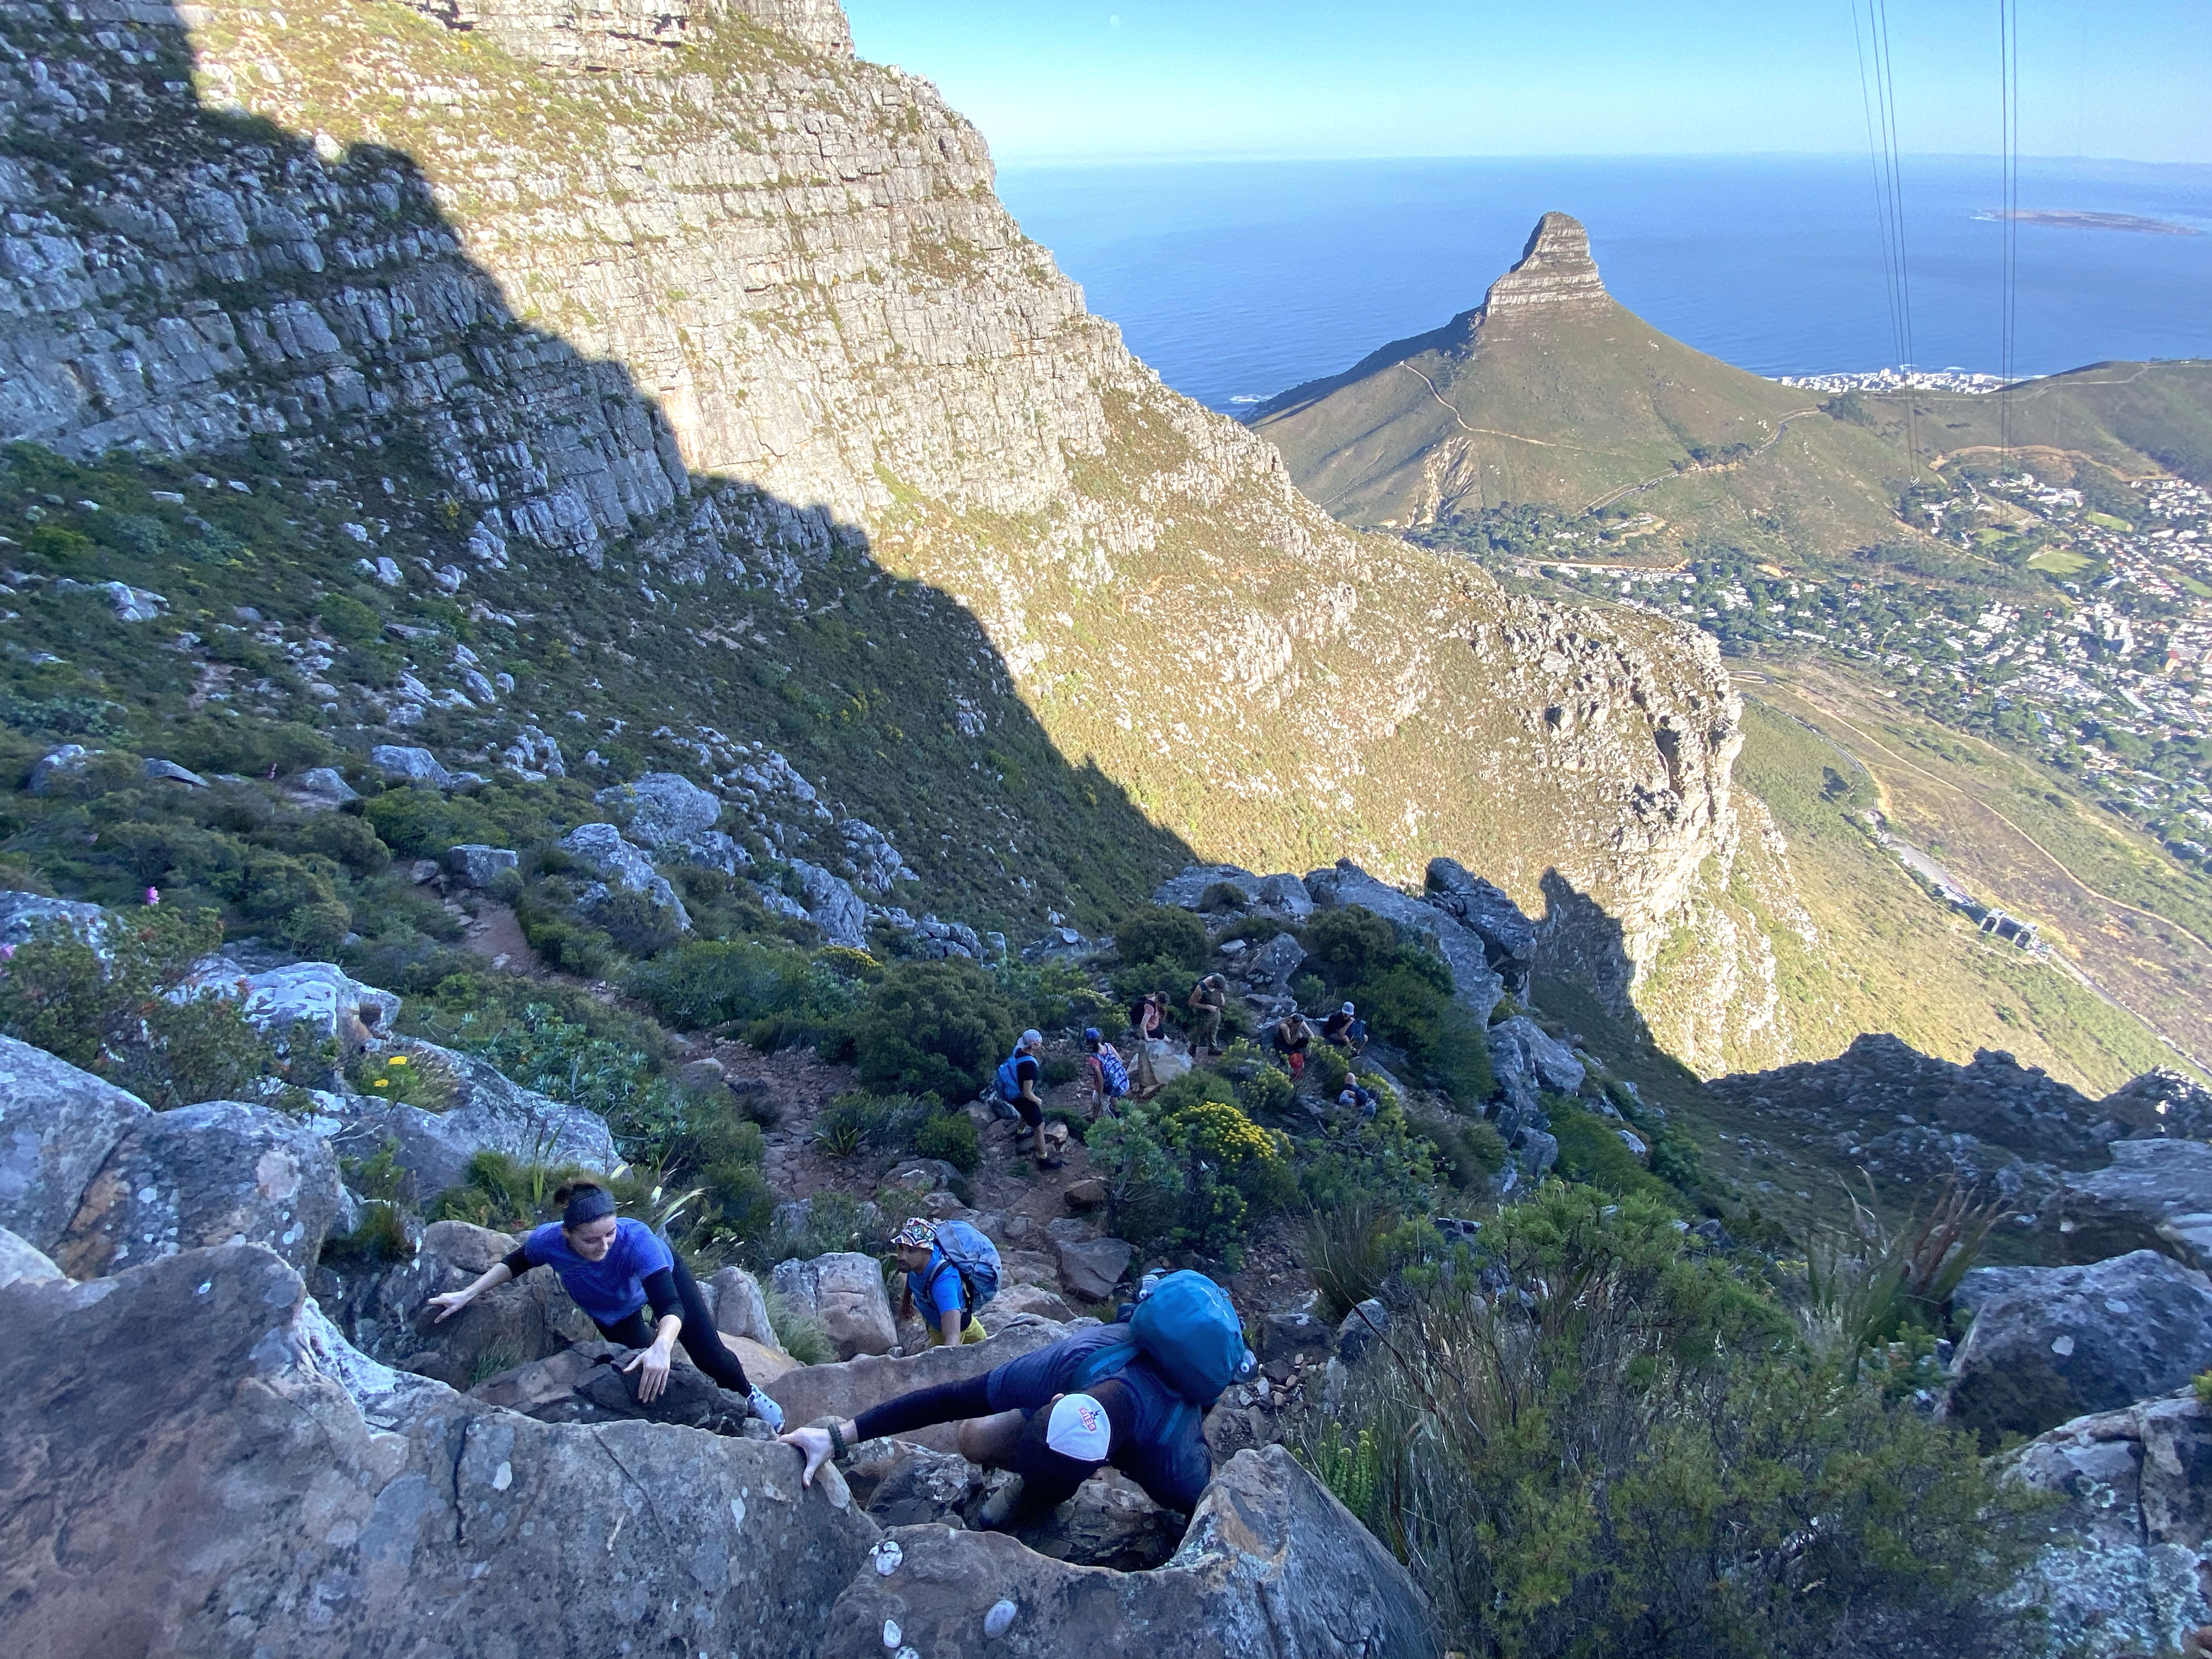
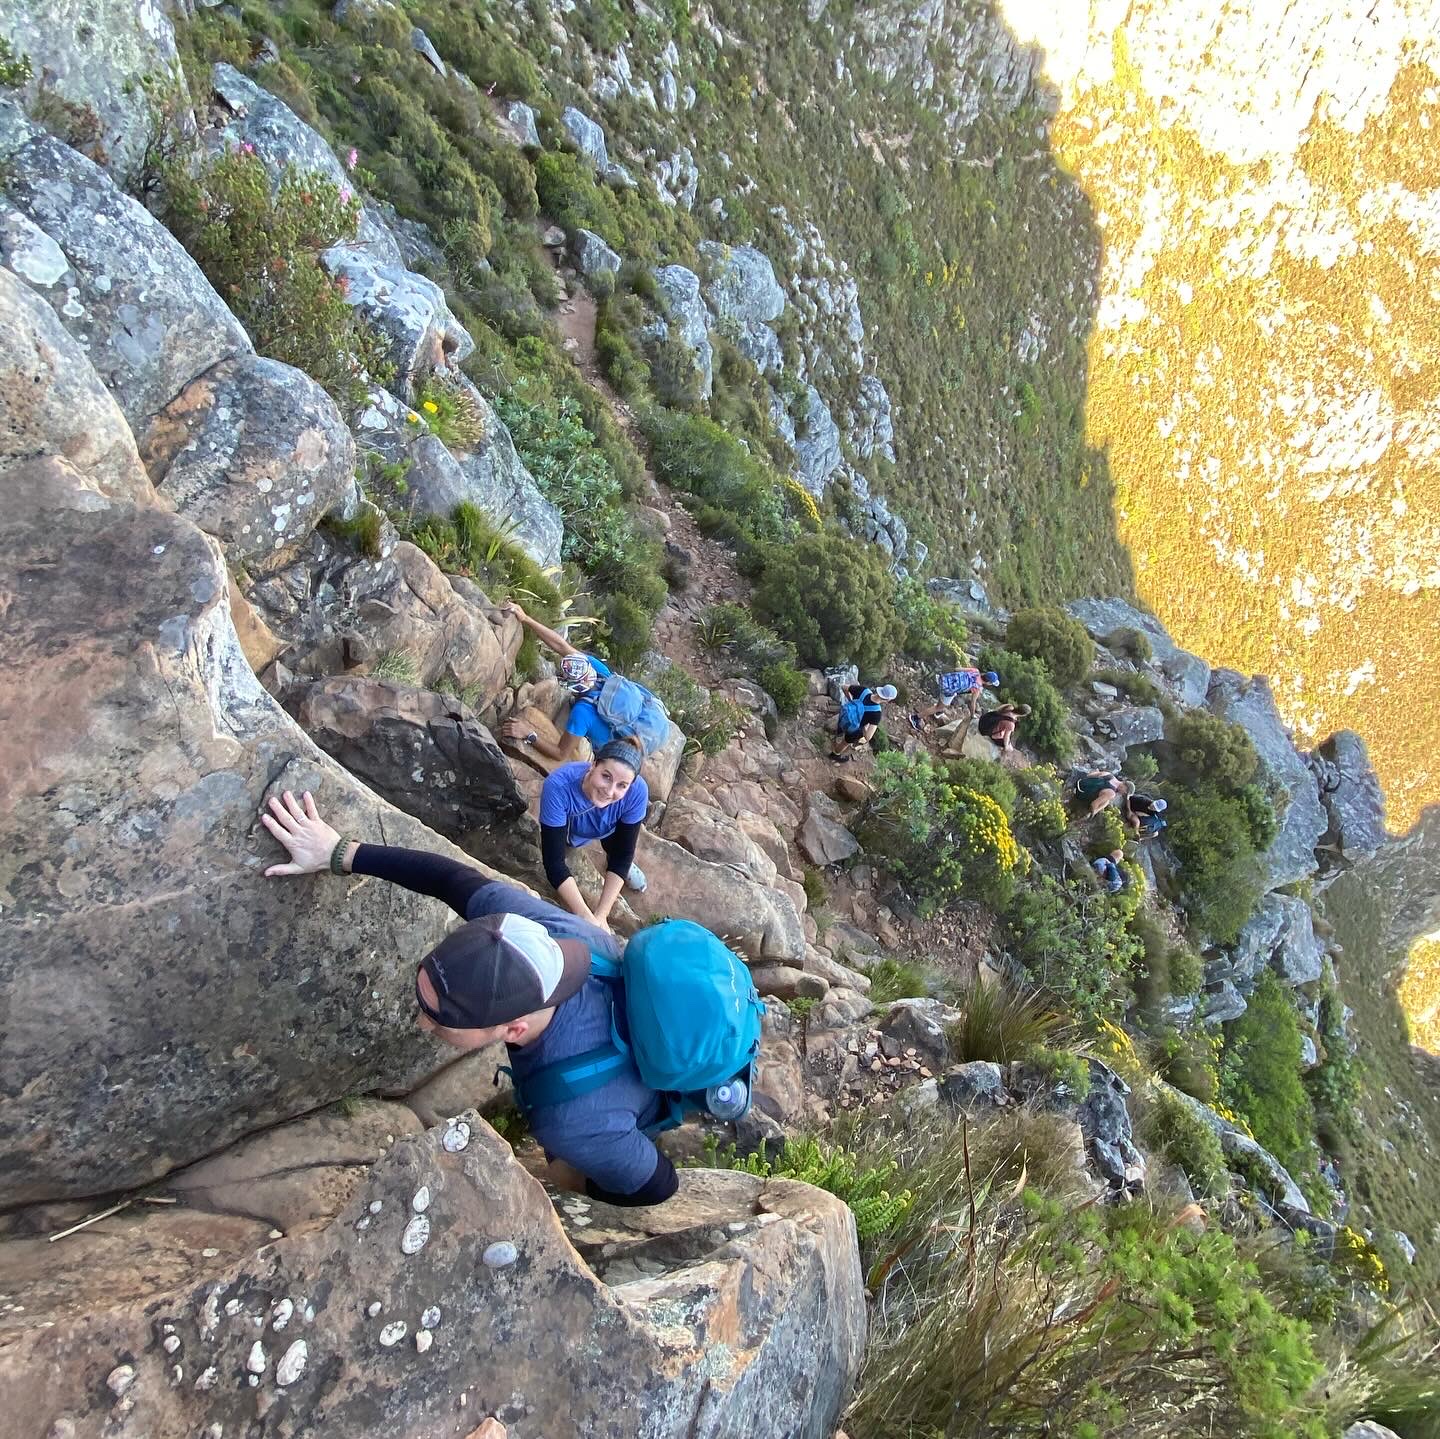
The Lion's Head behind us scrambling up Table Mountain

The scrambling starts

Eventually, you reach the crest, where the path levels out considerably. It’s a good place to take a breather and look ahead to see where you’re heading next.

Follow the trail around the base of the cliffs, pass through India Ravine, and then continue underneath the cableway towards Arrow Buttress.
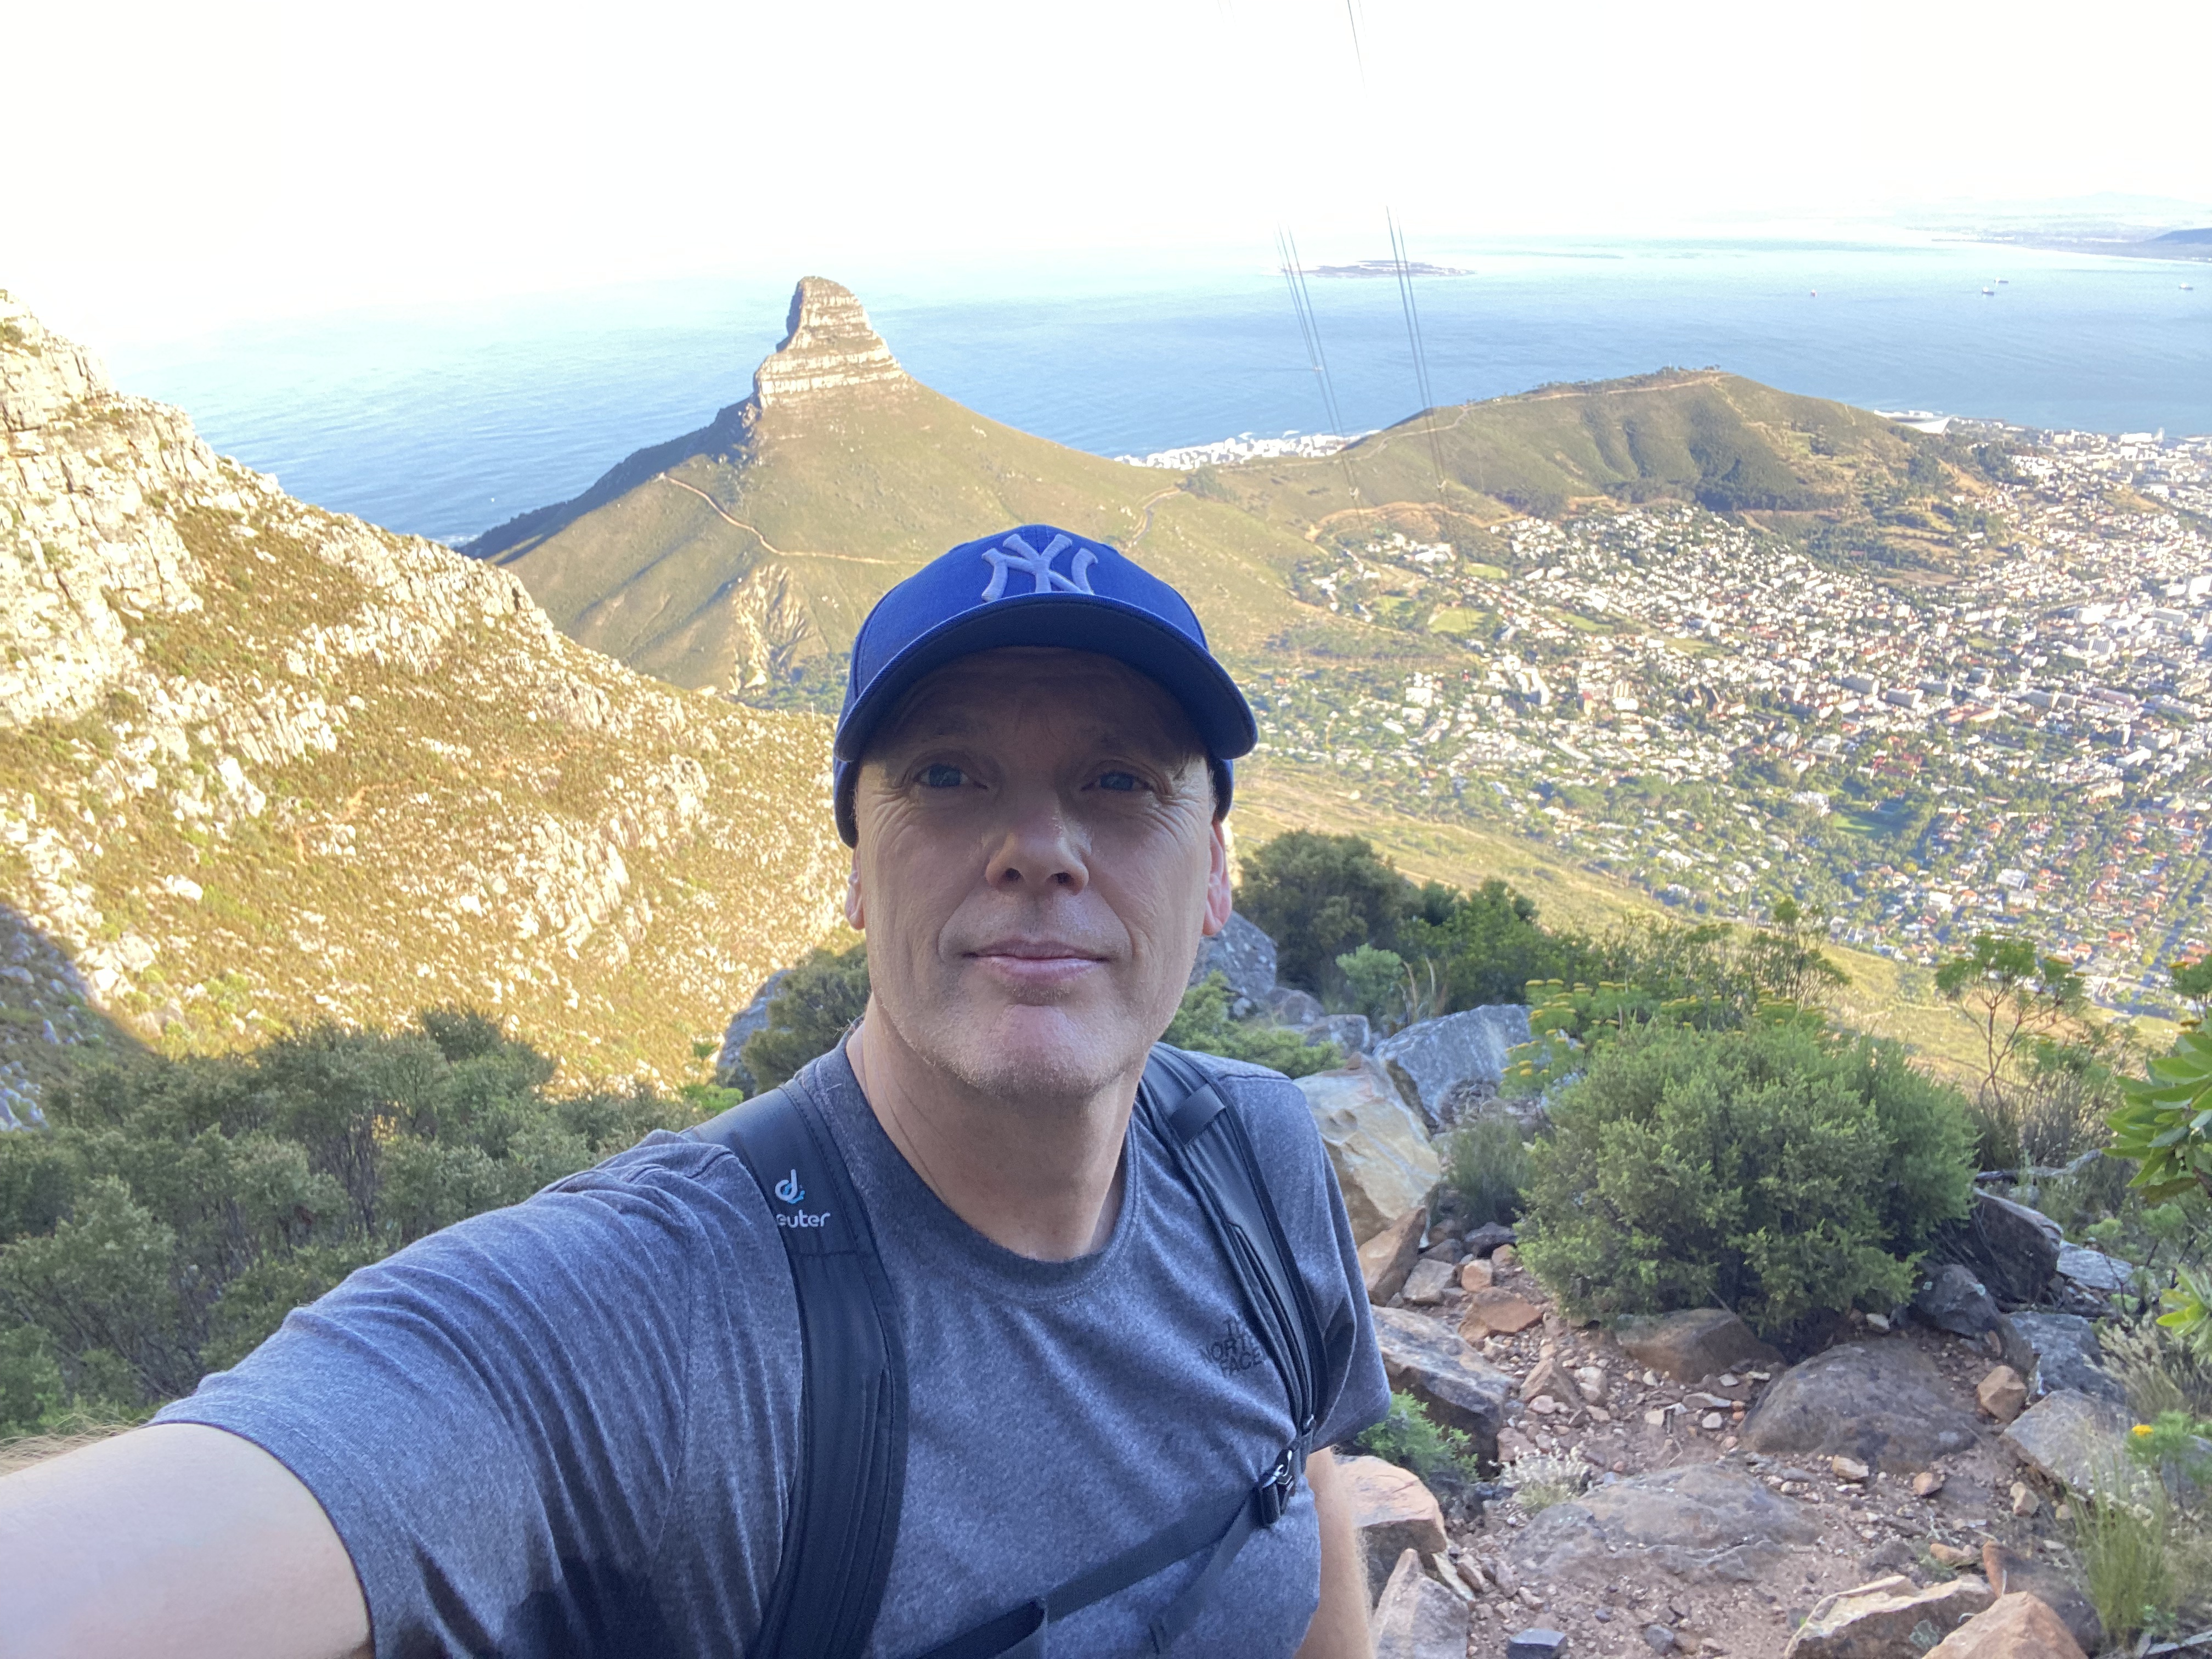
Under the Cable Car

The Venster Spot is situated about three-quarters up the climb. You veer slightly left off the immediate path into a rocky cleft to look through the window opening, which frames stunning views toward Devil’s Peak.
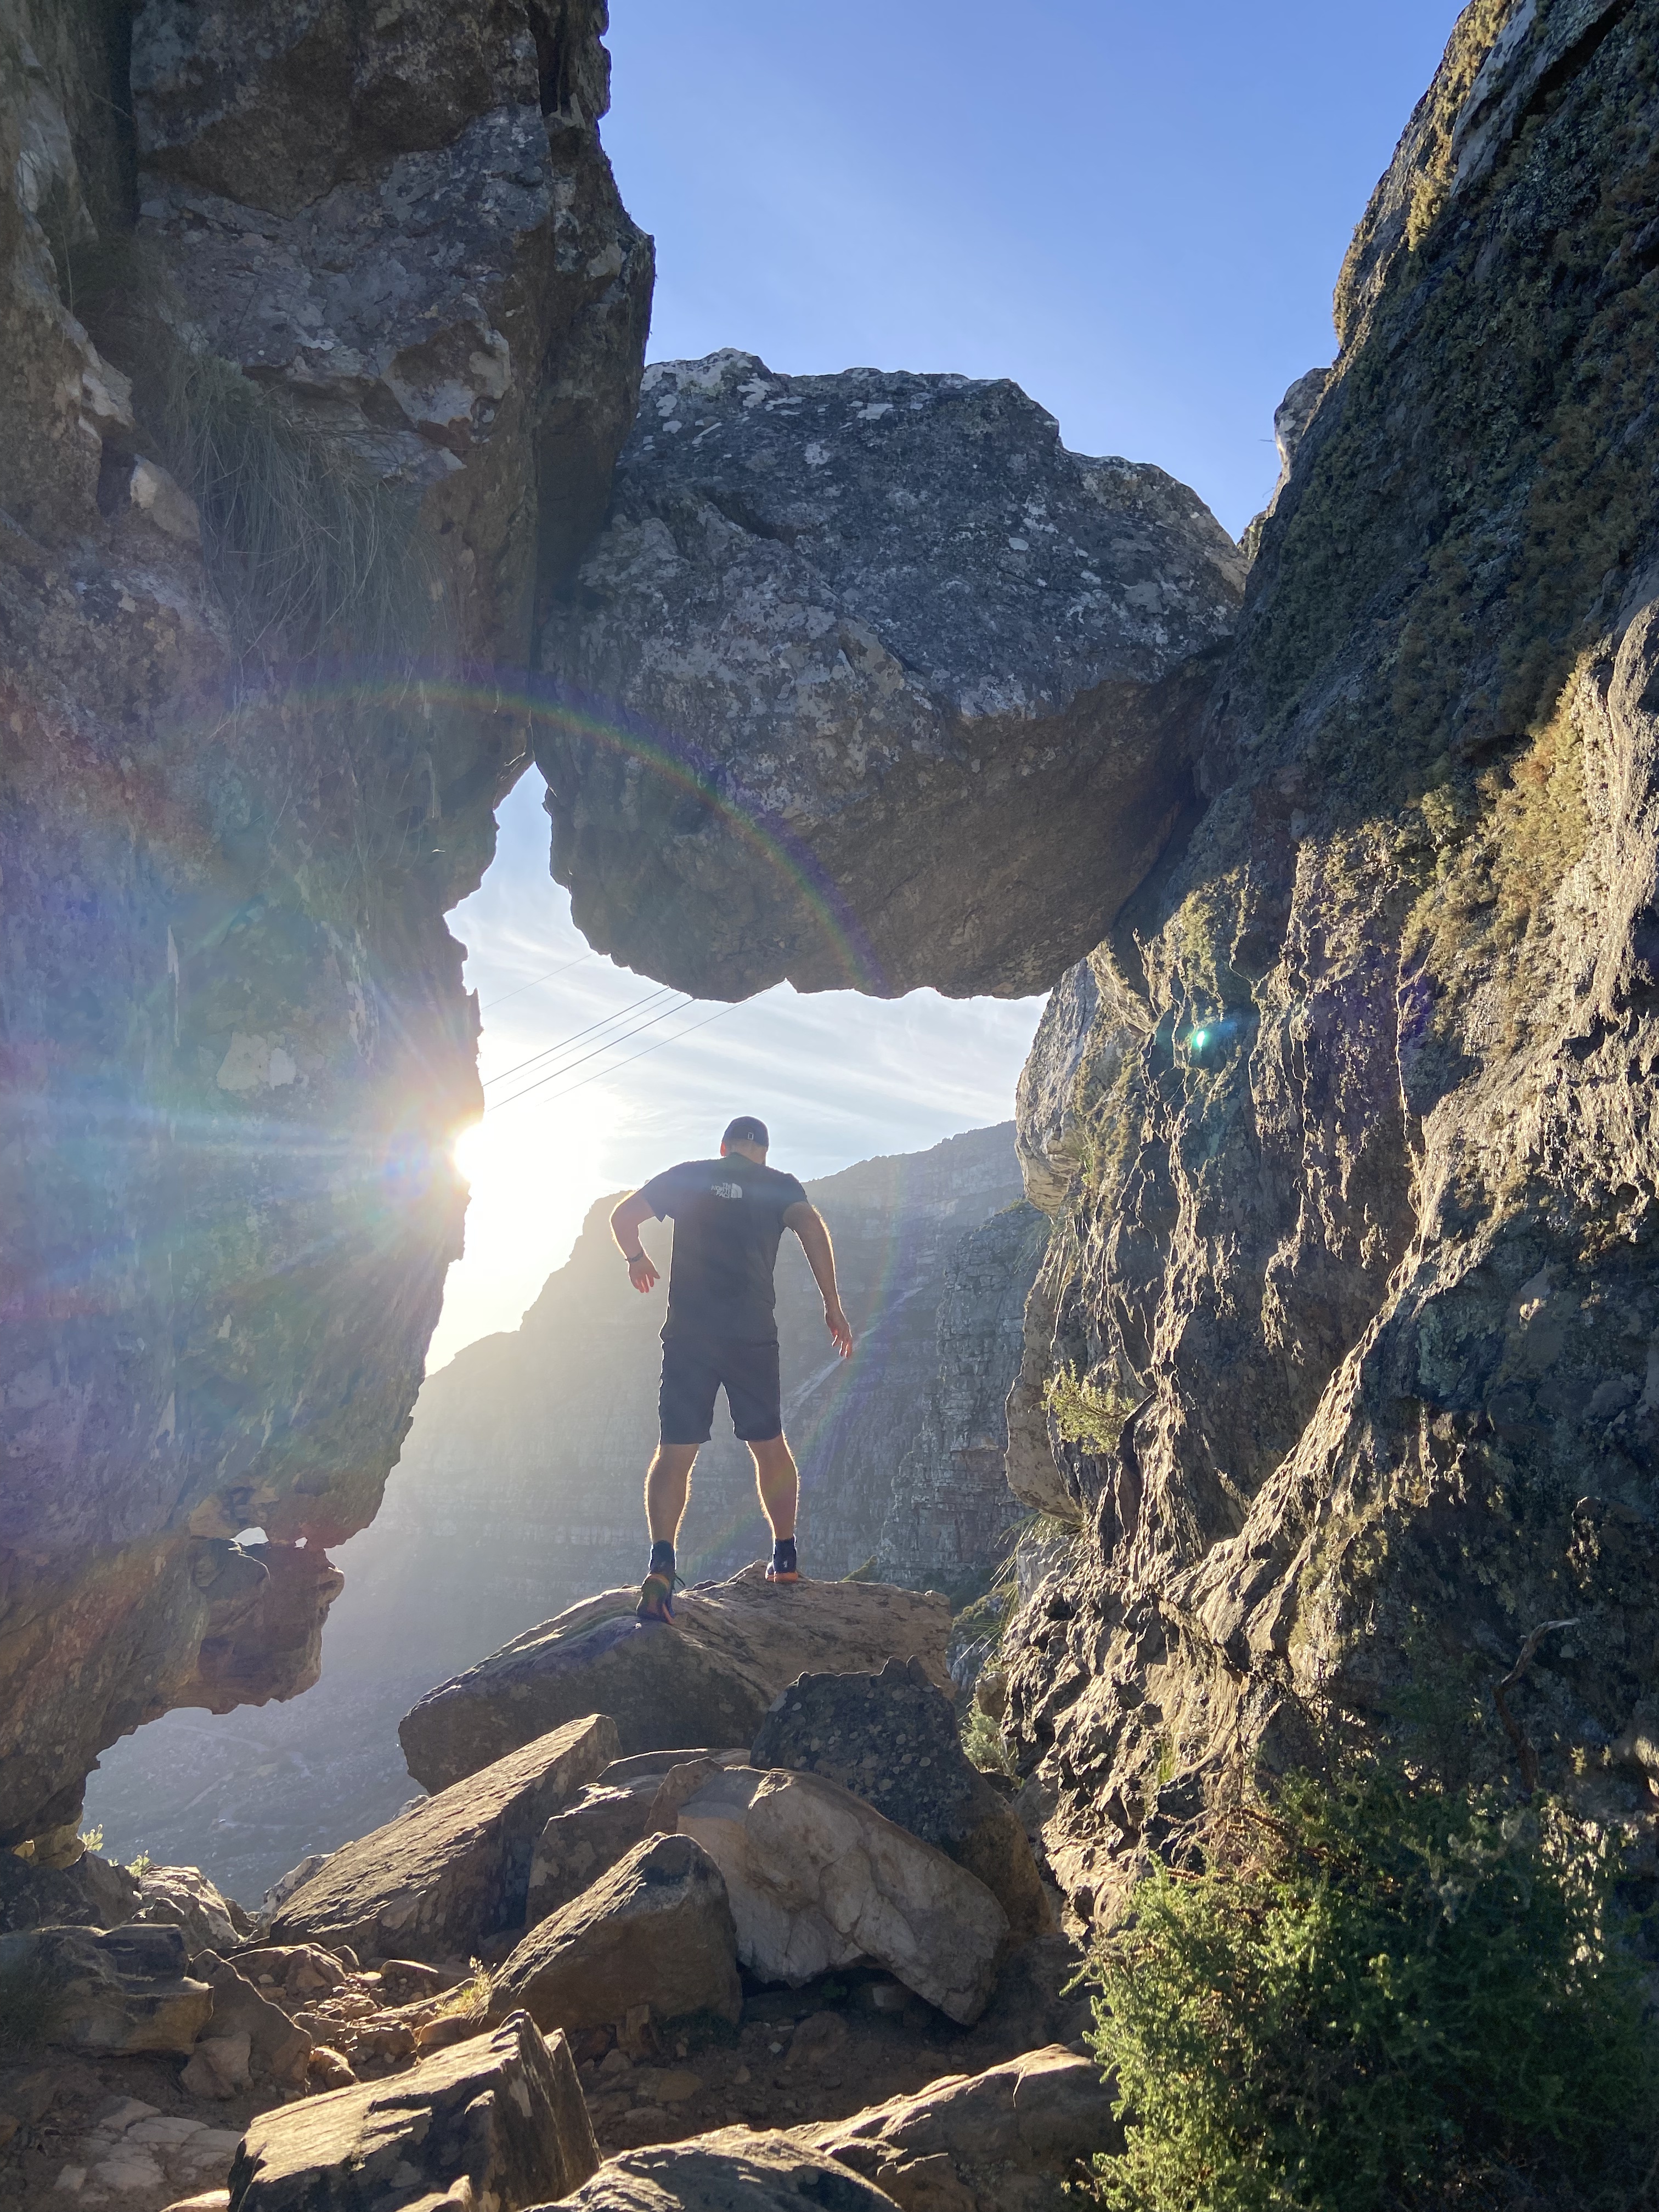
The Venster Spot

At Arrow Buttress, the scrambling really begins — and this is your last chance to turn back if you’re starting to get any heebie-jeebies!
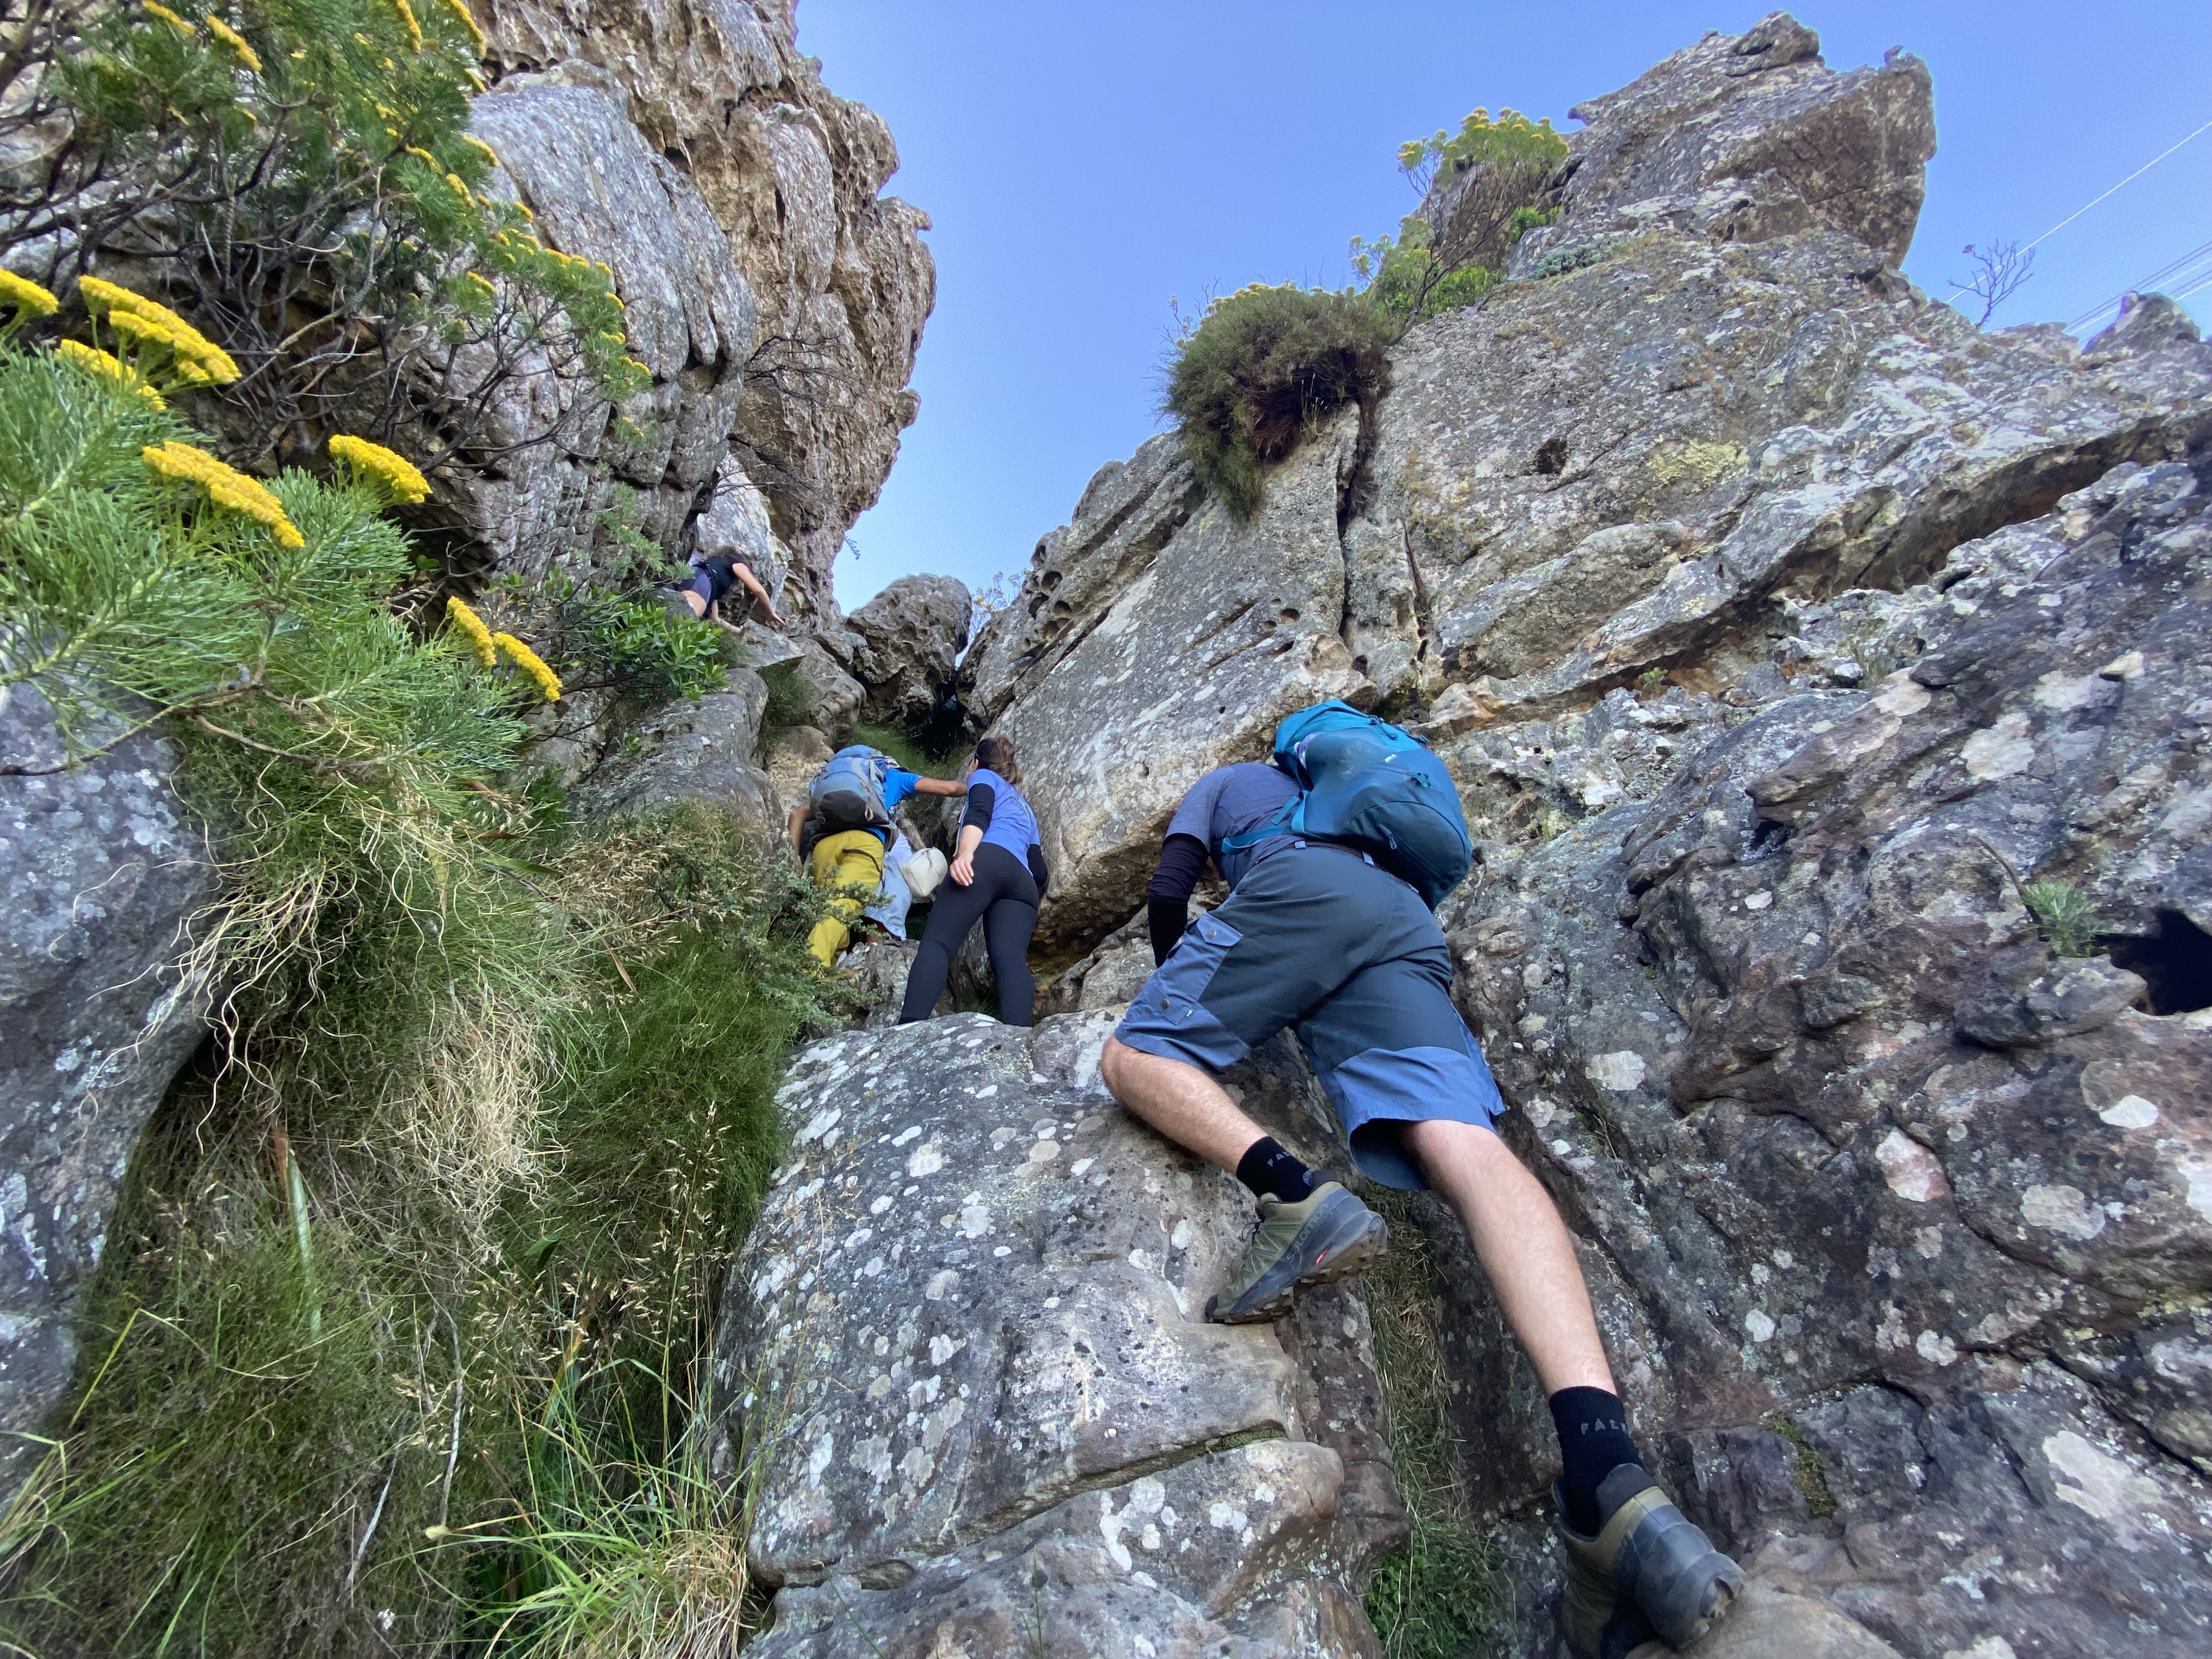
Scrambling section

SCRAMBLING UP ARROW BUTTRESS

This is the steepest section of the trail and, although it isn’t particularly long, it can take around 30 minutes or more to complete.

Follow the yellow footprints carefully. There are several chains and metal footholds to help you negotiate the steep rock sections, but you’ll still need to use your hands and feet to work your way upwards.

This is where the India Venster Route really earns its reputation.

THE FINAL STRETCH

Eventually, you find yourself heading towards the top of Kloof Corner Ridge. Here, the path turns in the direction of the Twelve Apostles, revealing splendid views across the Atlantic Seaboard.
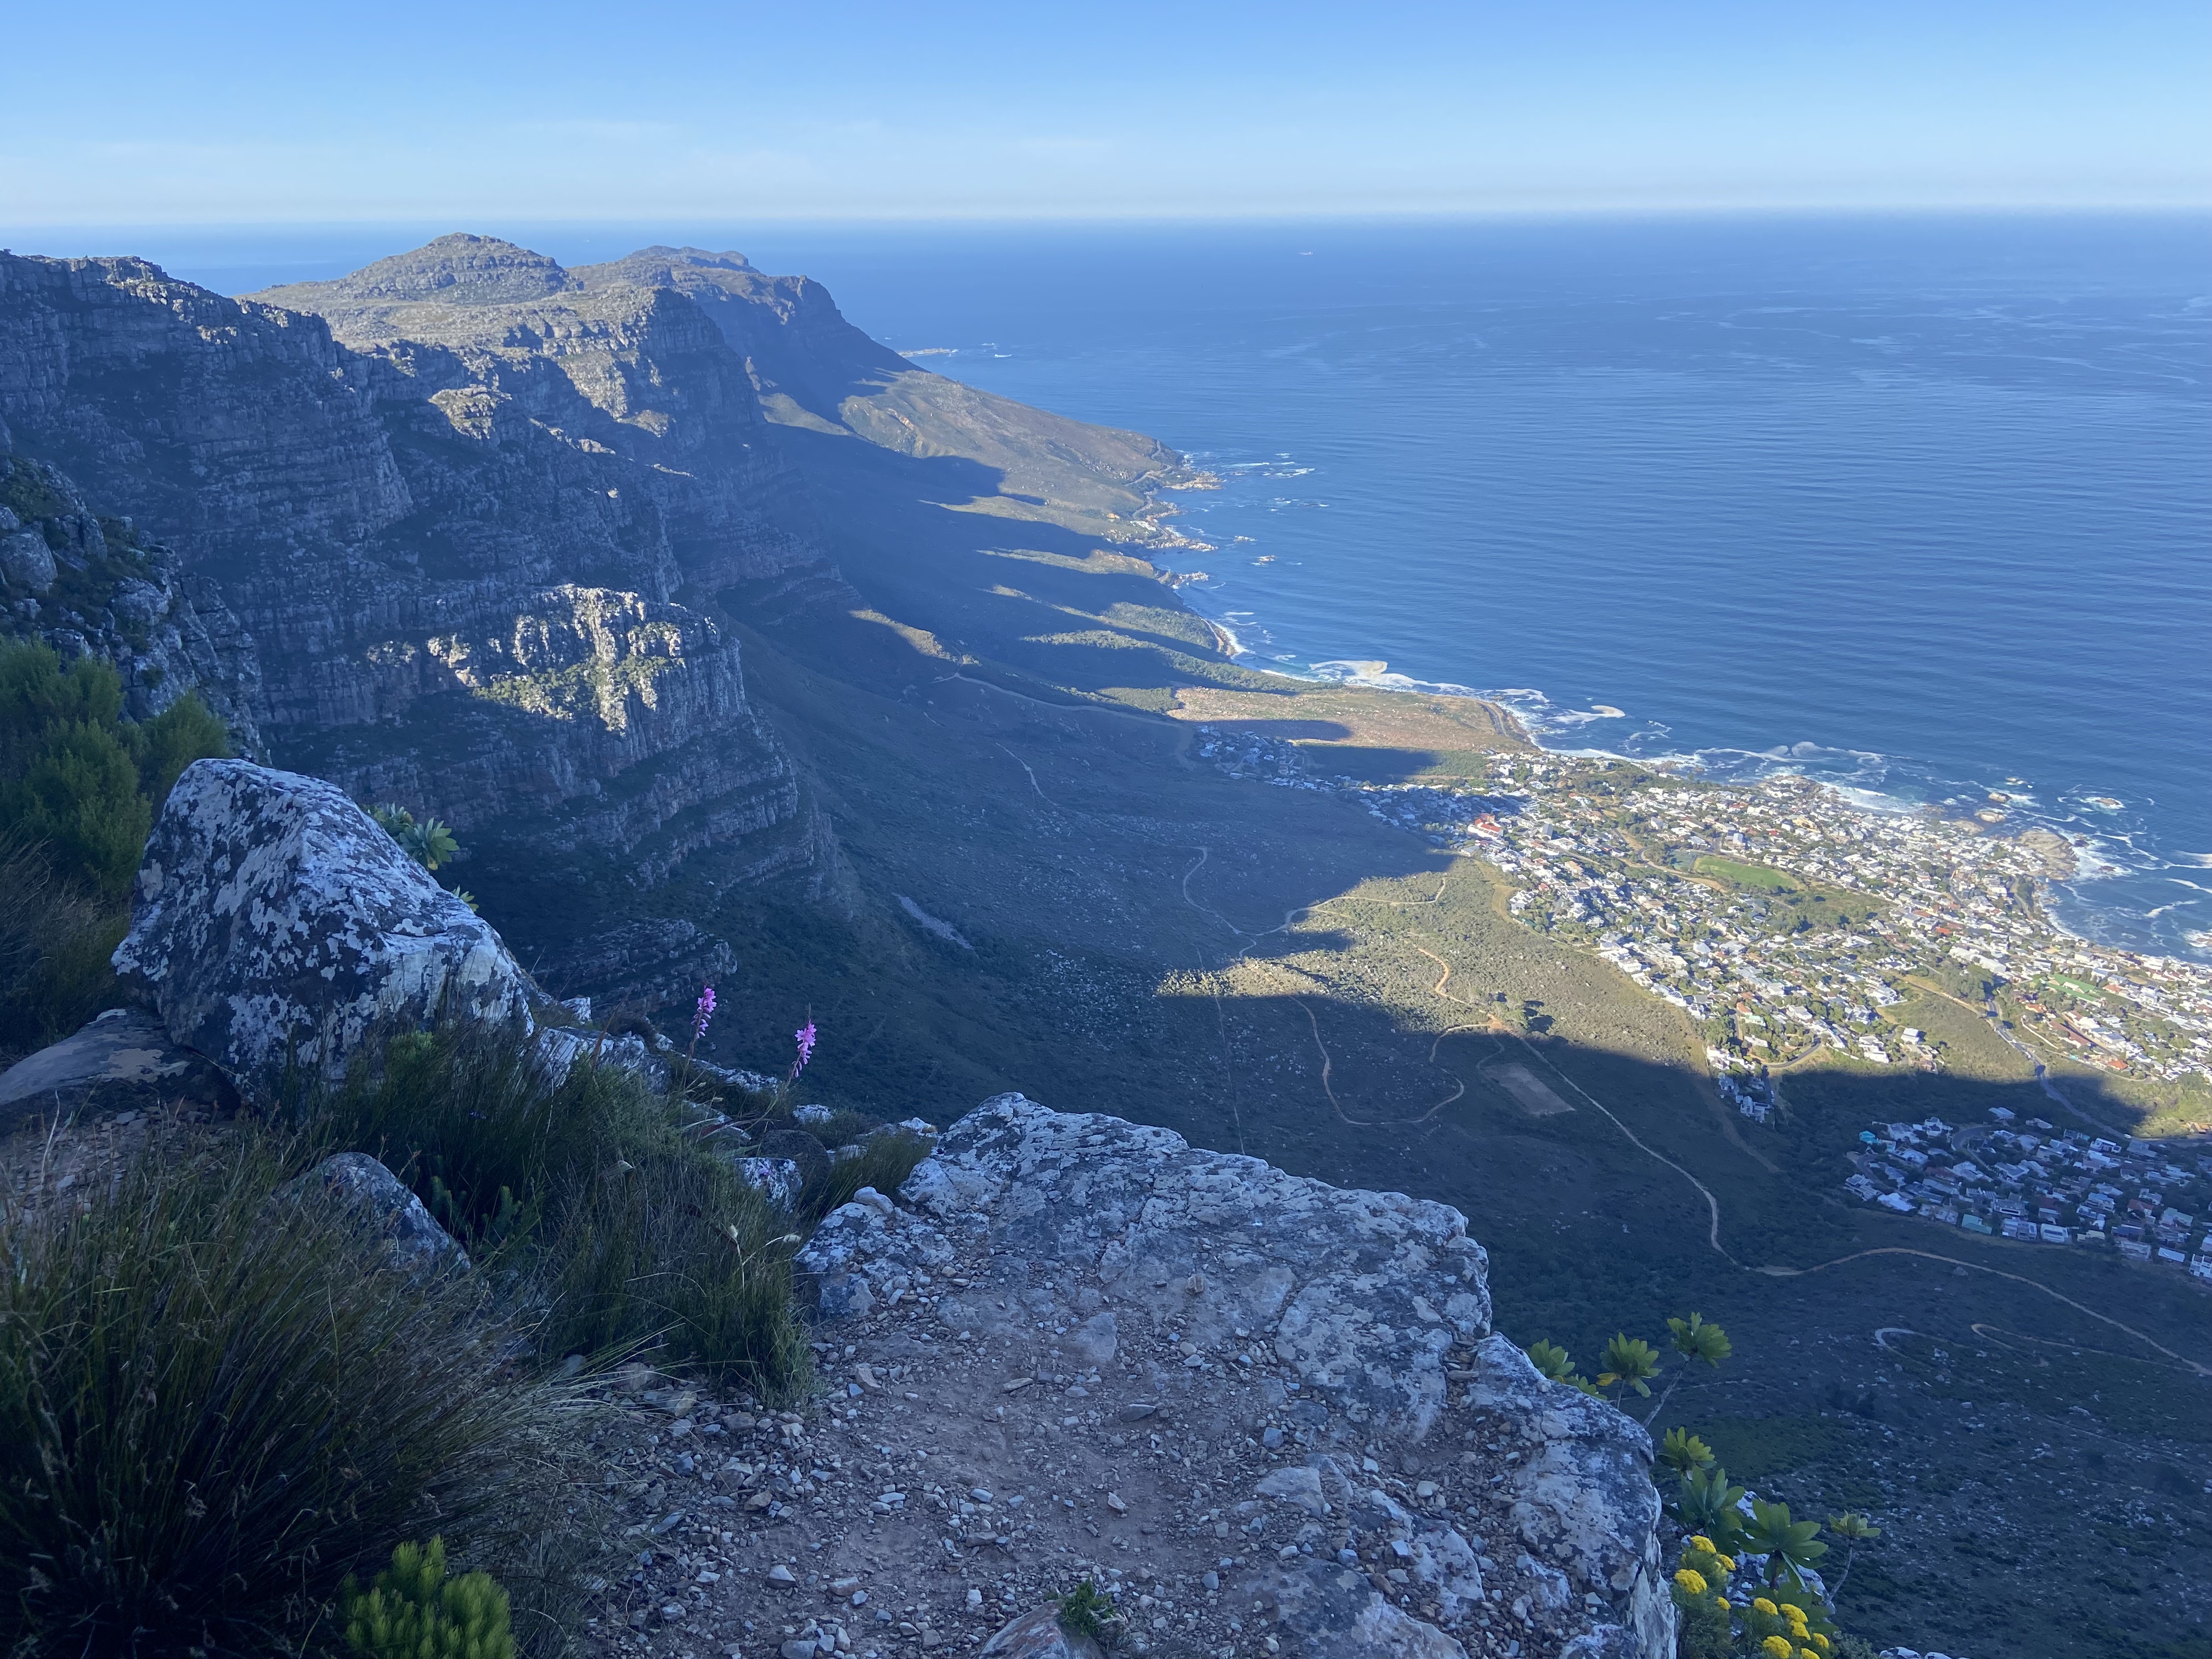
The Seven Apostles

From here, you continue hiking in the shade behind the Western Table — a very welcome relief after the exposed scrambling sections.
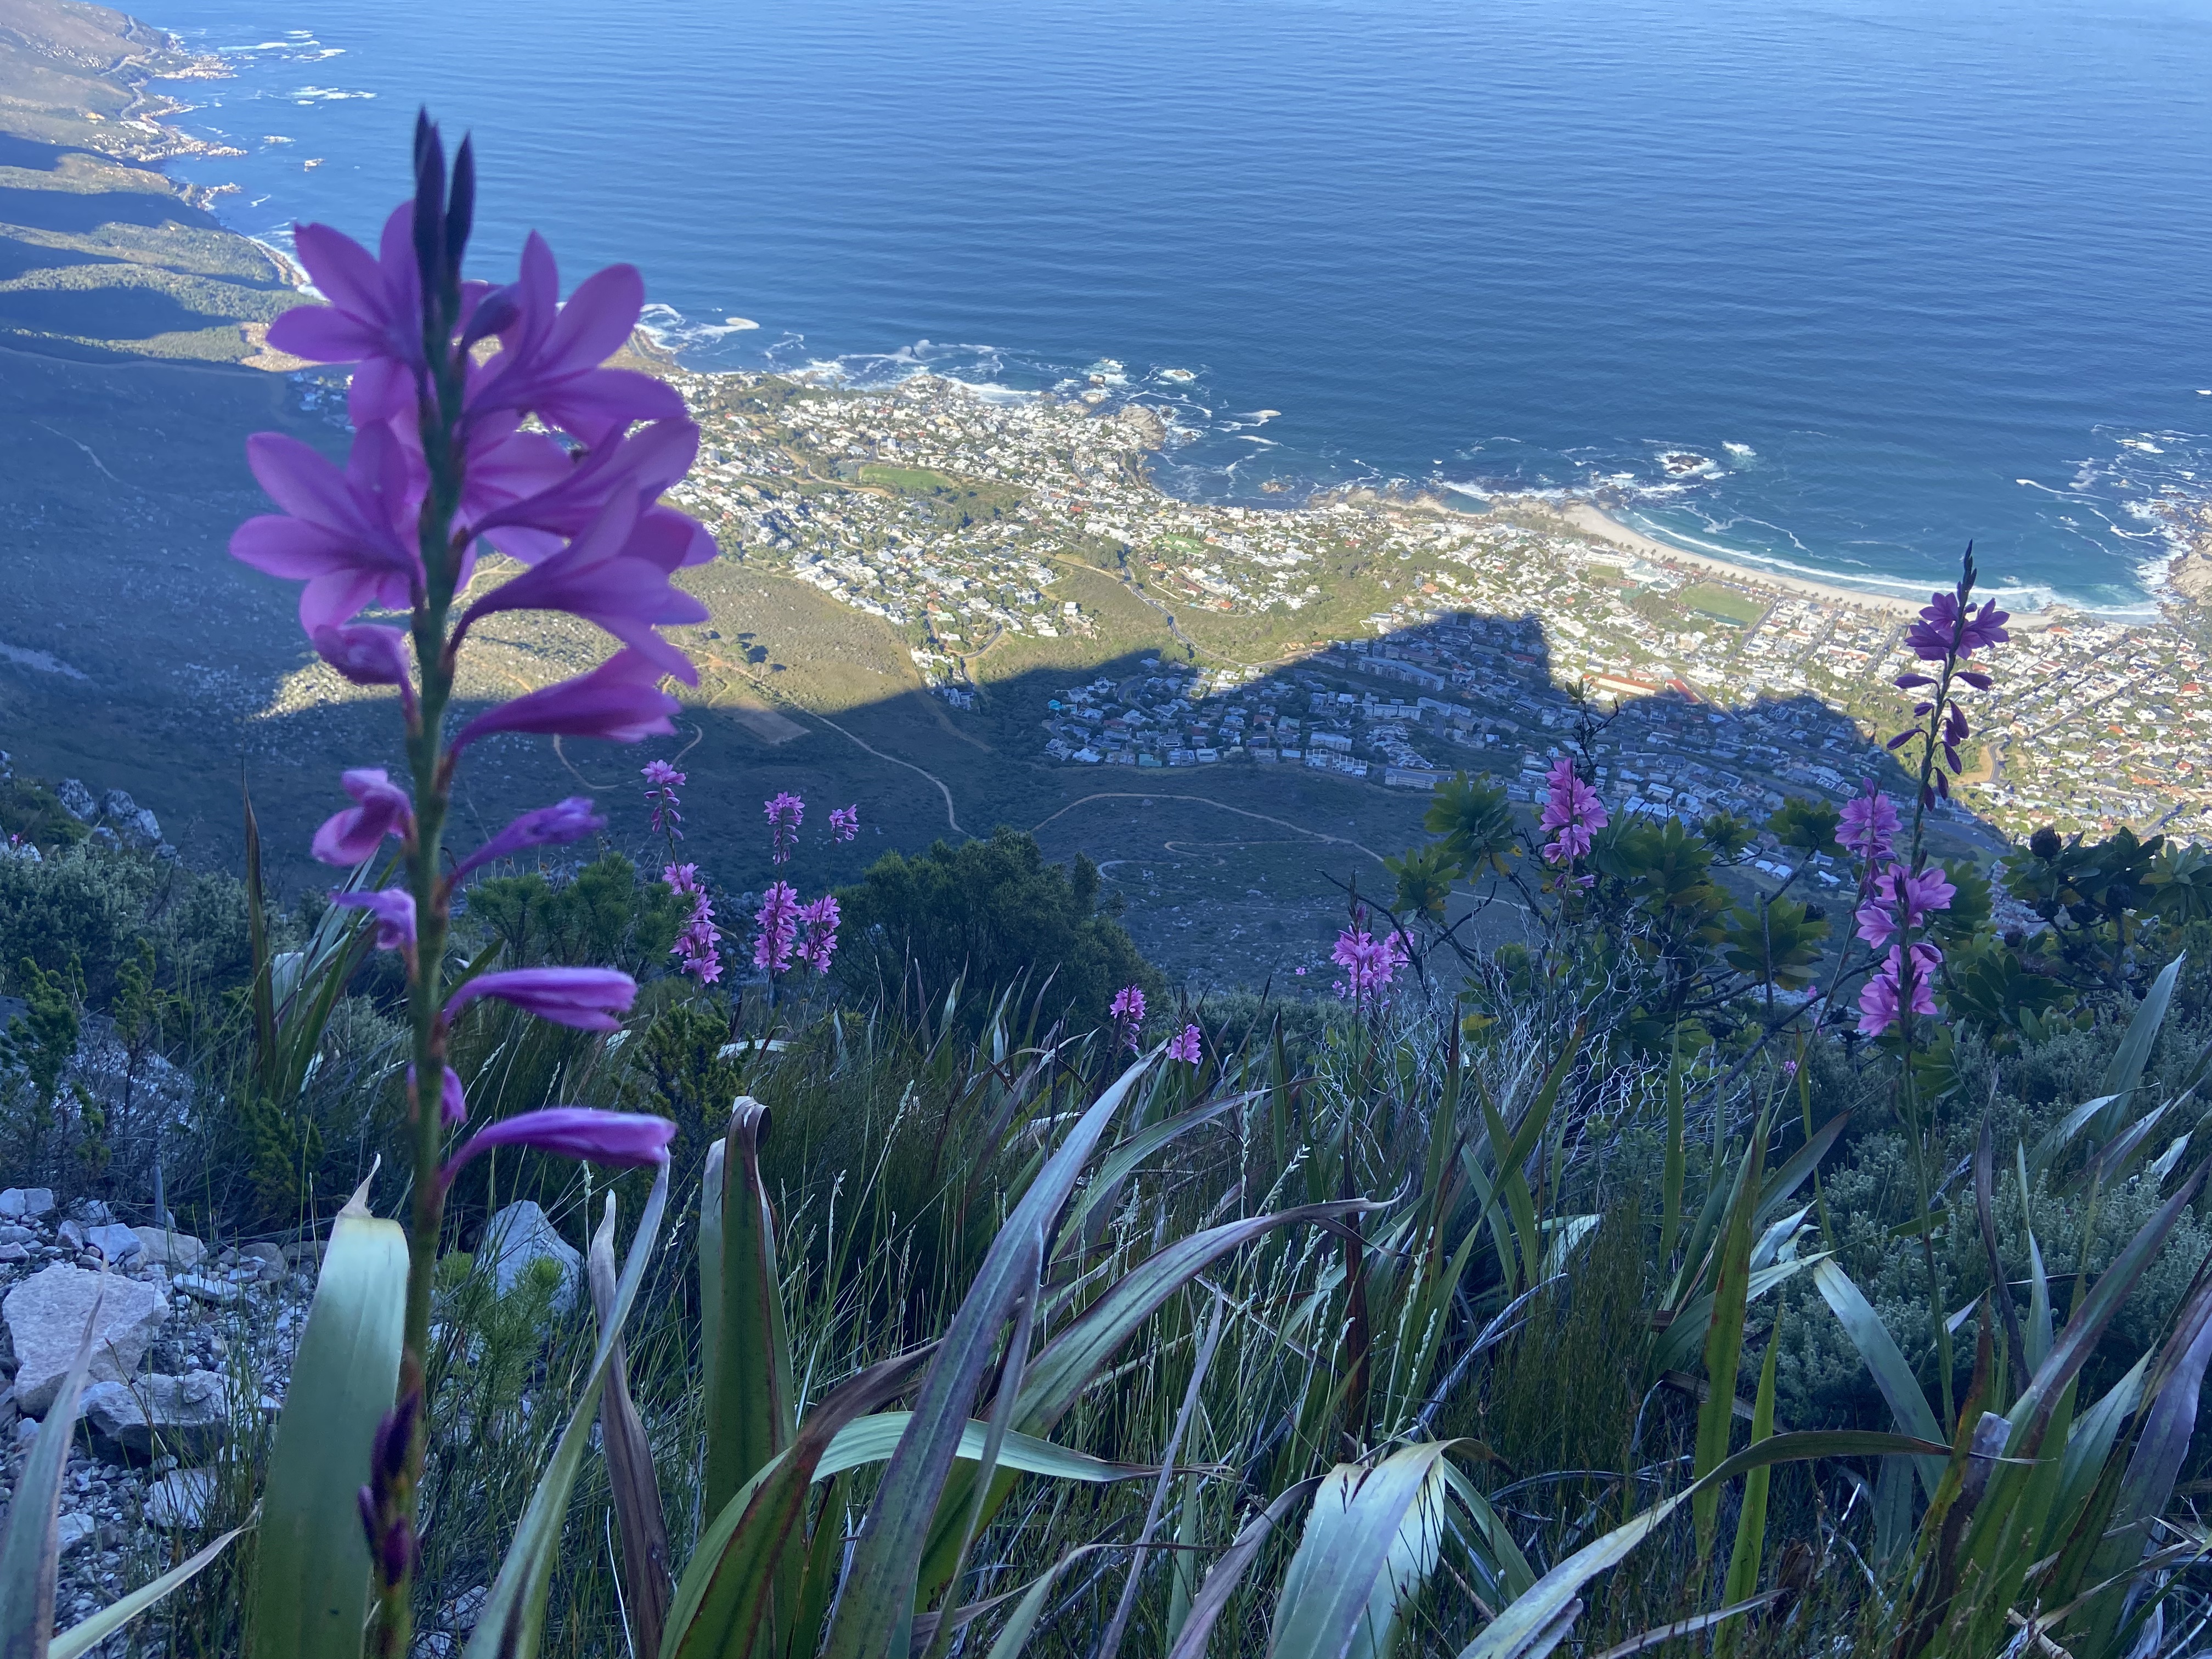
Western Table side view

After an undulating stroll, you encounter another short climbing section. By this point, it’s easy enough compared with what you’ve already tackled. Once you’re over this final obstacle, the hardest part of the route is behind you and the final stretch becomes considerably gentler.
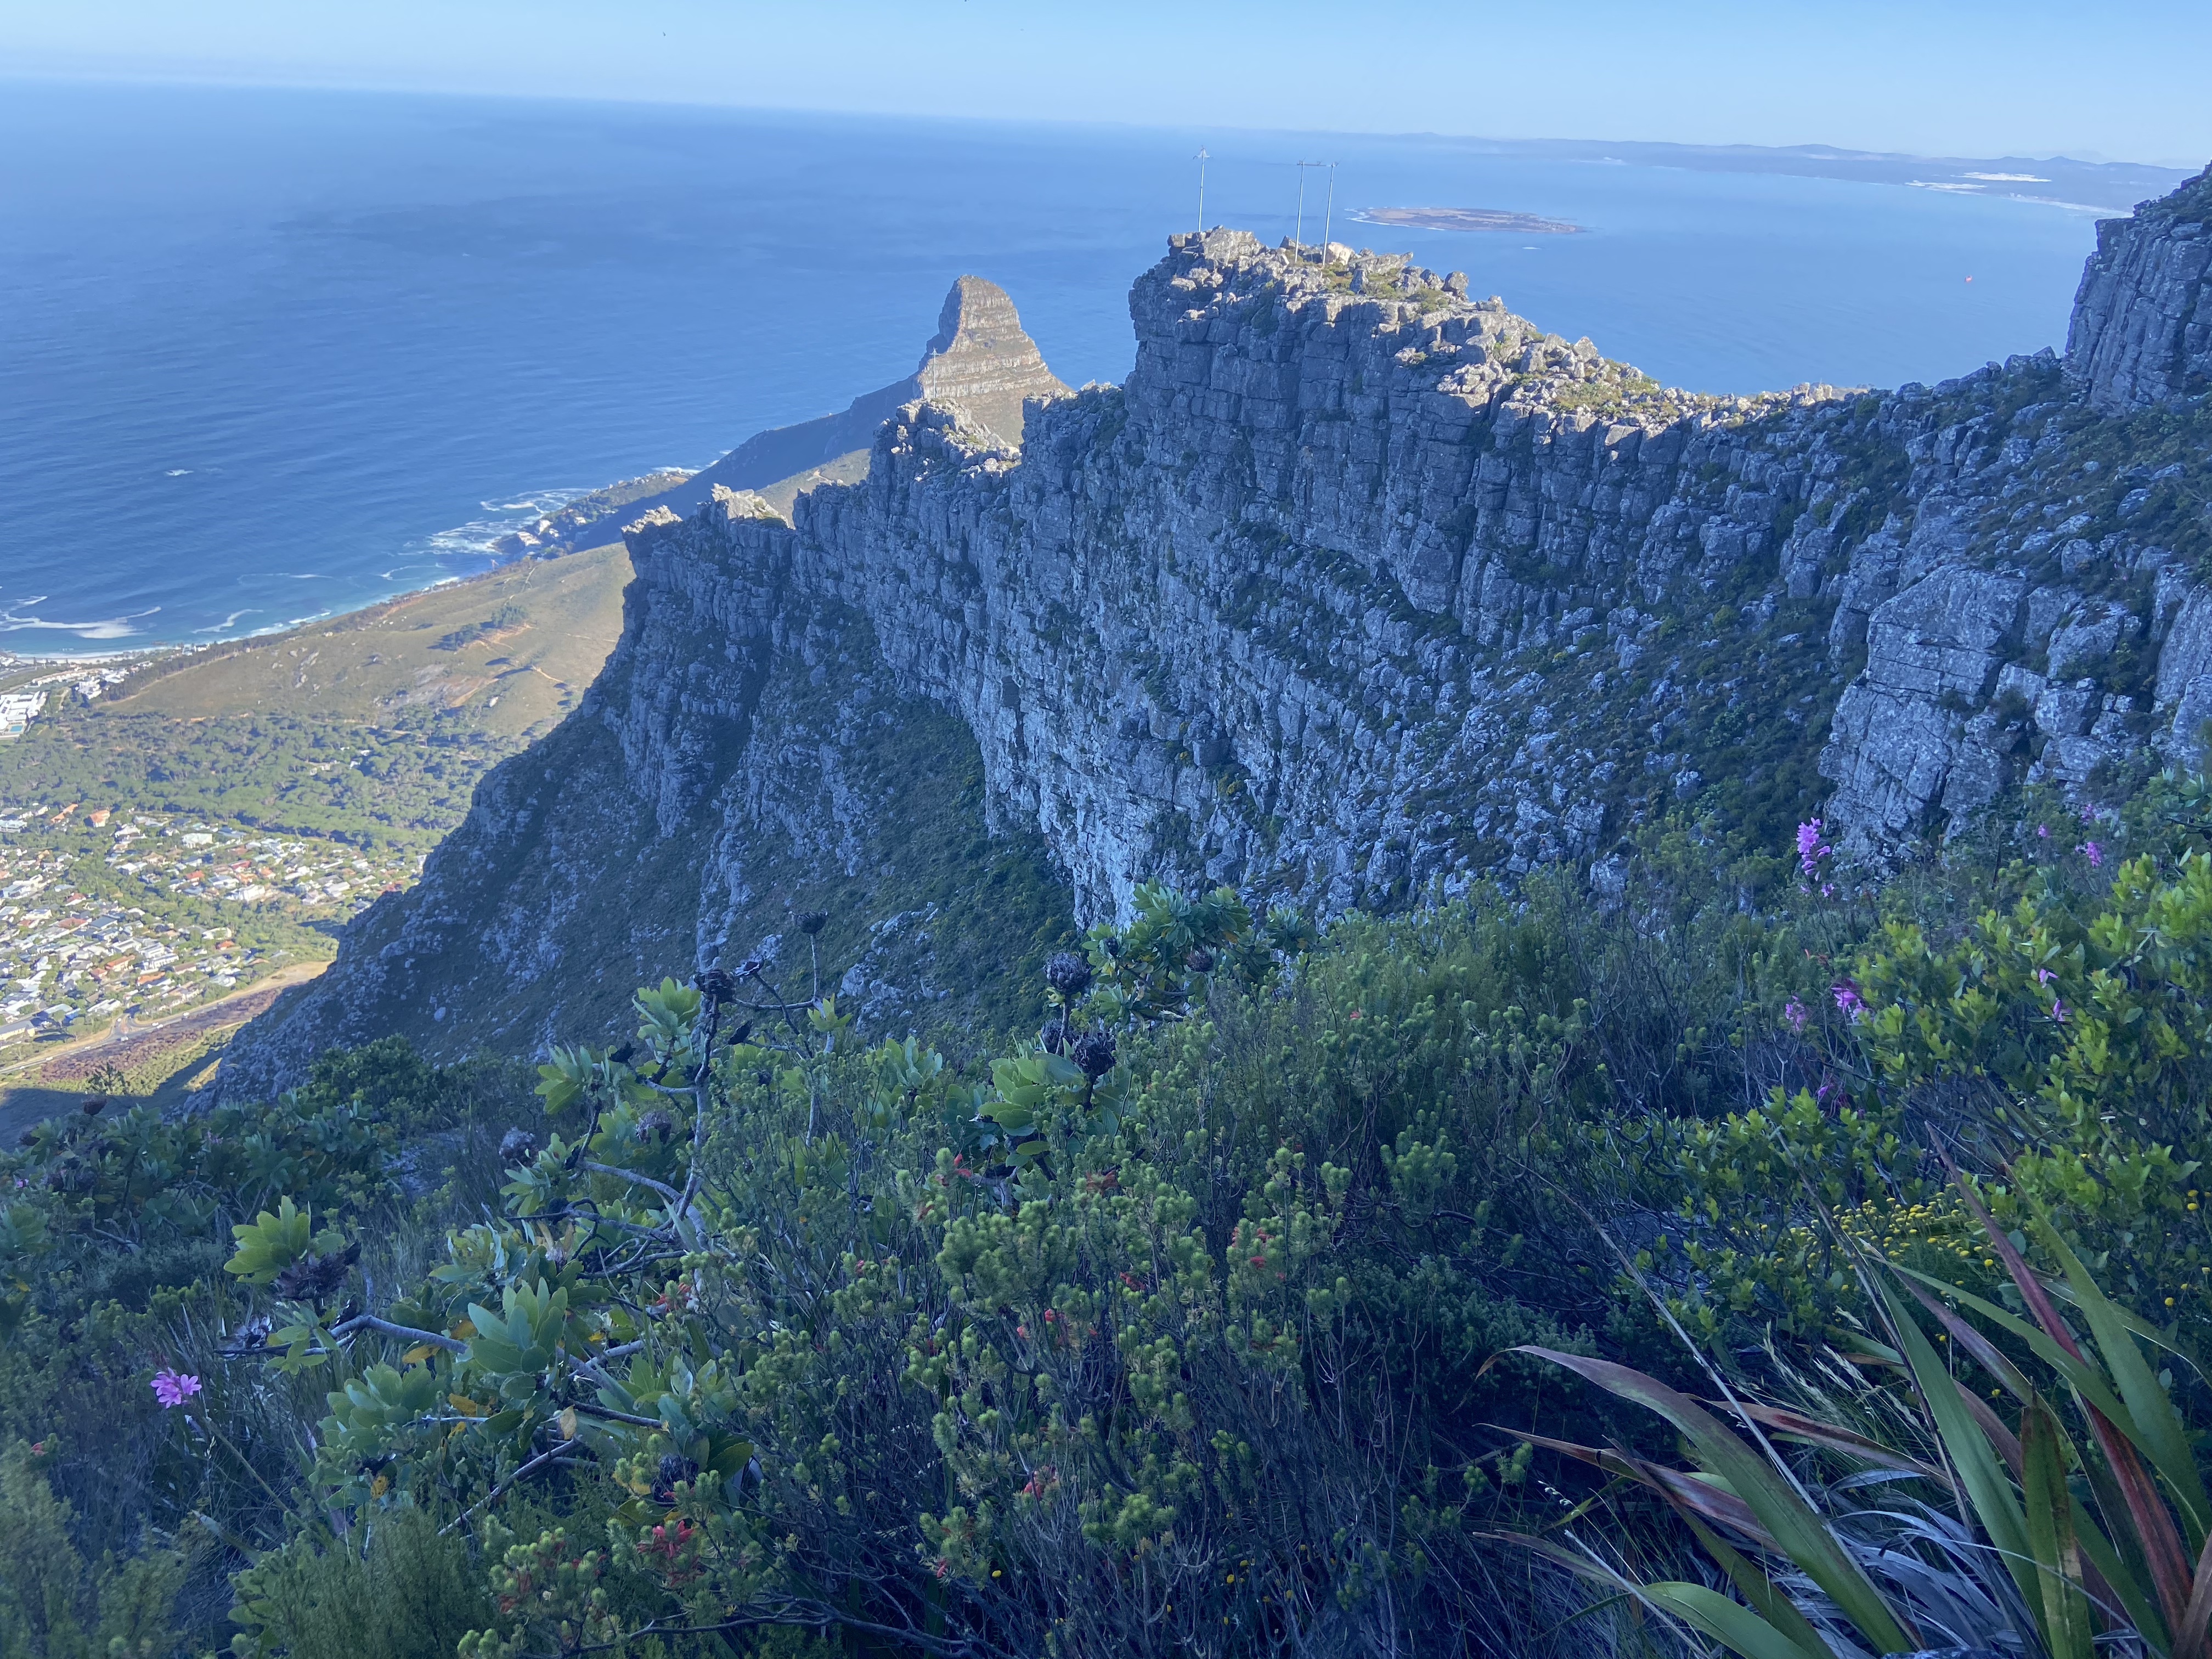
Venster Buttress Ridge

Before long, you begin to see — and hear — the voices of the many tourists who have taken the easy way up by cable car.
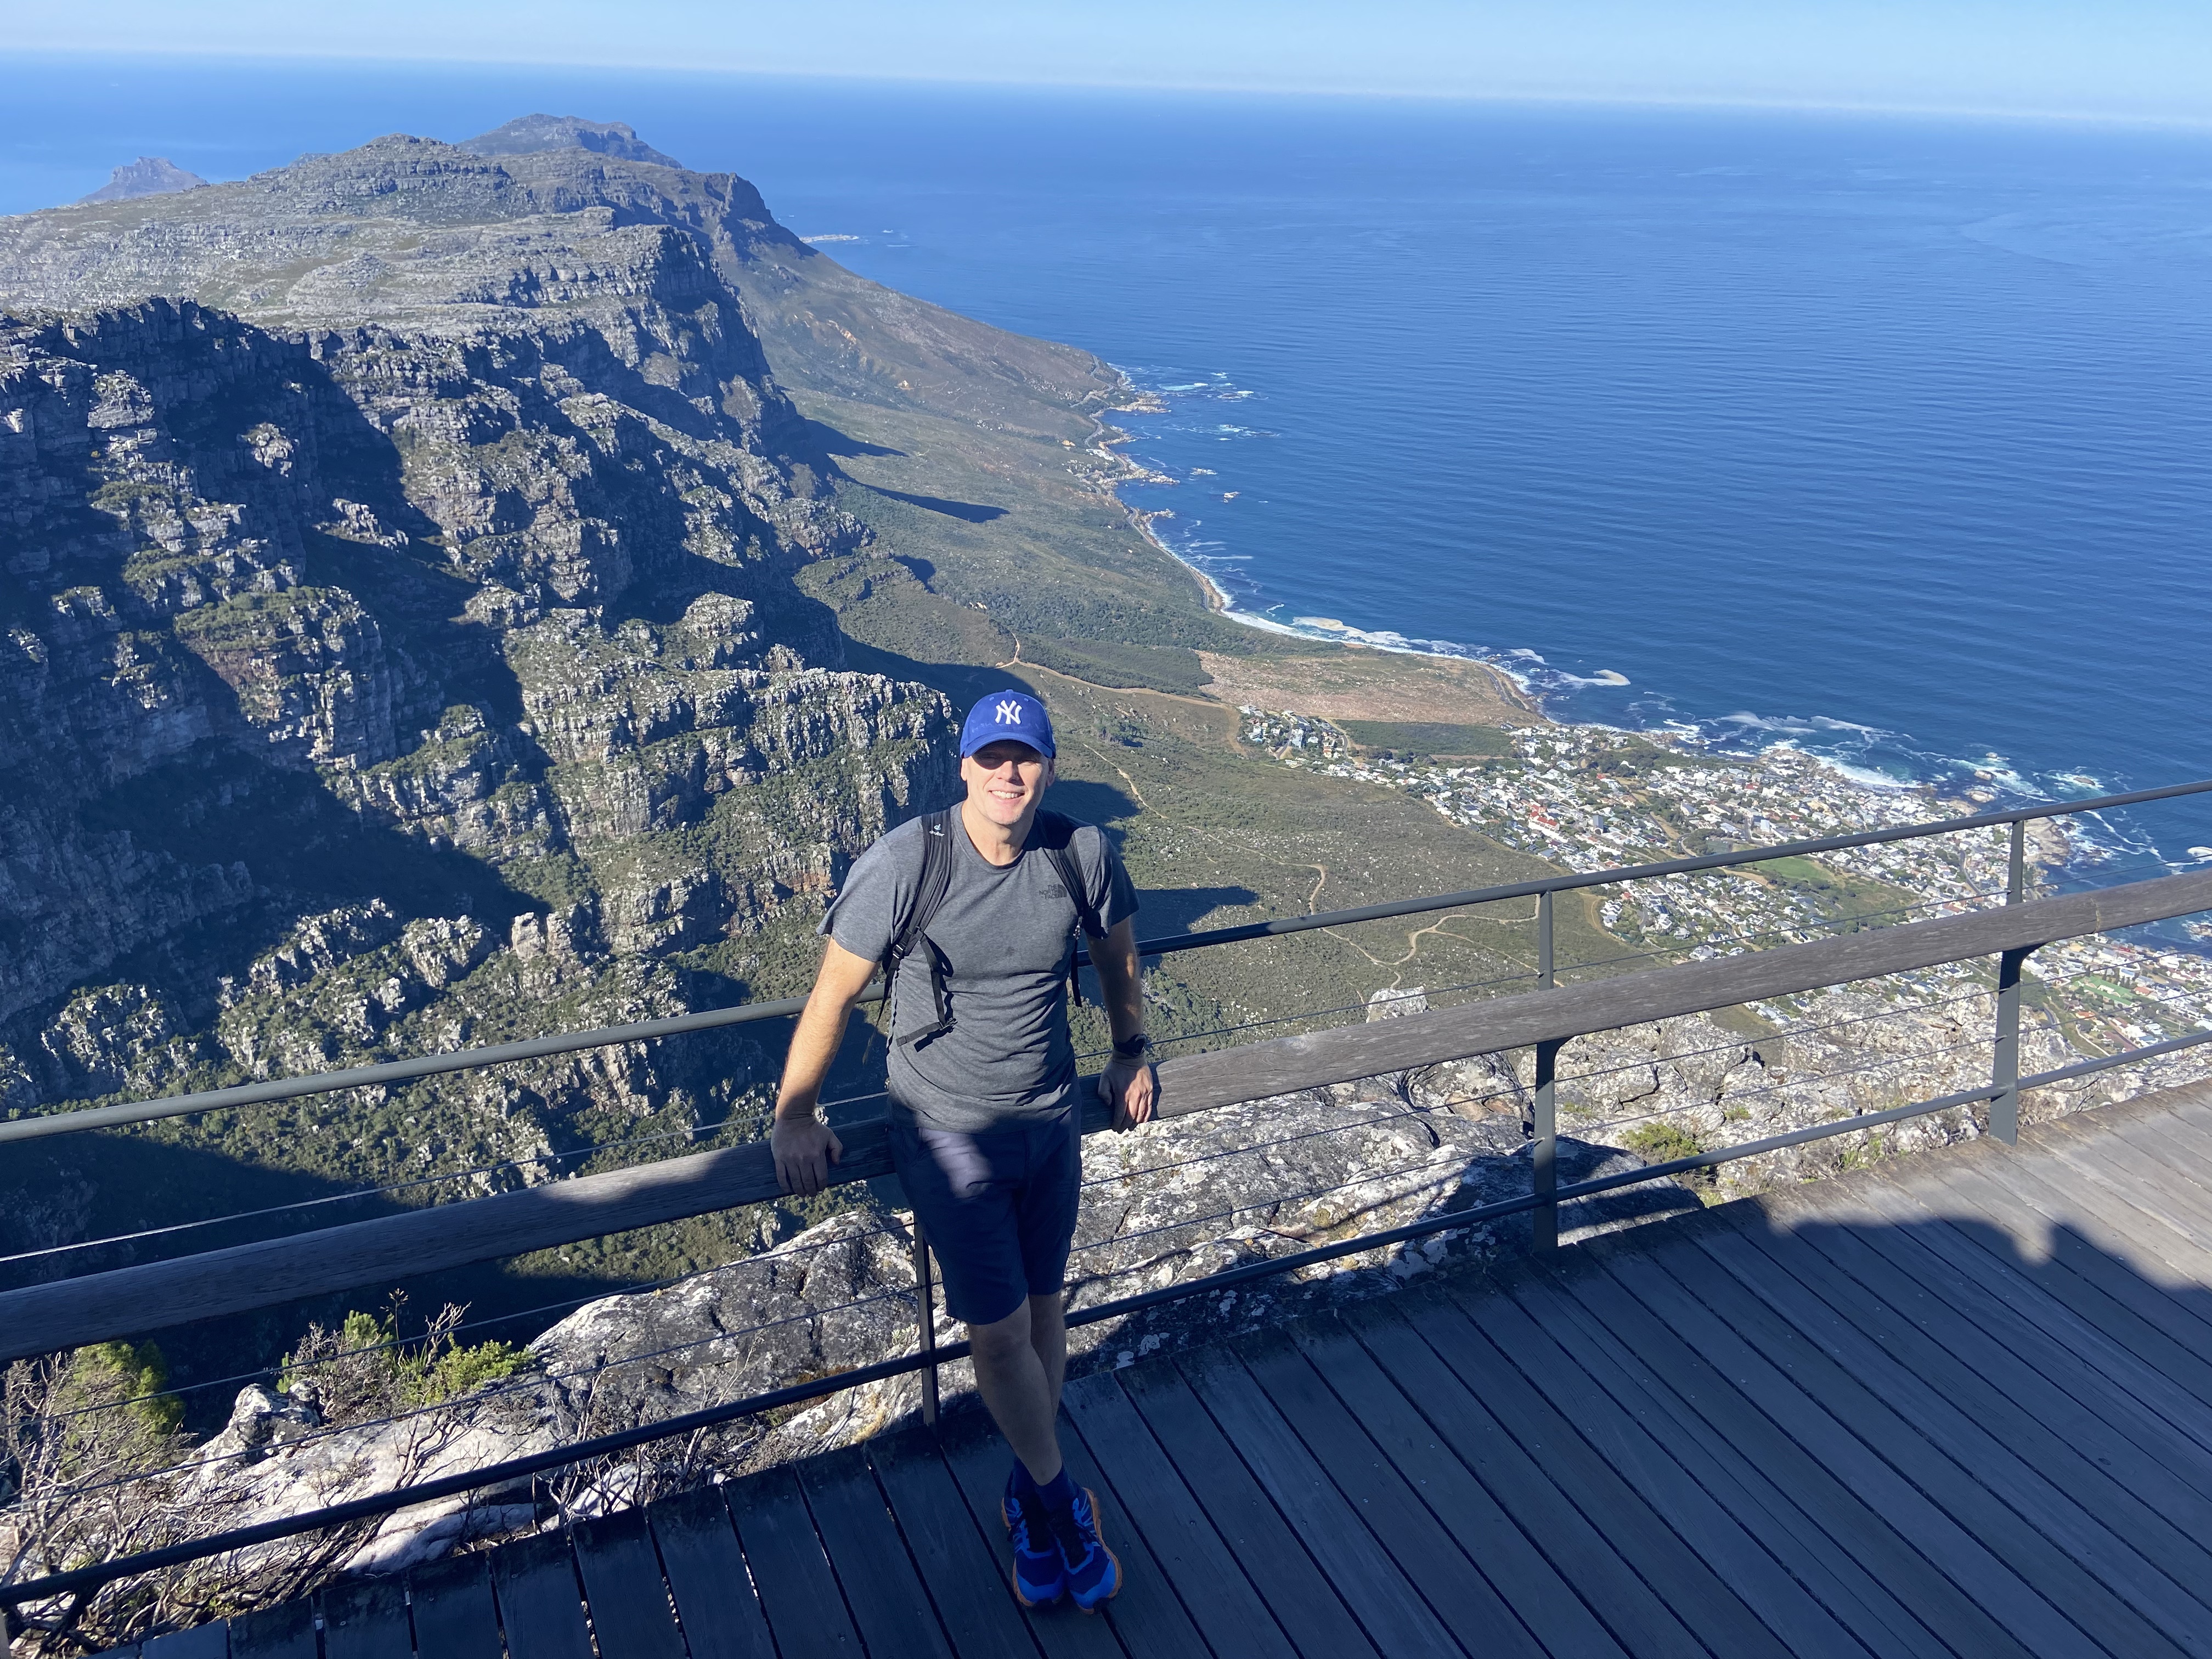
At the top of the route with the Atlantic Seaboard below

The peace and tranquillity of the climb is over, but the views are tremendous.
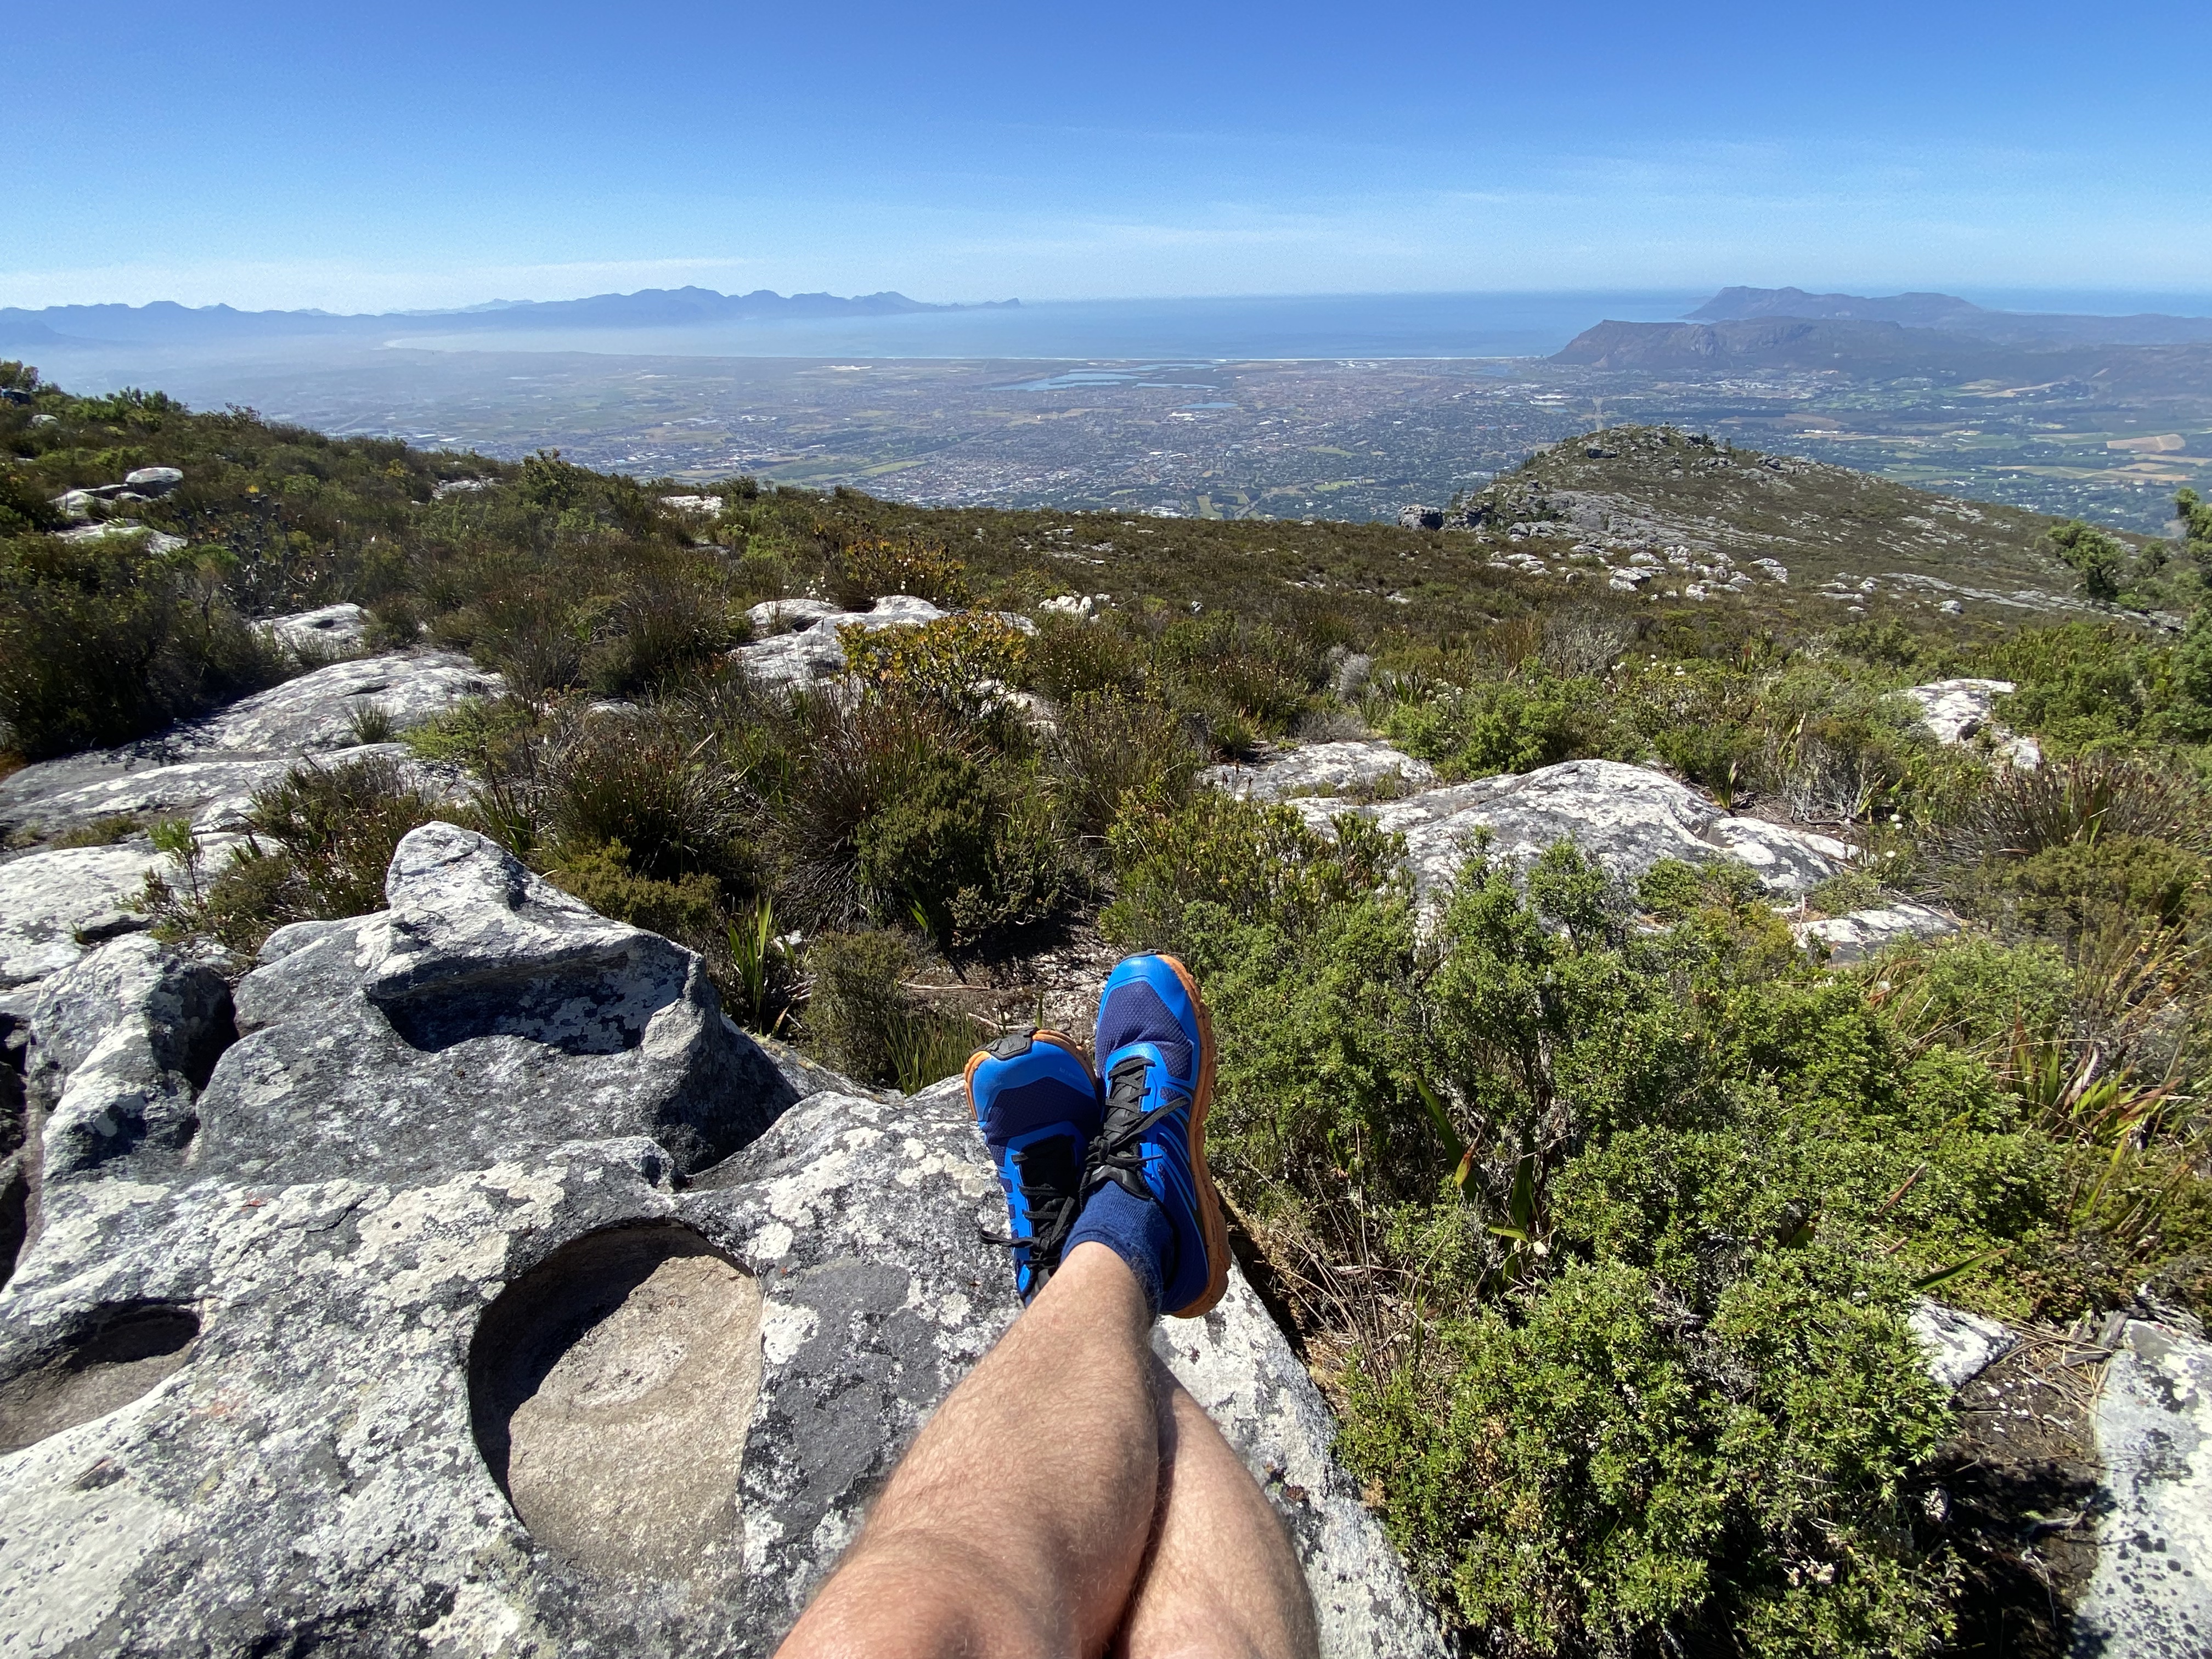
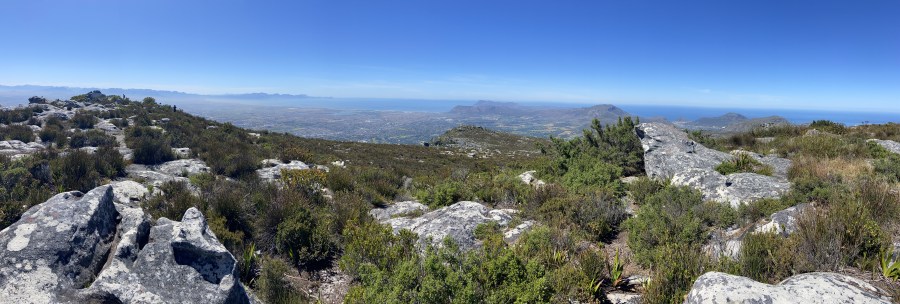
The Western Cape

Cape Town View

Having reached the summit and awarding myself a medal, I decided to take the cable car back down, allowing me to enjoy Table Mountain from a completely different perspective.
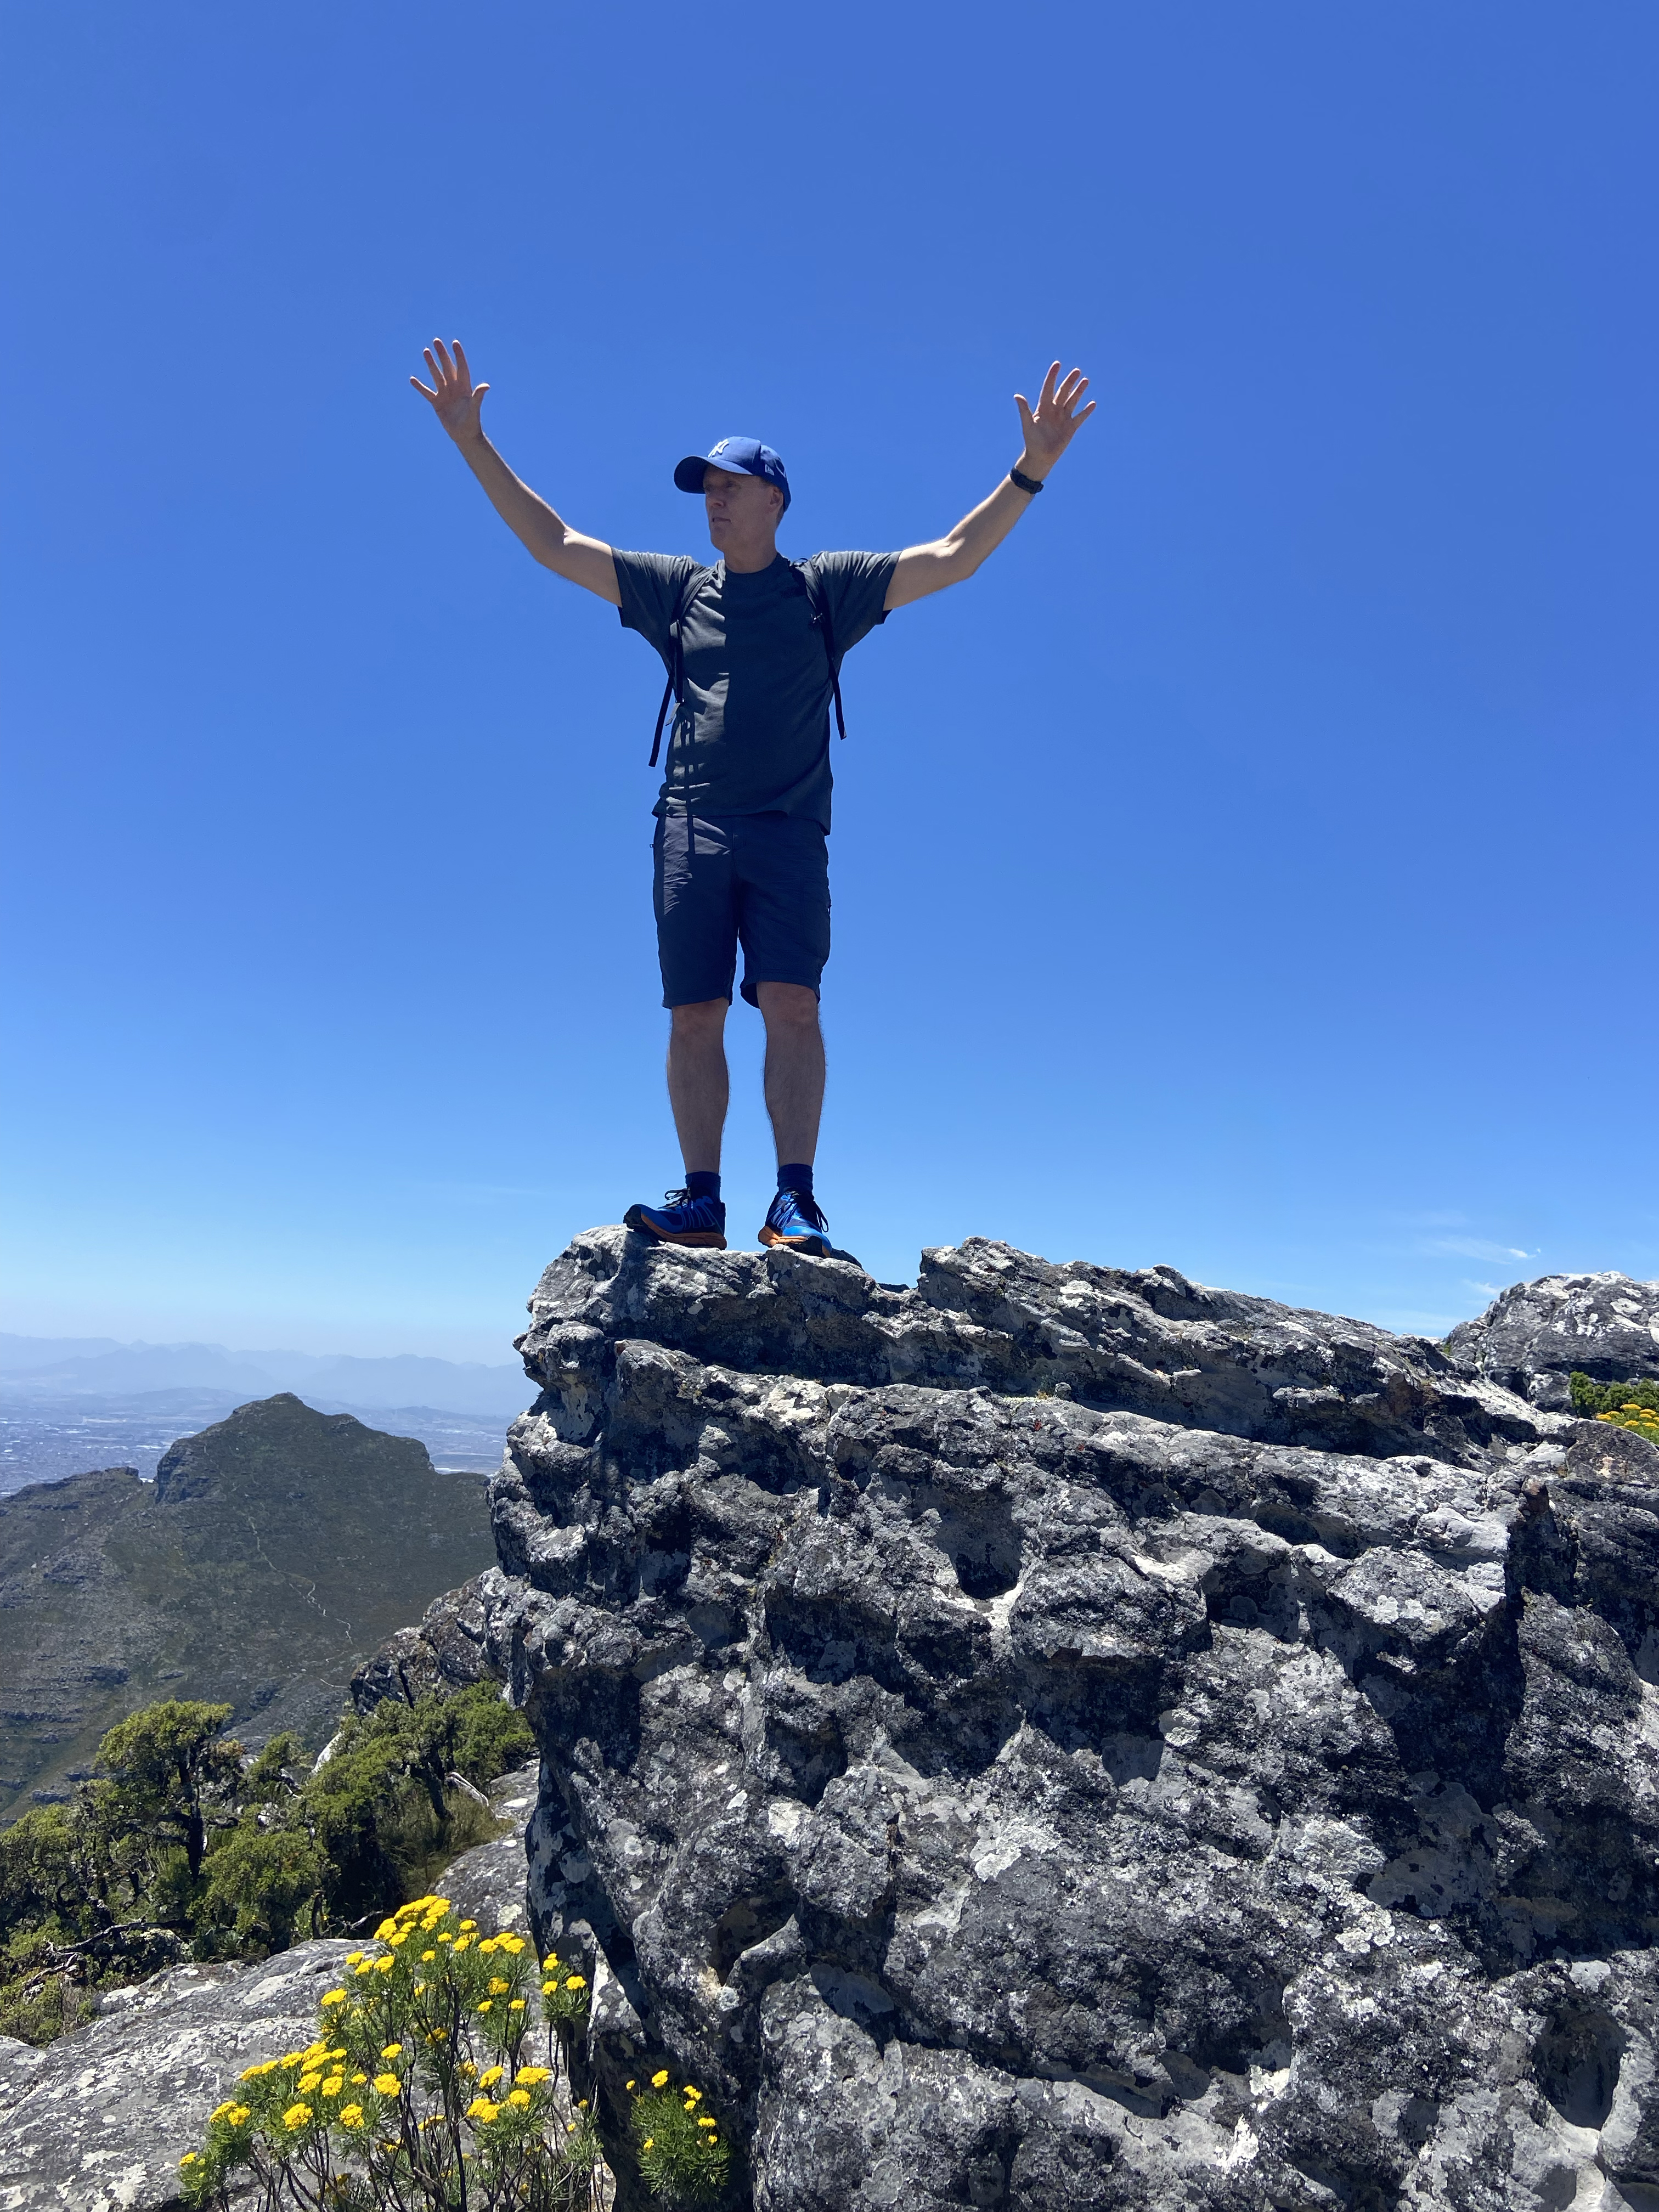
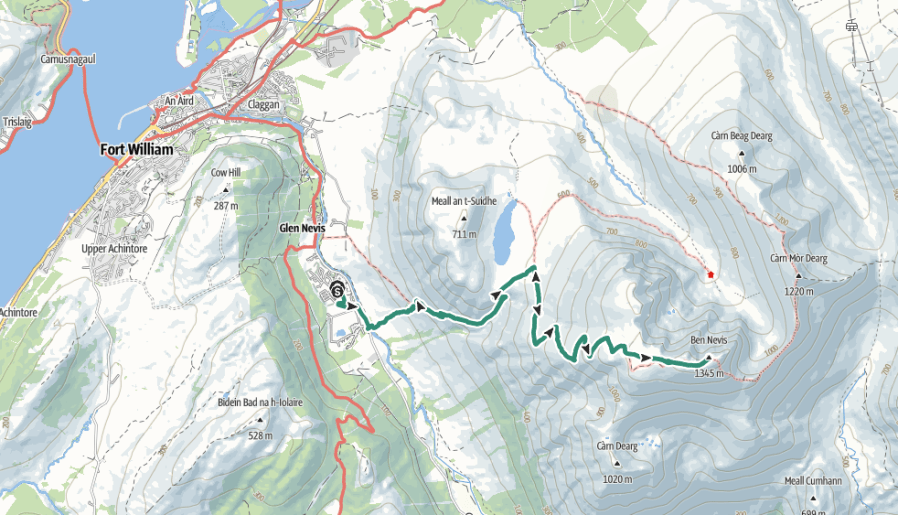
Table Mountain Summit Selfie

Ben Nevis – The CMD That Never Was

Late May bank holiday in the UK. The weather should have been spring-like, edging towards early summer. Not in Scotland!

The plan was to climb Ben Nevis via the CMD Arête, a classic Grade 1 scramble along an exposed and airy ridge. But the fickle weather gods had other ideas.

It was pretty obvious upon arriving at the campsite in Glen Nevis that the weather in Scotland was months behind that in southern England. The summits of several Munros were still covered in the white stuff. A different plan would have to be formulated.

With the CMD still firmly in winter conditions (and no winter climbing gear packed), another ascent would have to do. The obvious, though far less inspiring, choice was the normal route: the Mountain Track (also known as the Tourist Track or Pony Track). It is a 10.5-mile (17 km) round trip with 1,352 metres of ascent, starting from the Ben Nevis Visitor Centre near Fort William.

The walk usually takes between seven and nine hours, but we were hoping to beat that.

We opted to start from the Glen Nevis Campsite, bypassing the Visitor Centre and instead tackling the steep opening section of the main Ben Nevis path—locally nicknamed “Heart Attack Hill”. From there, we’d climb the stone zigzags on the flank of Meall an t-Suidhe, eventually reaching the scenic resting spot at Halfway Lochan. Beyond the lochan, we’d cross the Red Burn, ascend the steep, rocky zigzags onto the upper stony plateau, and make the final push across broken rock to the summit cairn and the old observatory ruins.

Heart Attack Hill nearly lived up to its name! Thankfully, the gradient soon eased, although the walking became rather monotonous.

At the lochan, the weather changed in an instant. Lashing rain and strong winds swept in, and waterproofs were hastily donned.

We paused briefly at the first patch of snow we encountered just beyond, our only real stop on the entire ascent.

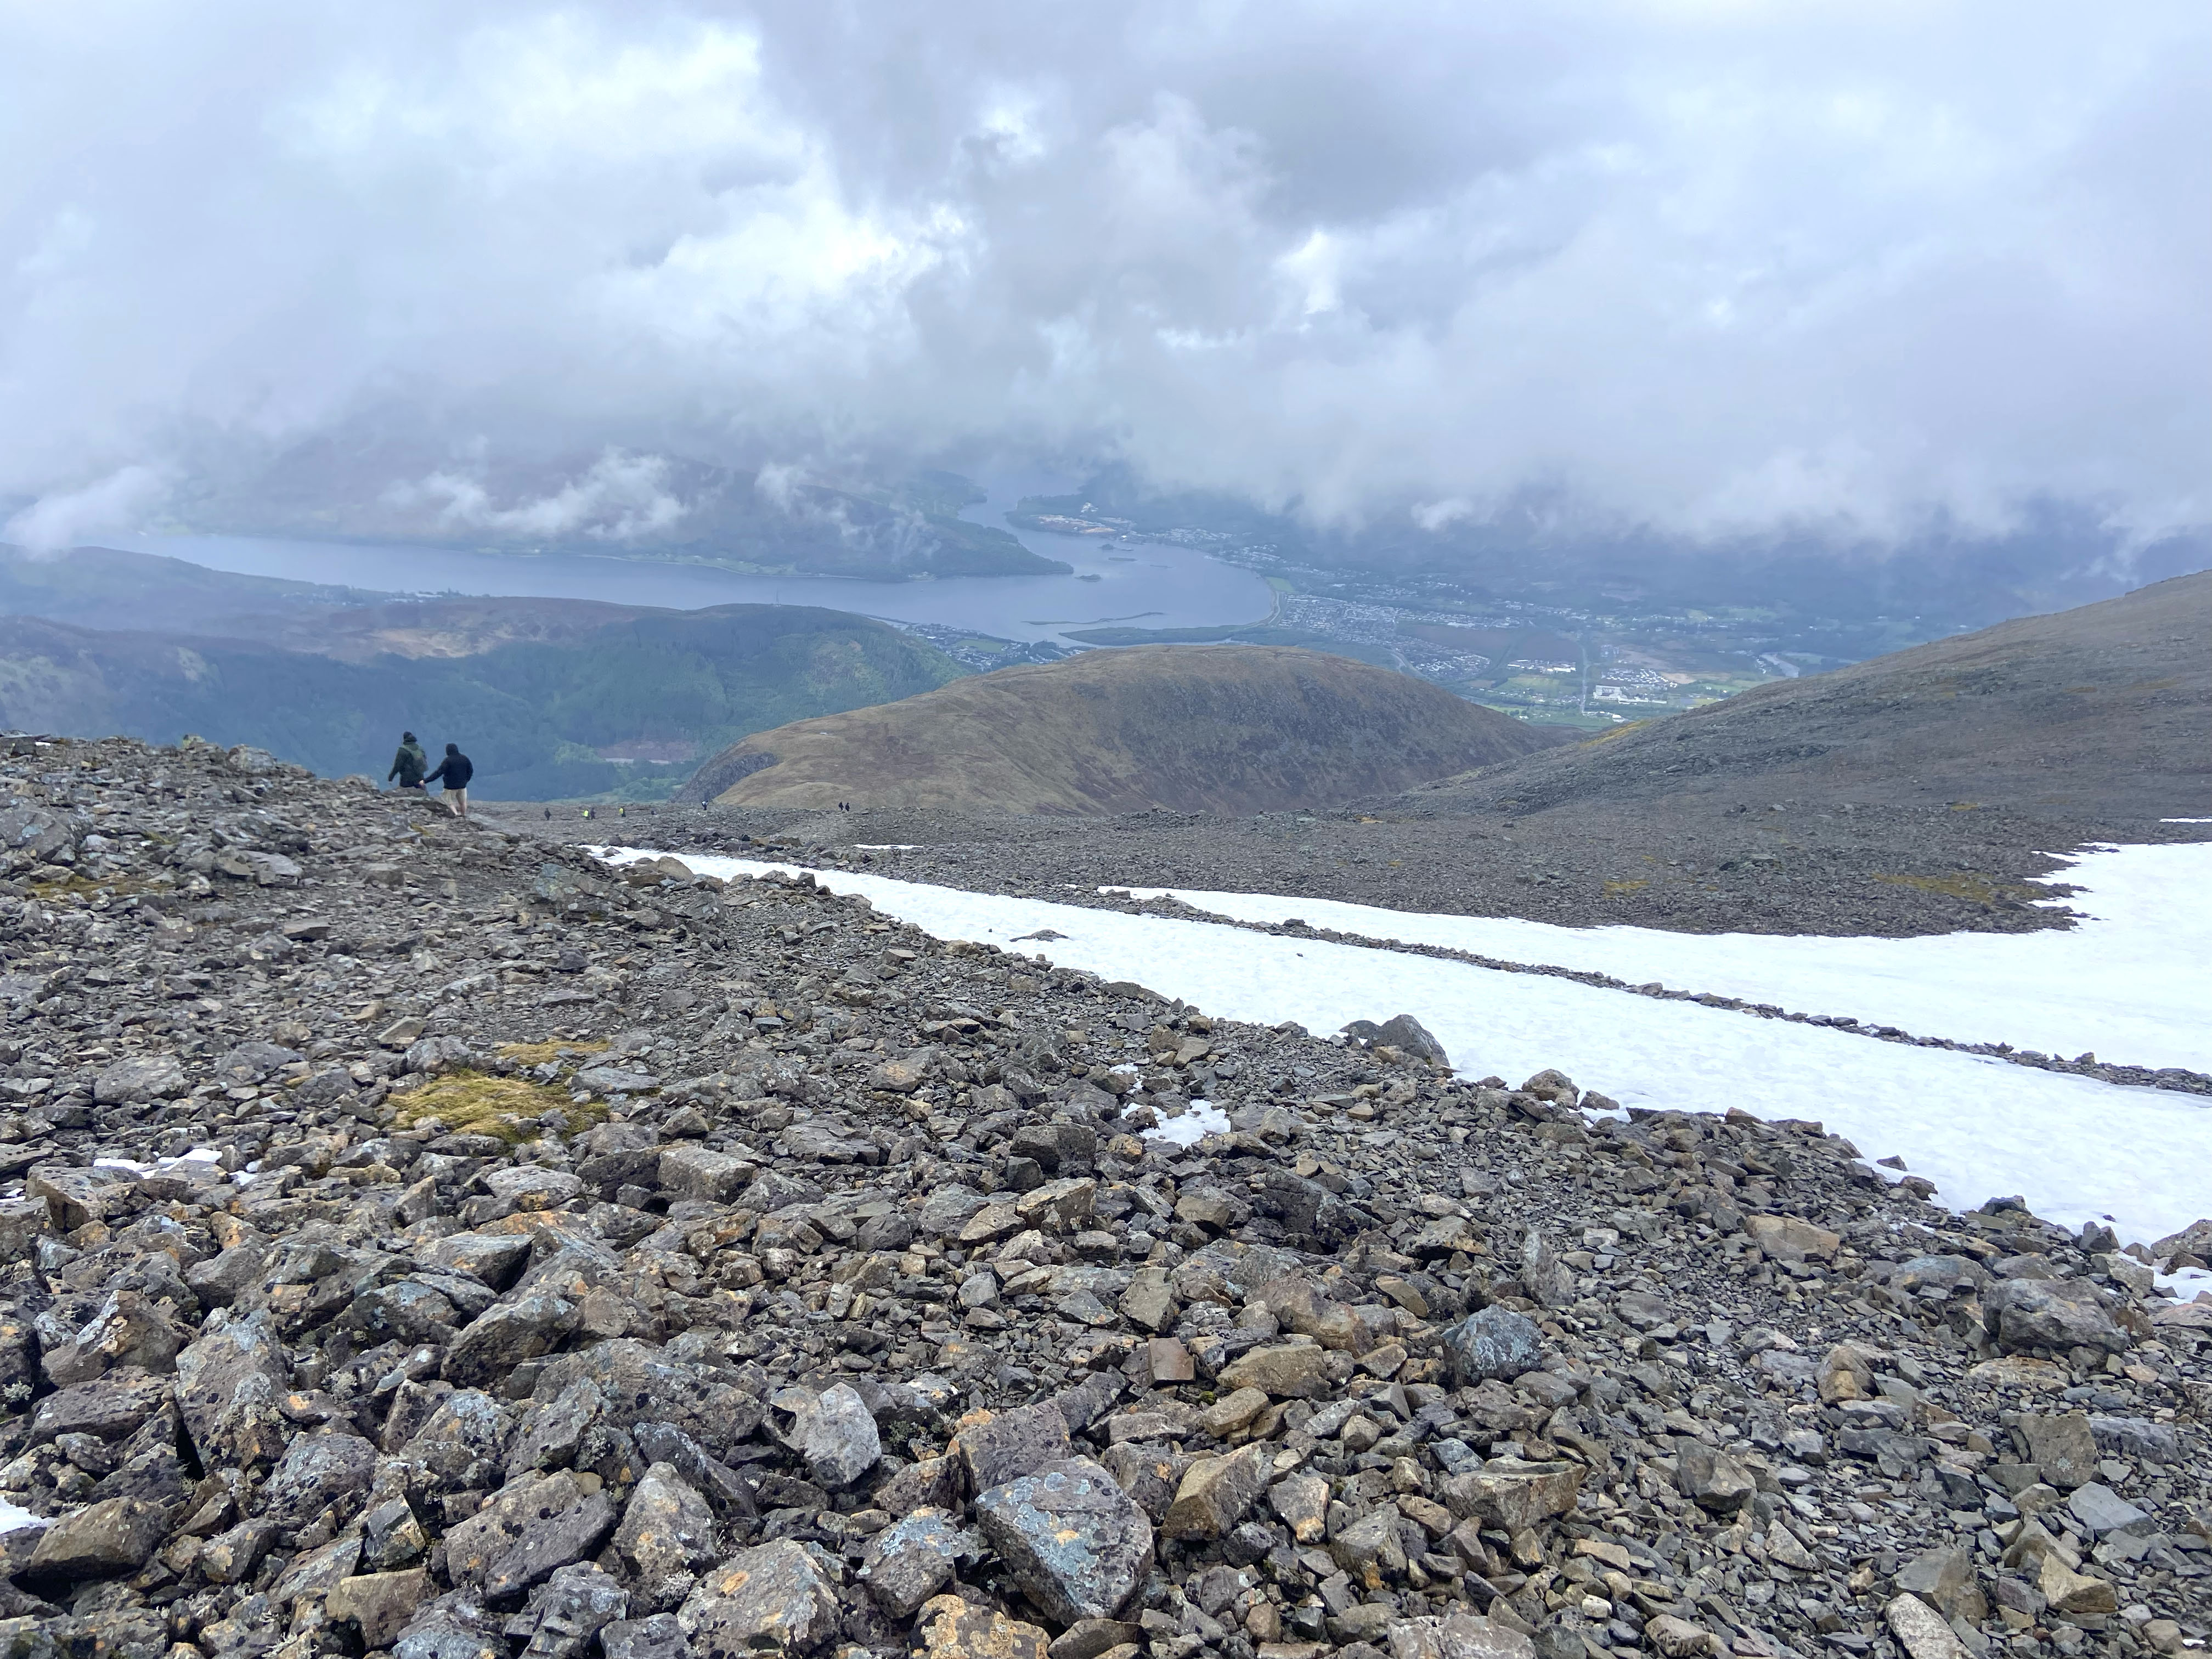
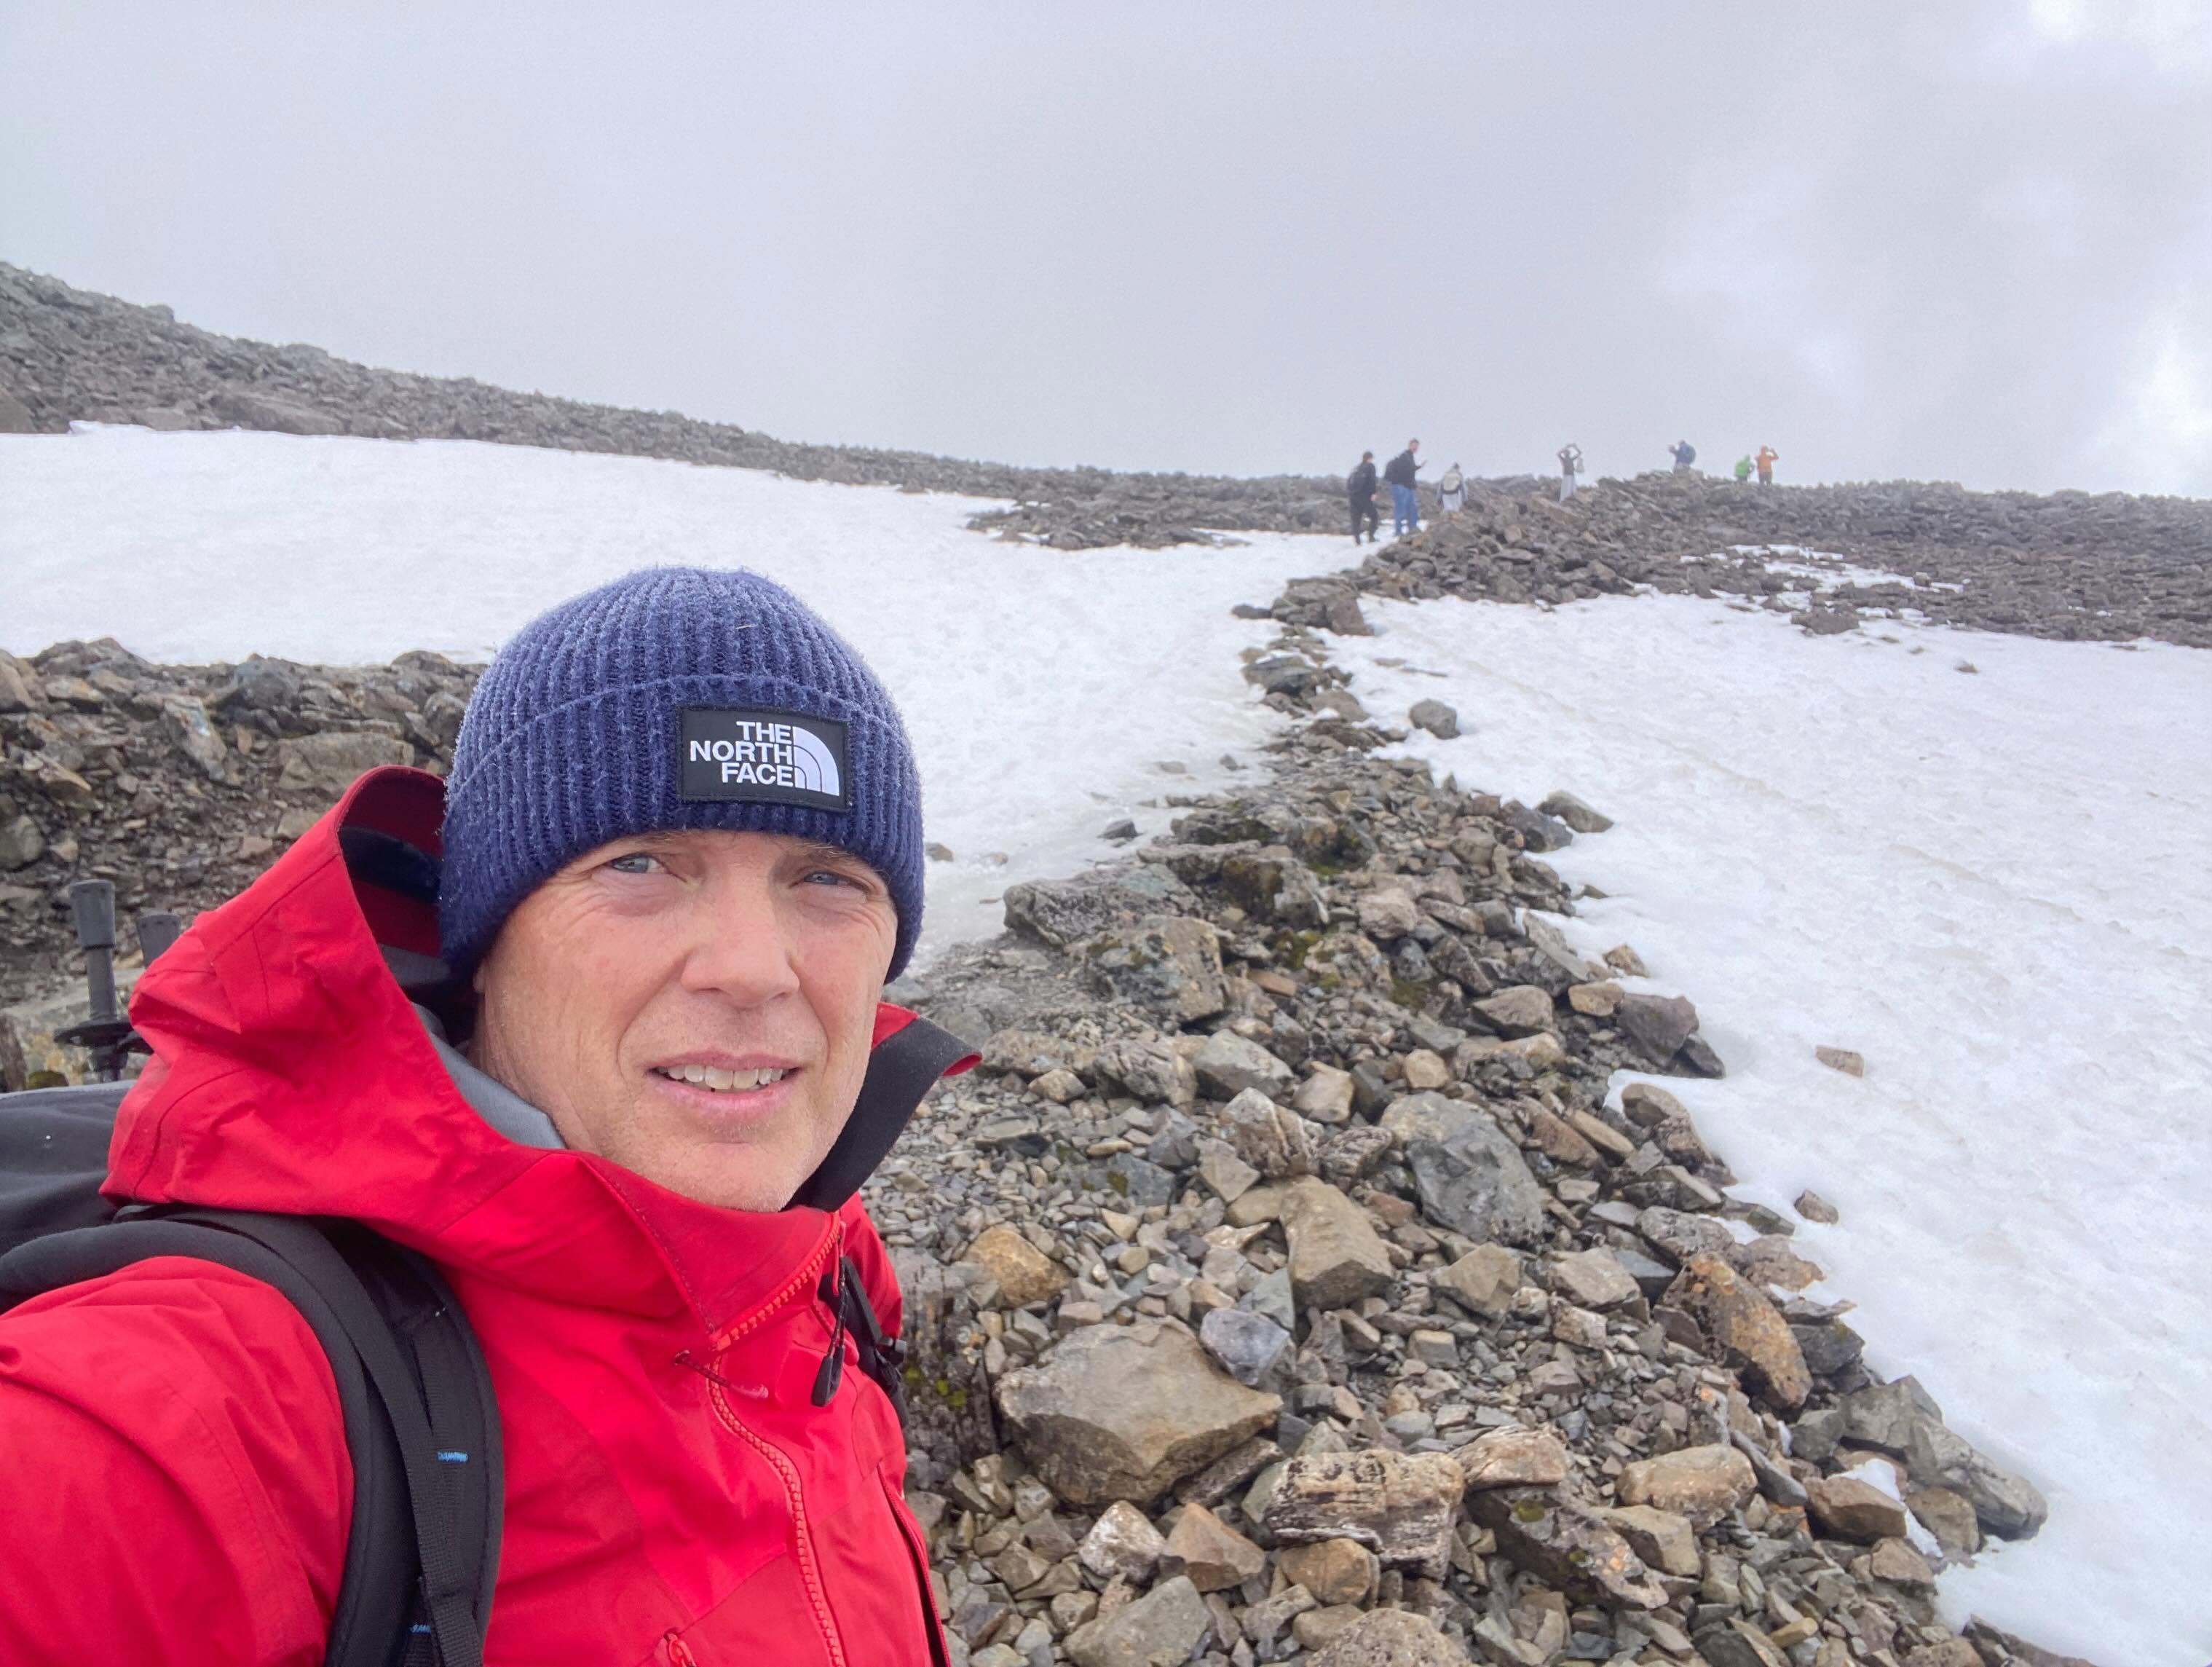
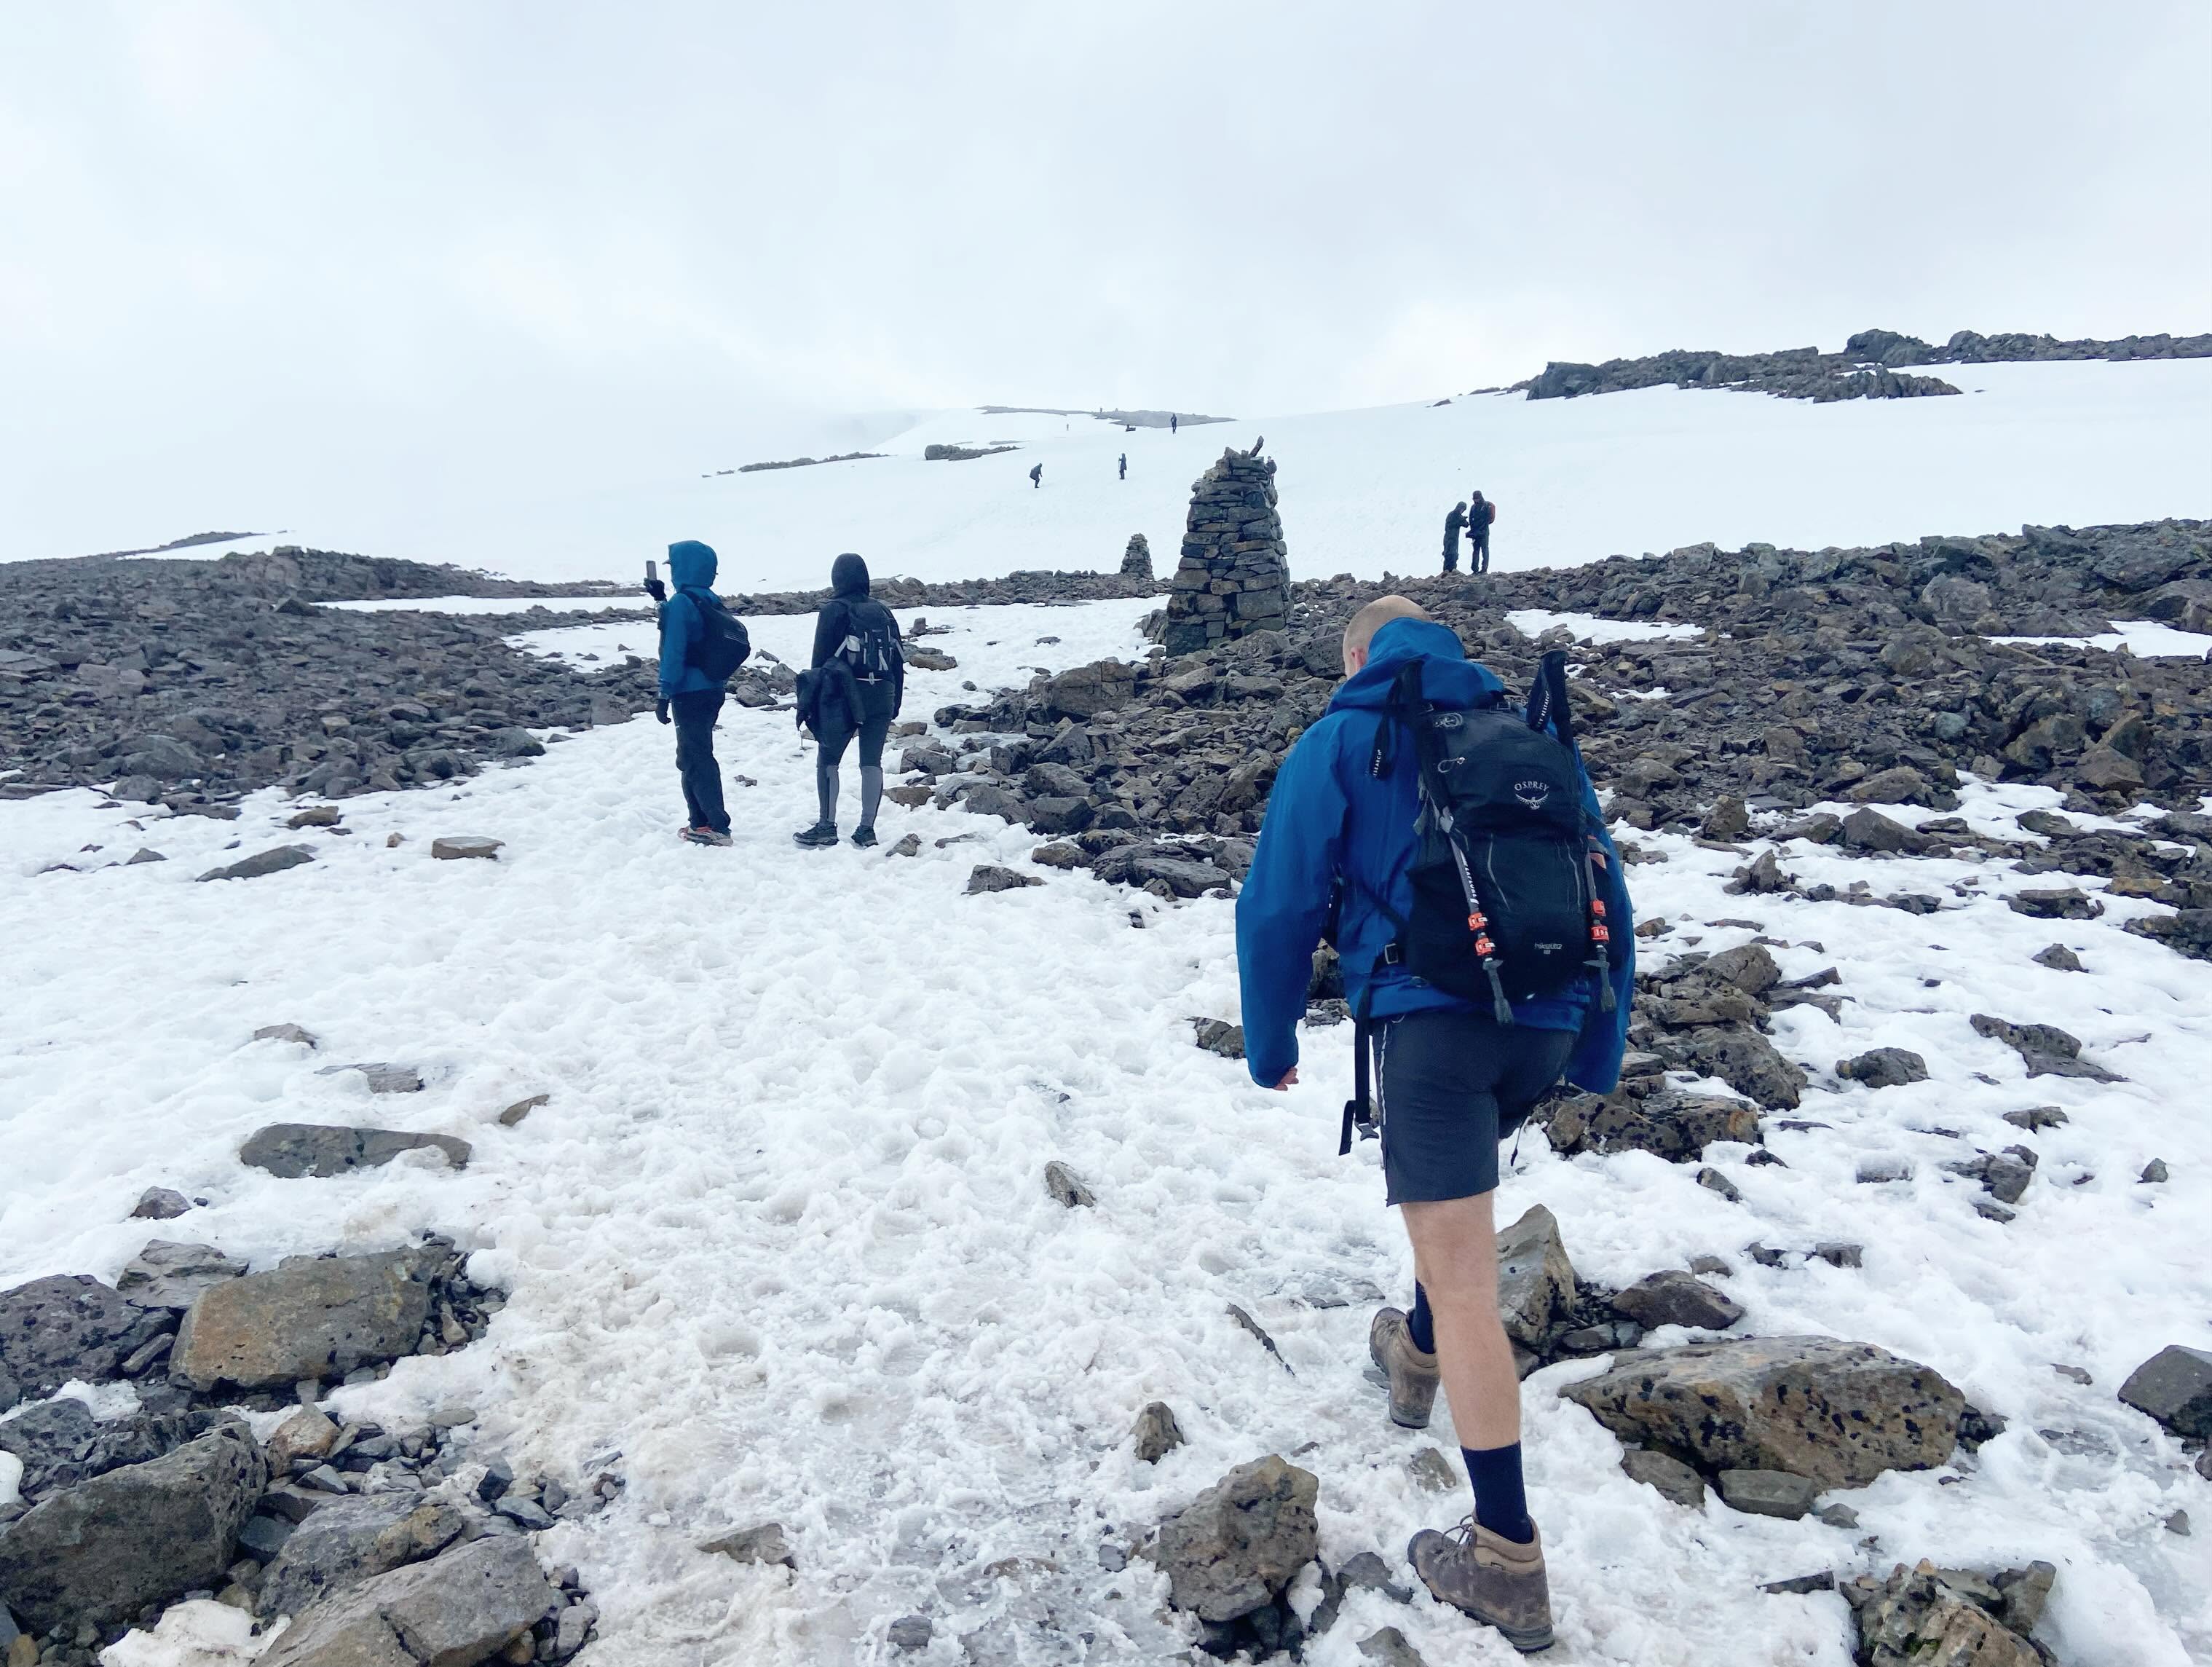
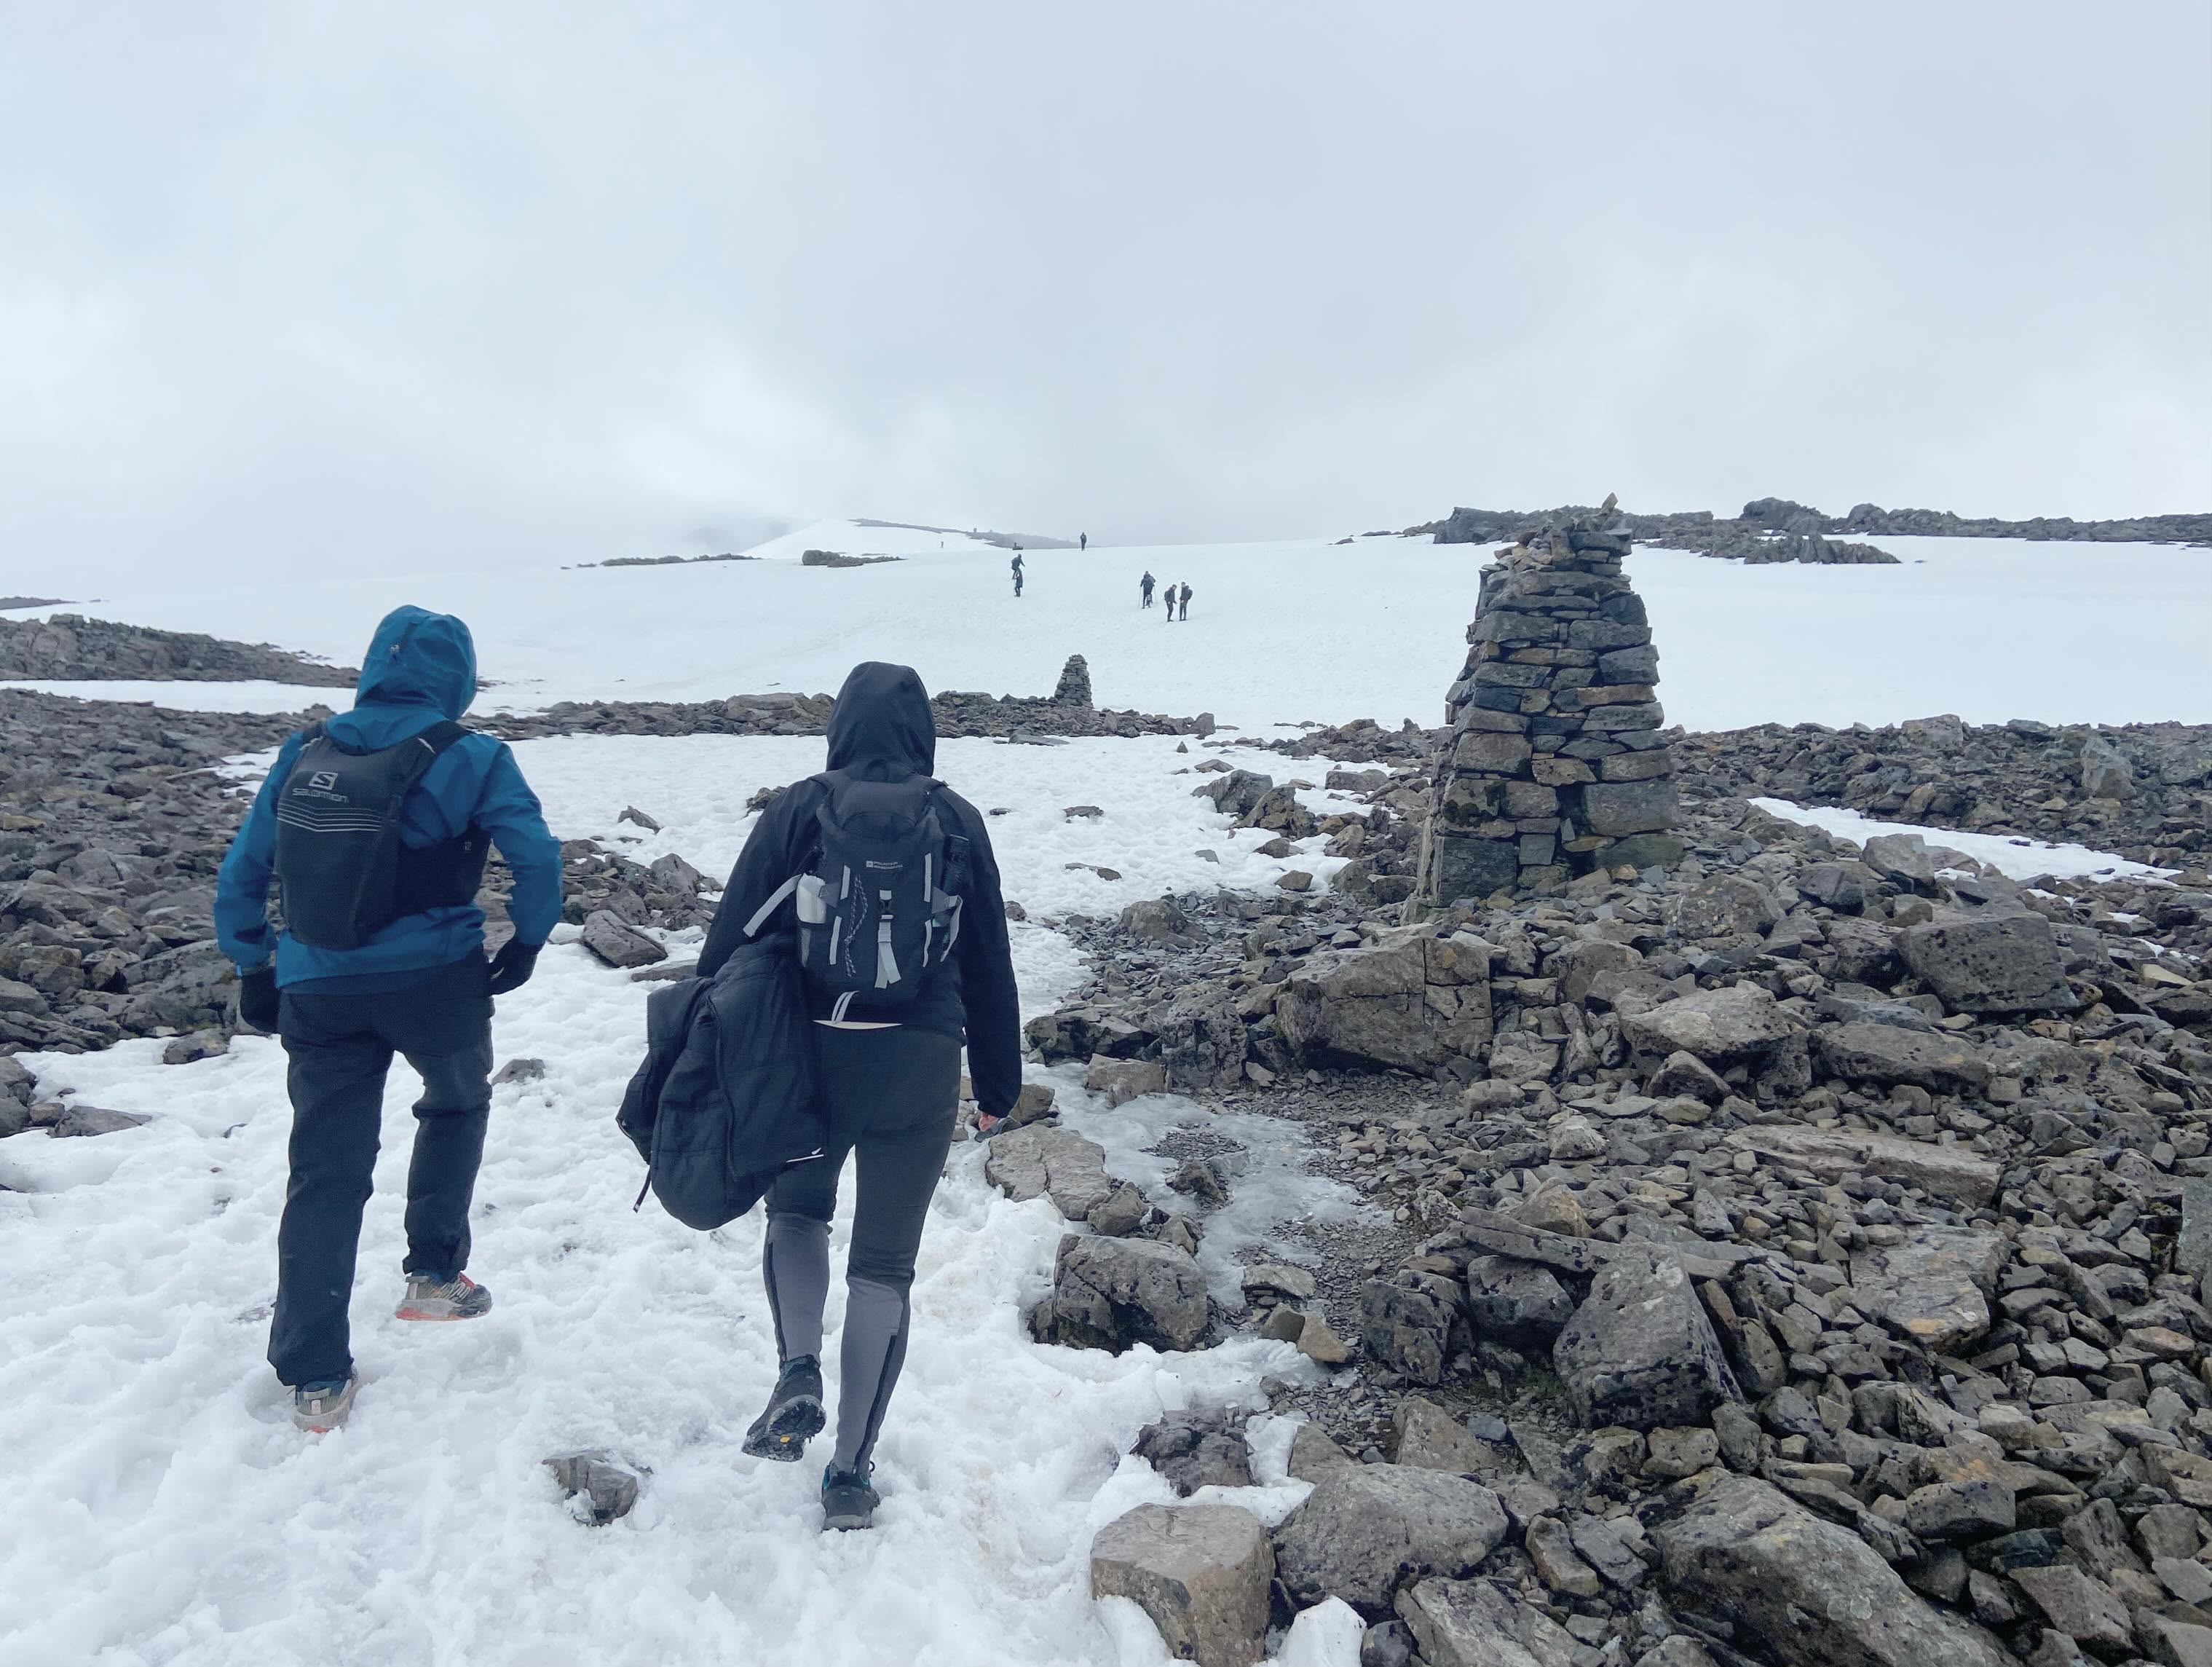
From the zigzags onwards, the character of the climb changed completely as deep snow covered large sections of the mountain.

The weather continued to deteriorate, fatigue began to creep in, and I found myself wishing I’d packed my microspikes.

The final pull onto the summit plateau was a mixture of frozen footholes, slippery ice patches and bare rock.

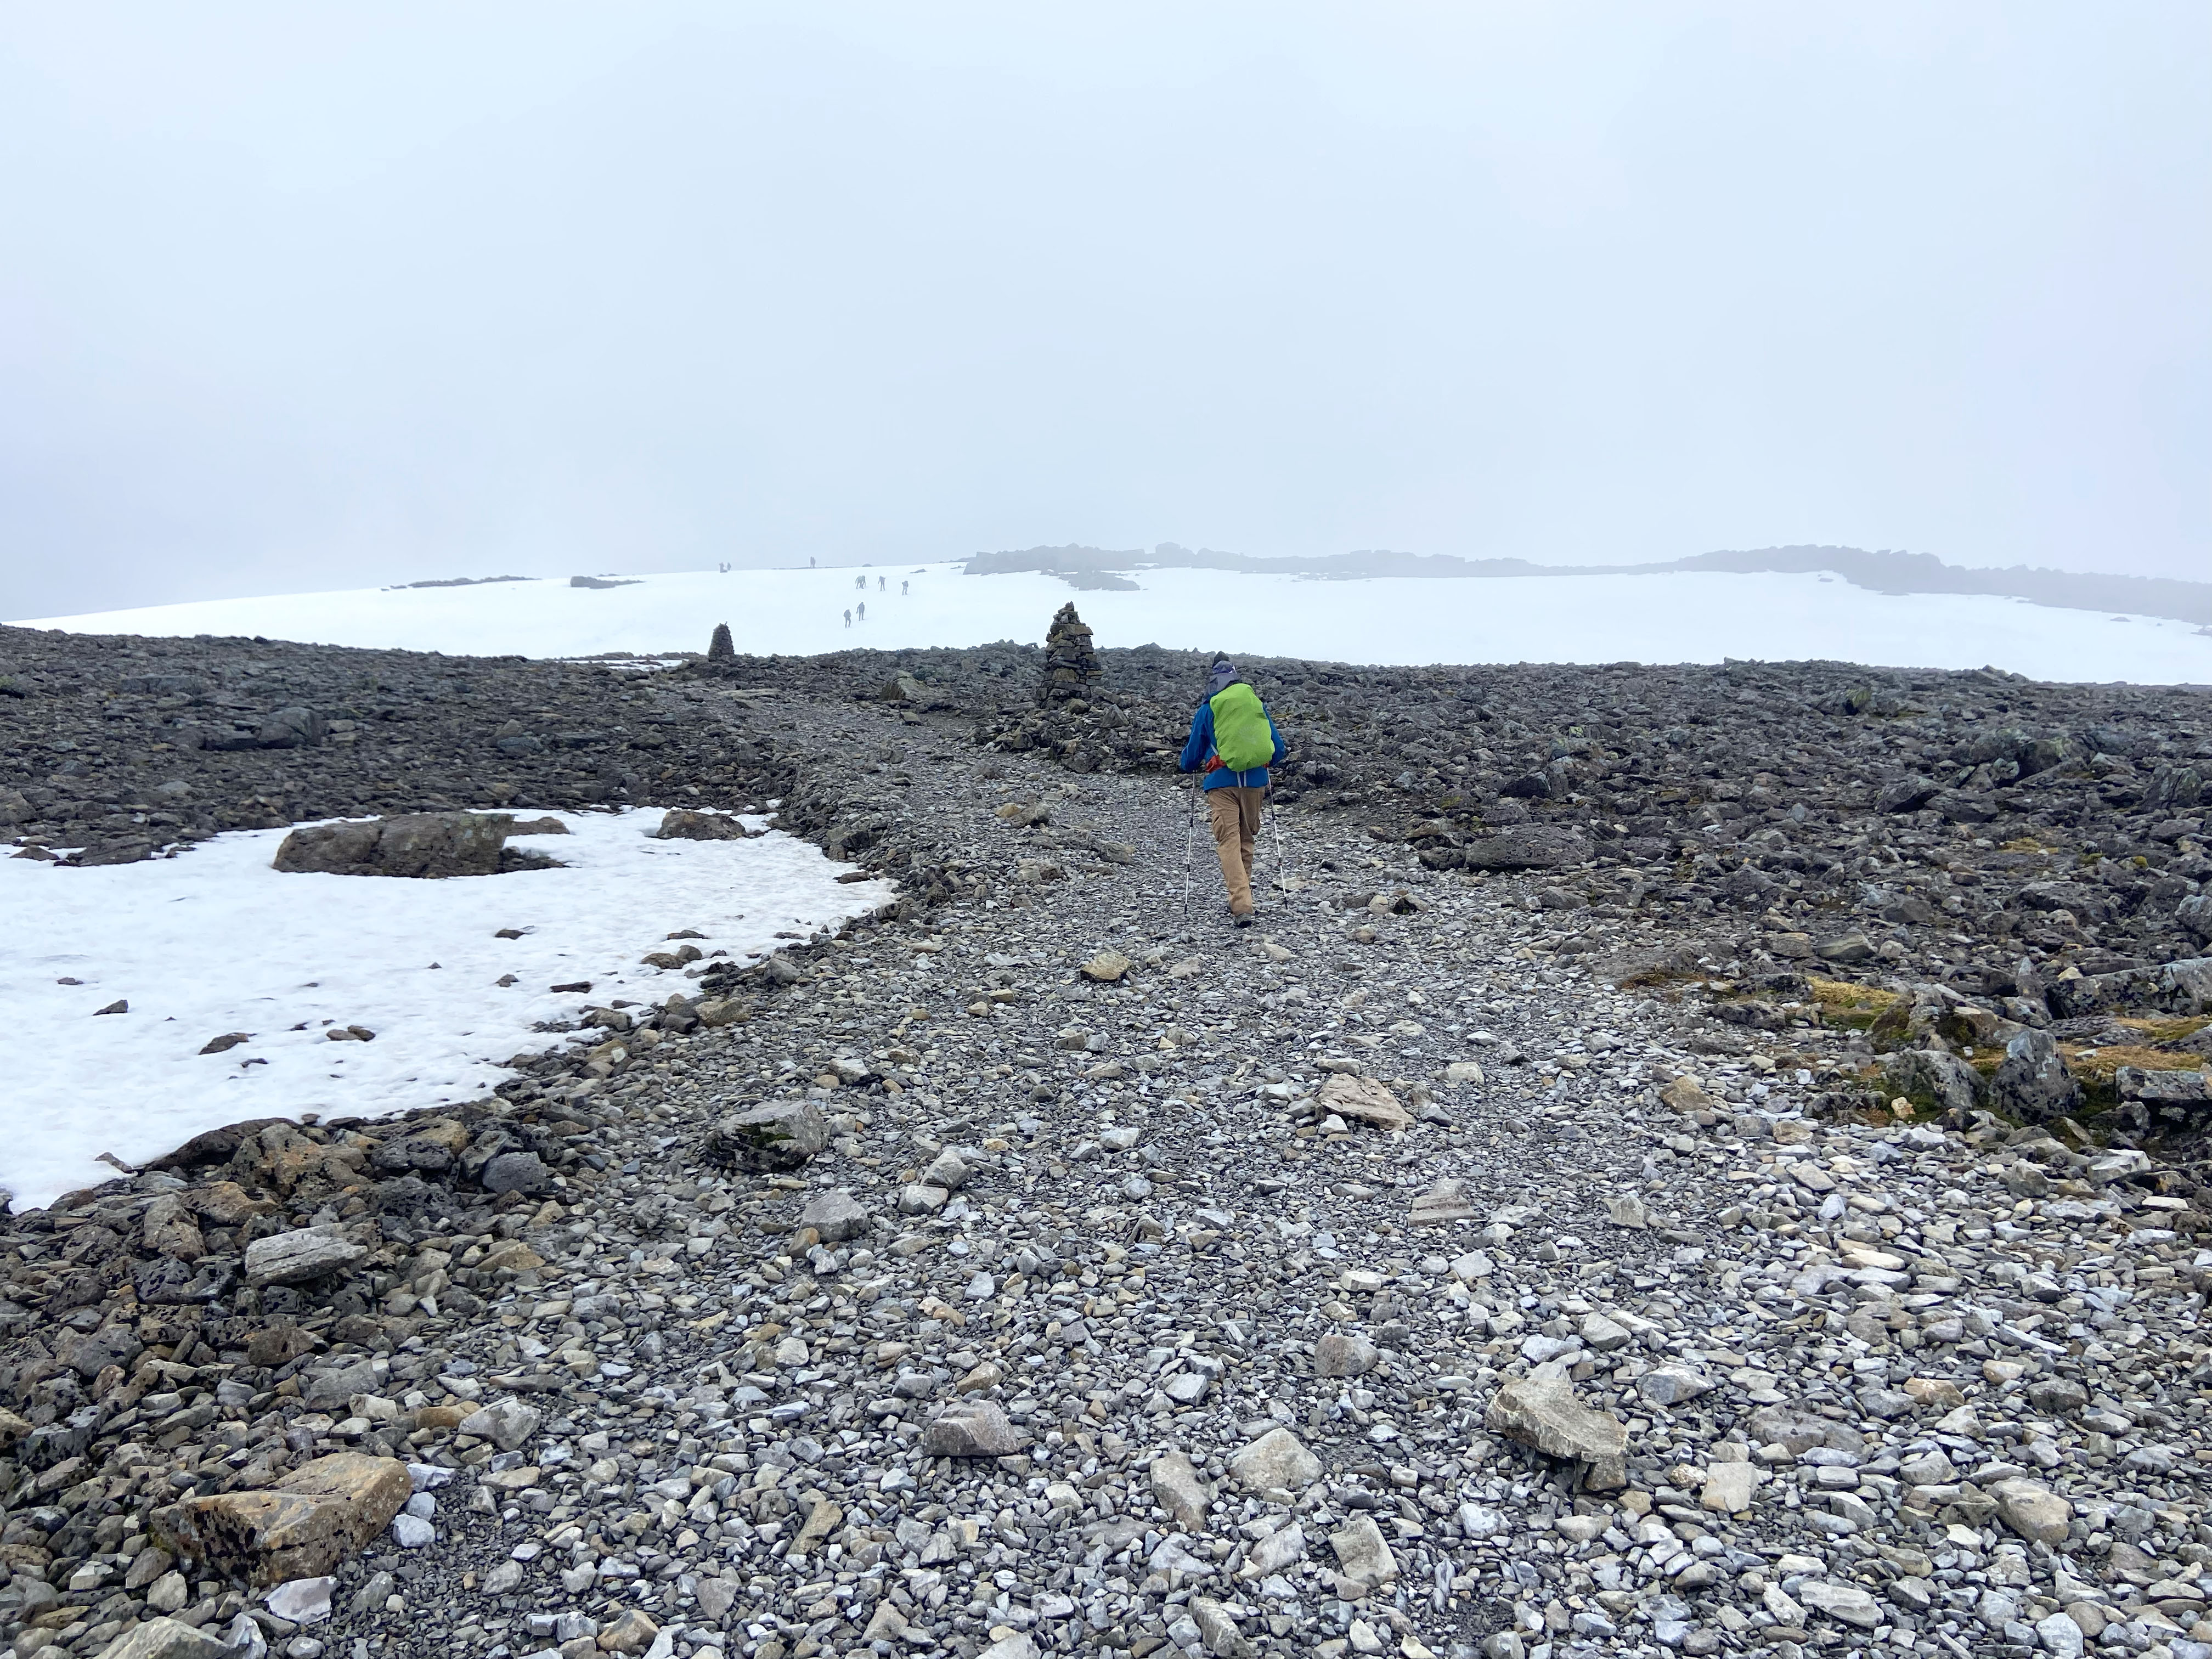
Compass bearings are primarily used to navigate safely off the summit of Ben Nevis rather than to find it, as the final approach via the Mountain Track is normally marked by cairns. Unfortunately, the cairns appeared and disappeared in the clag, so we cautiously followed the people ahead, hoping they weren’t making any catastrophic navigational mistakes.

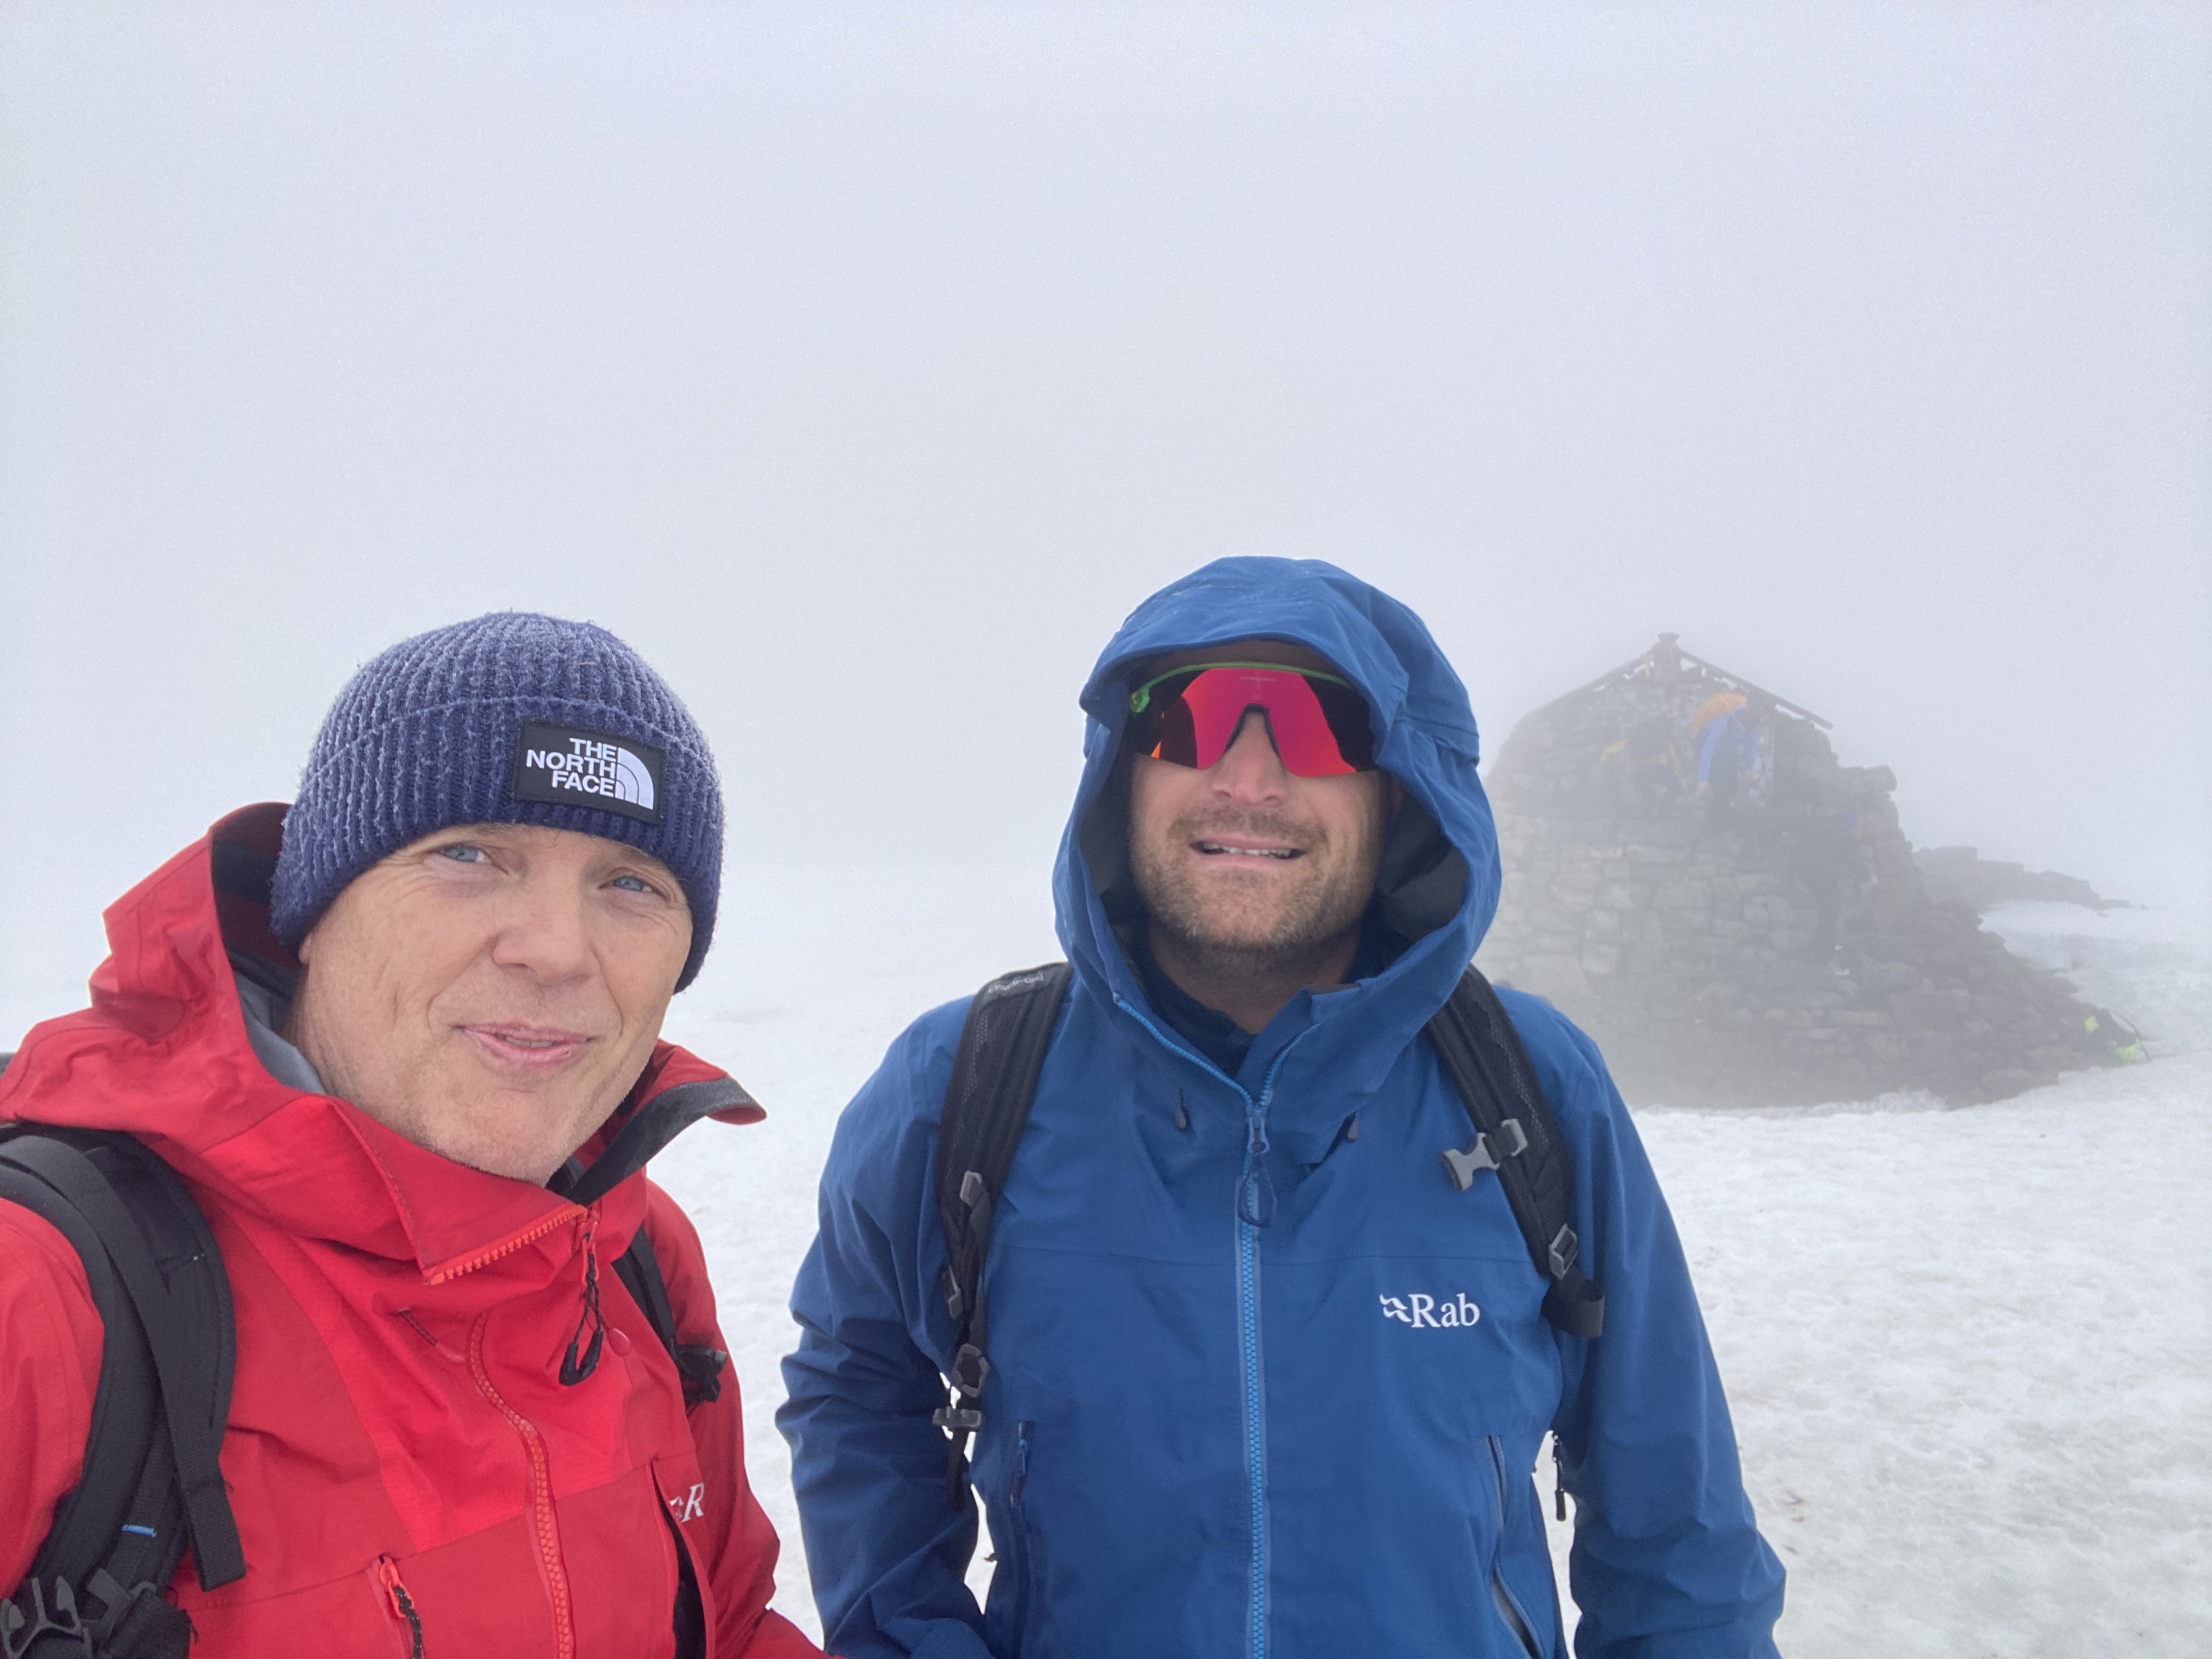
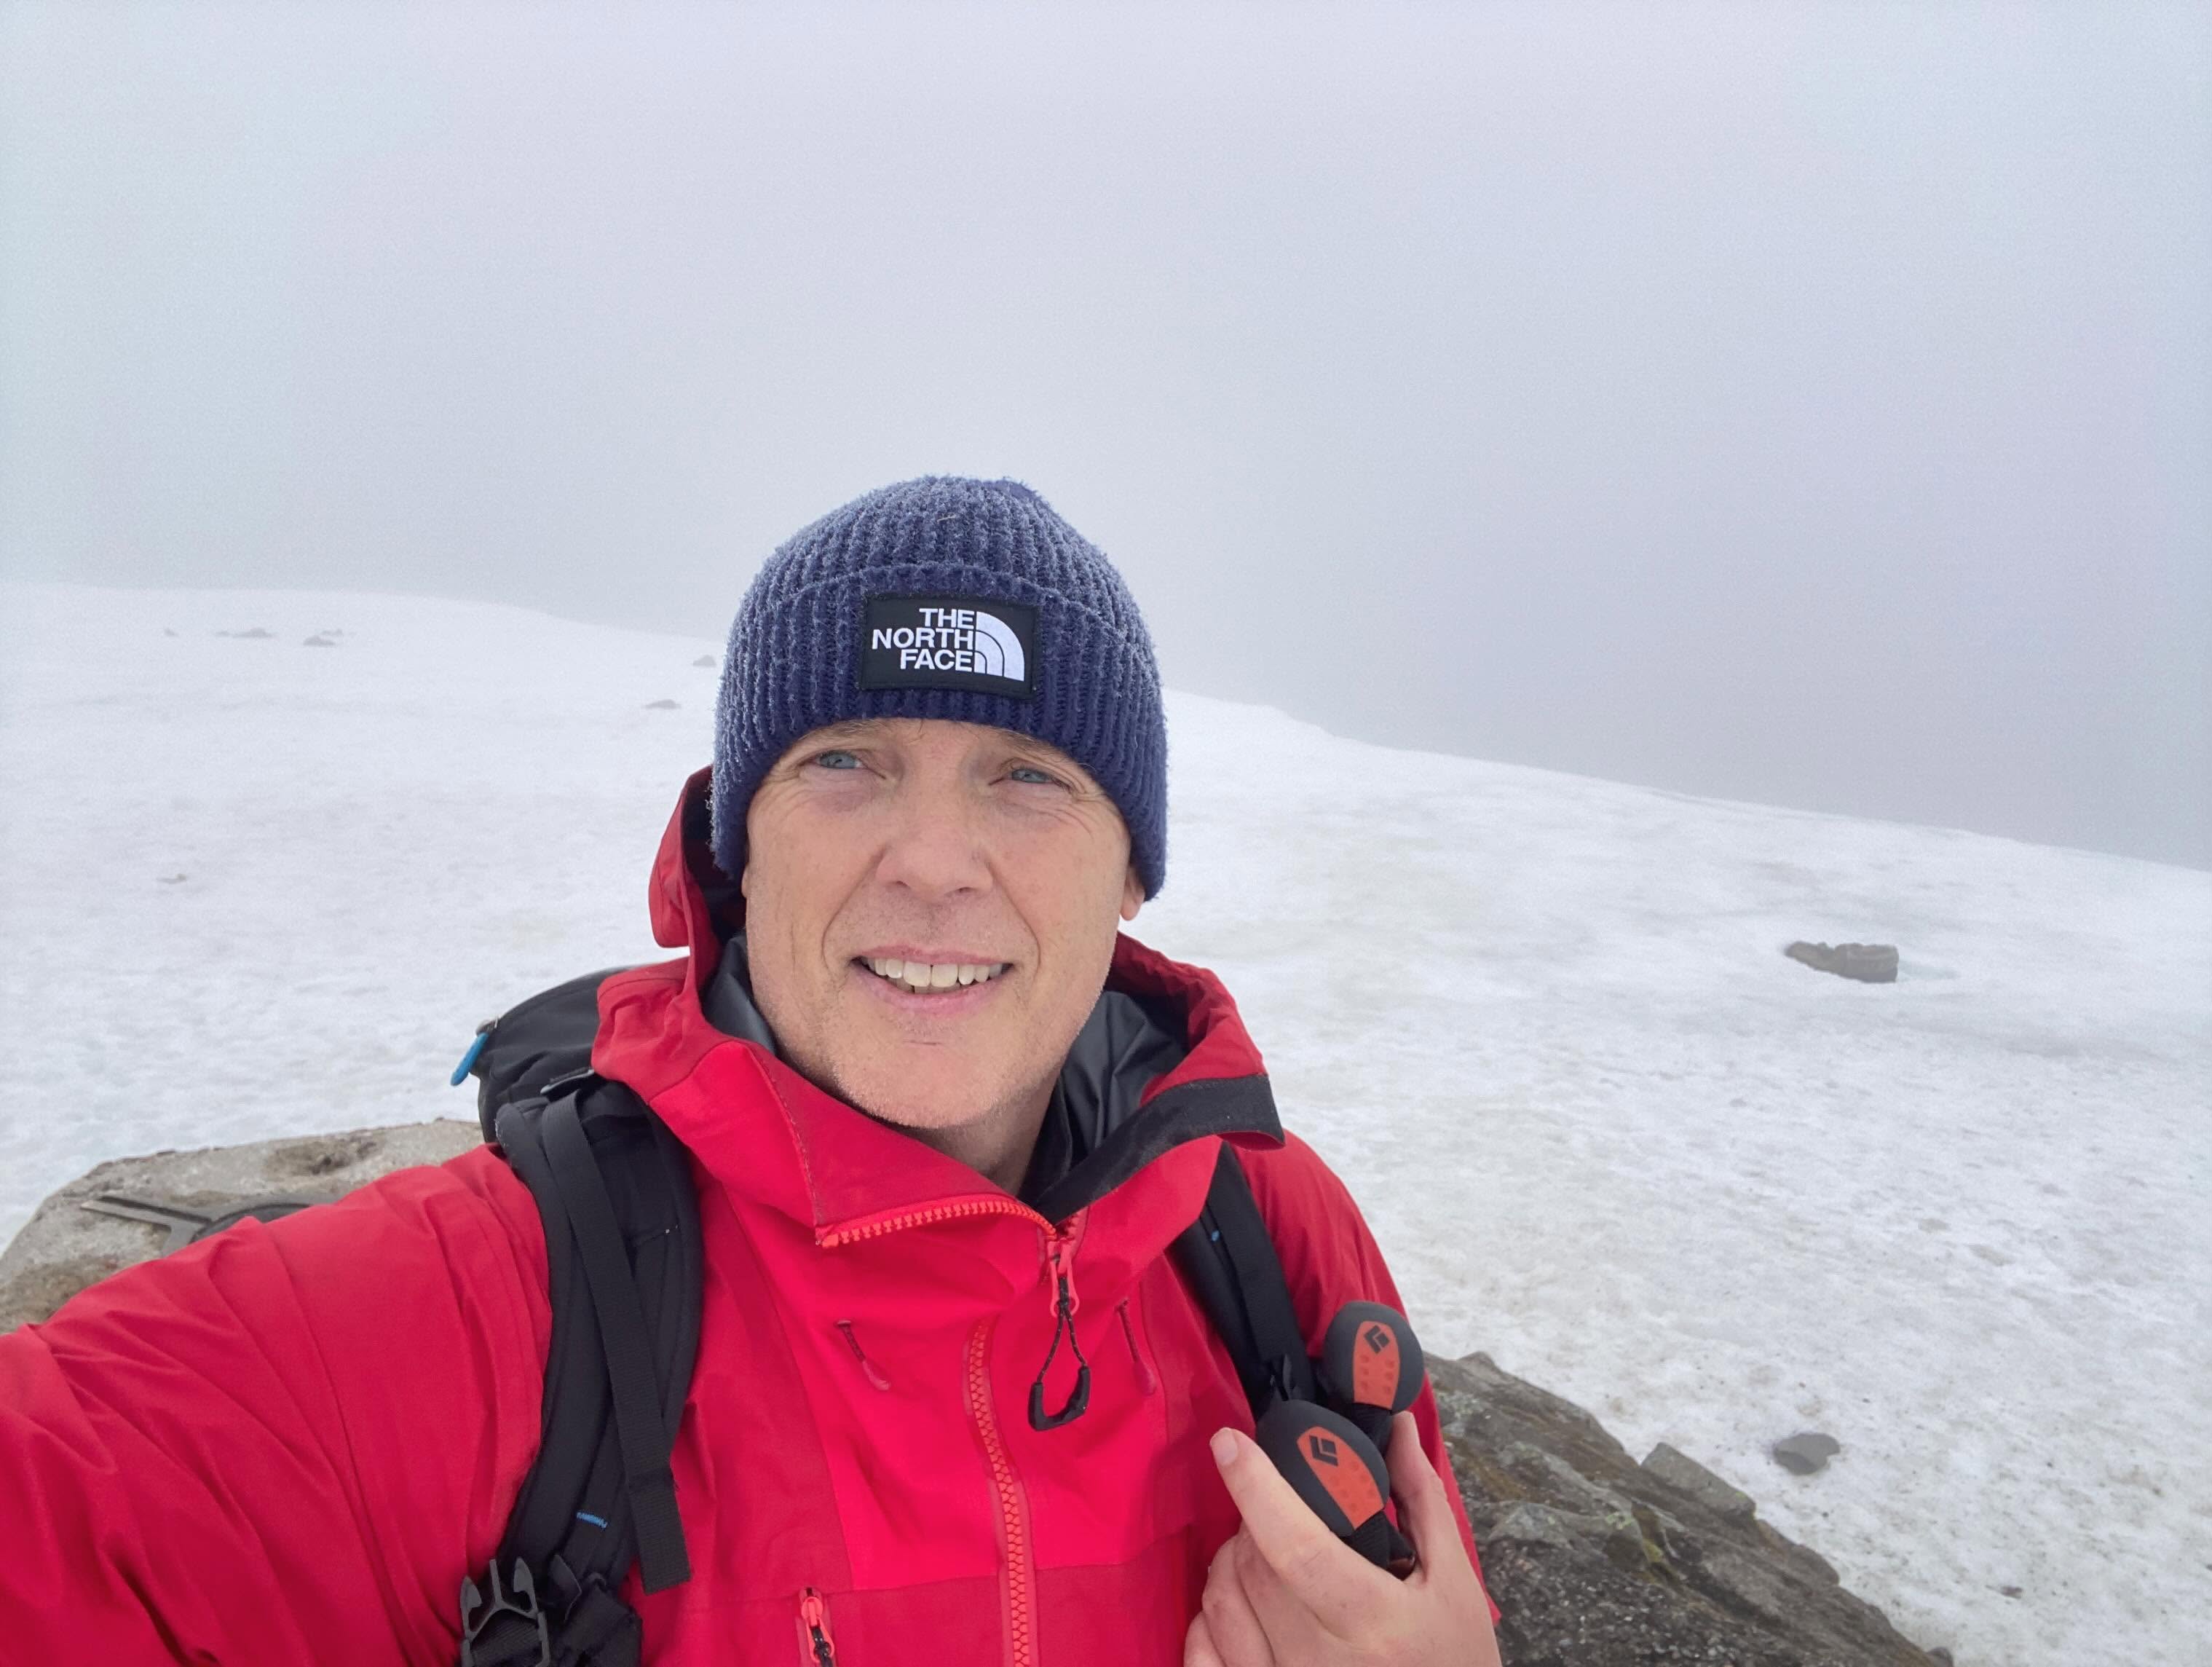
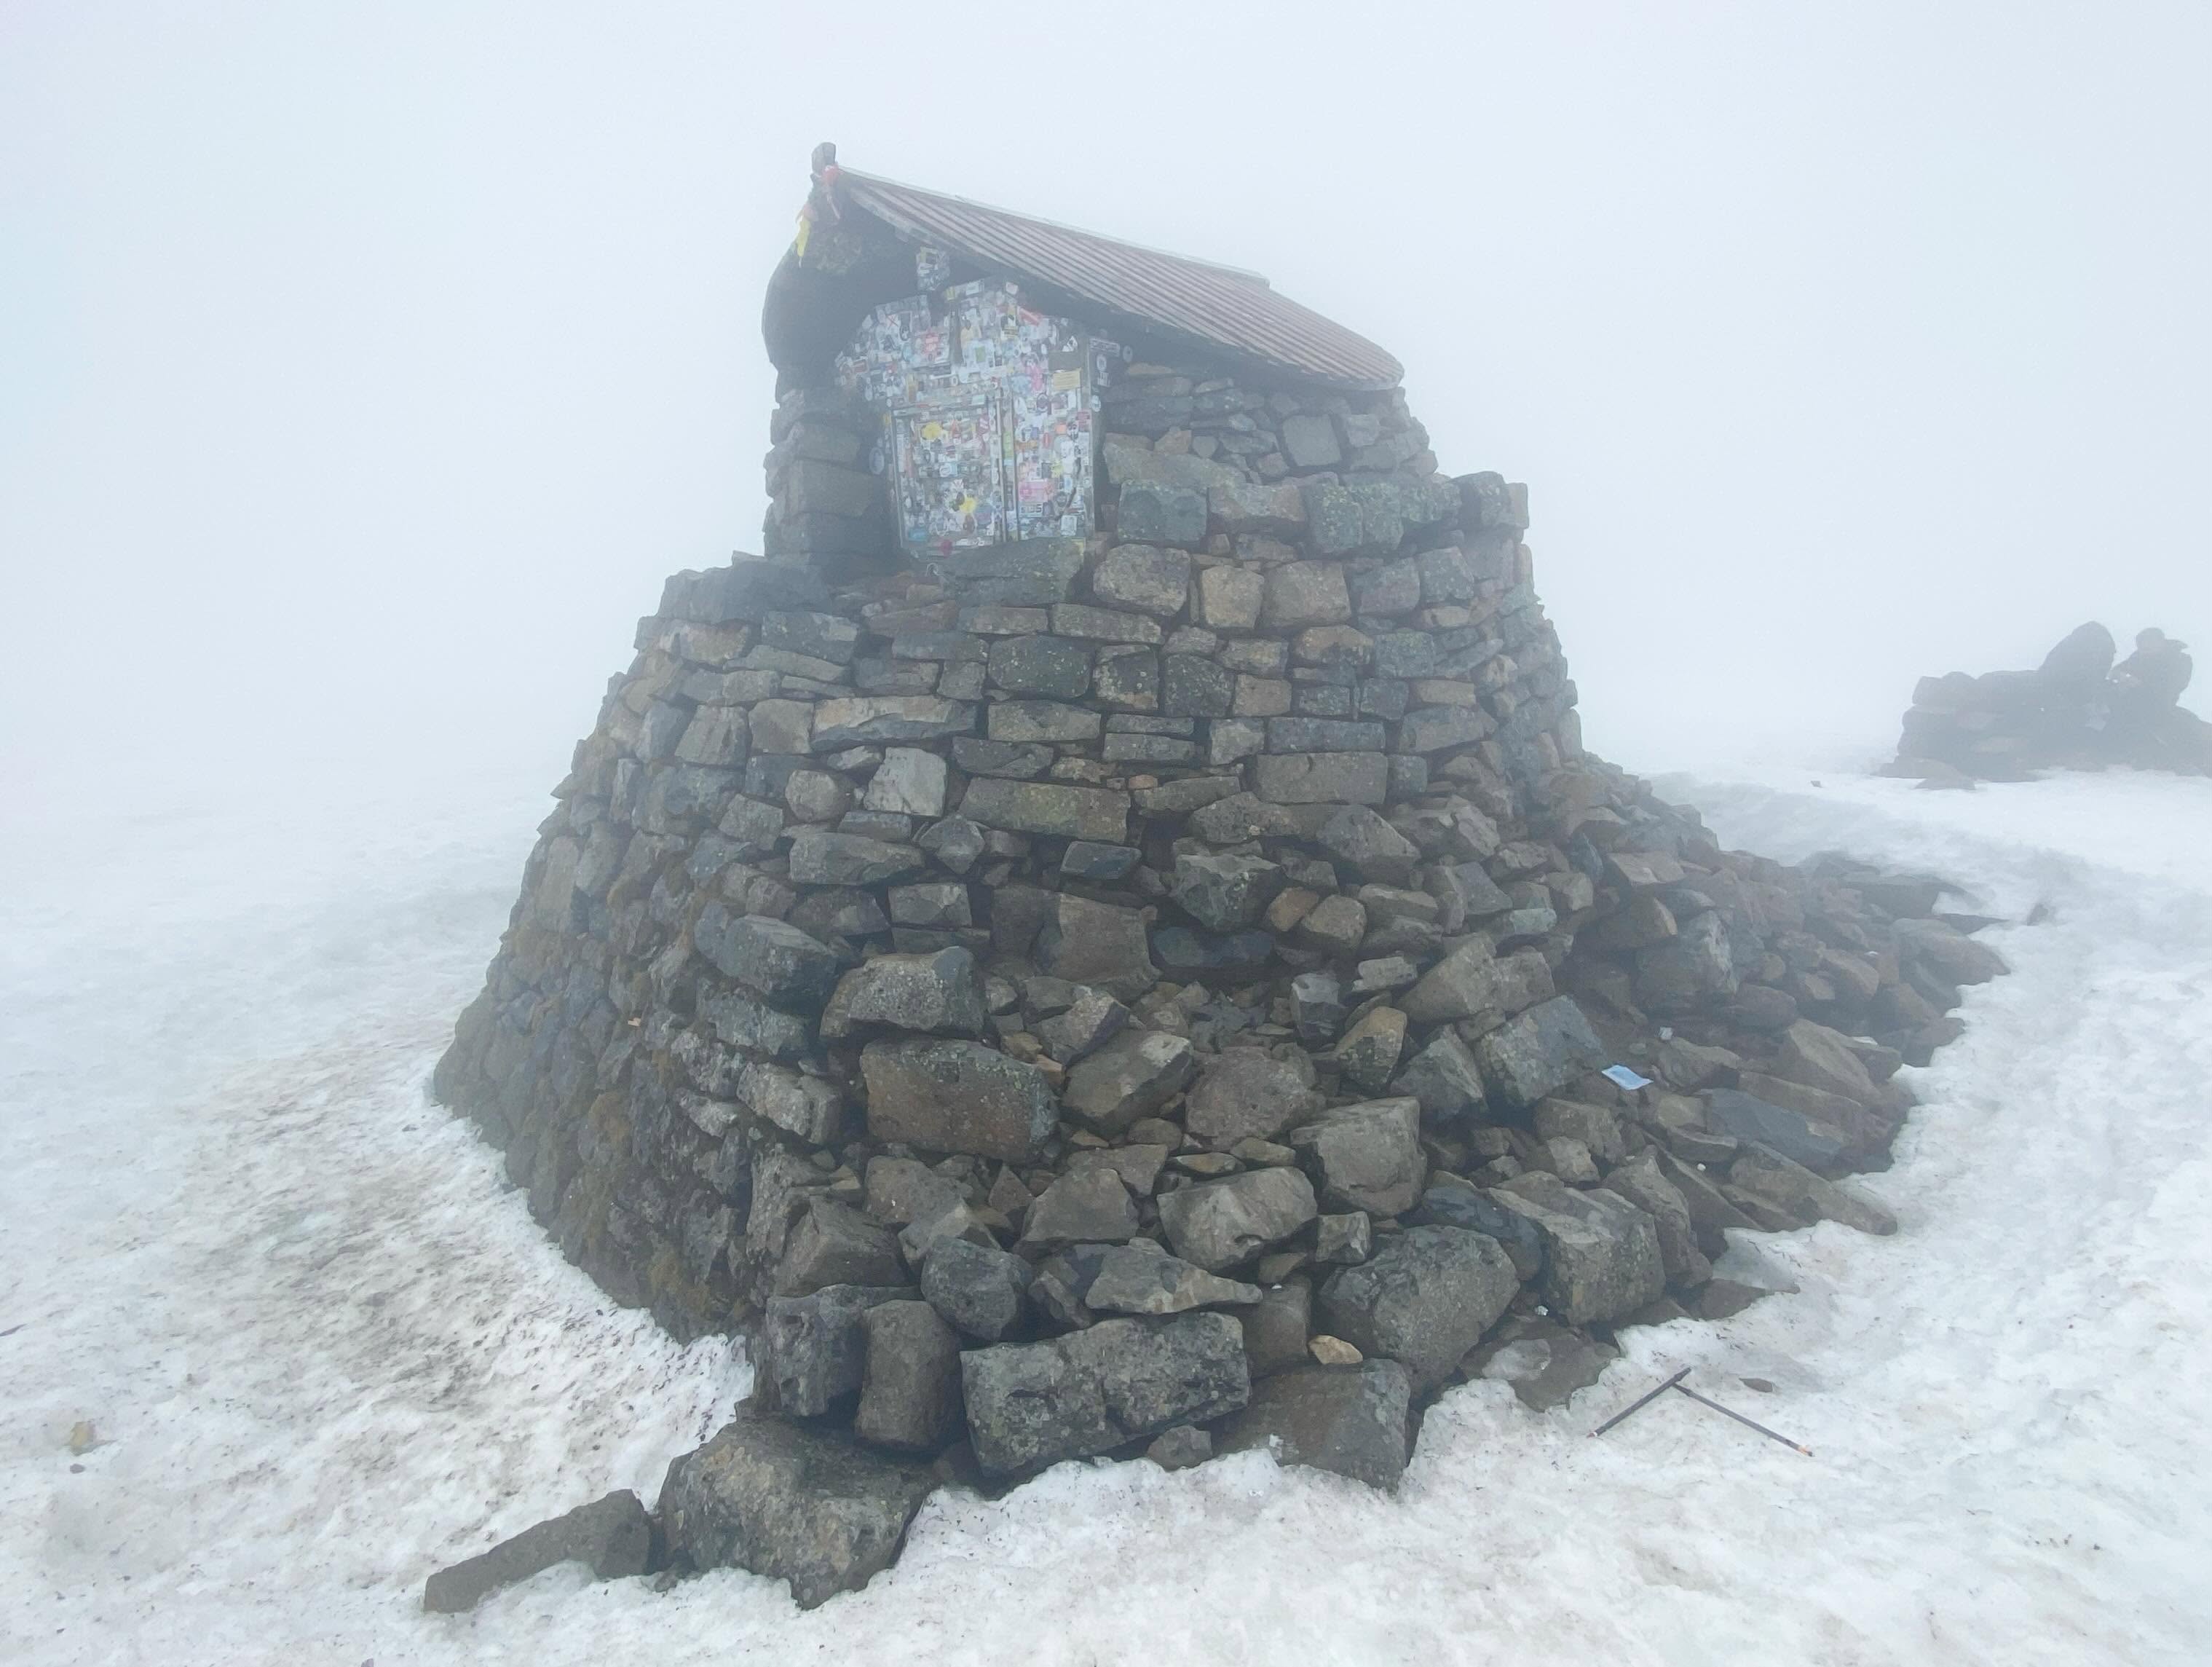
We reached the summit in an almost complete whiteout. It was bitterly cold, so we didn’t linger. There were no views to admire anyway.

For the descent, I took a grid bearing of 231° for 150 metres from the summit cairn (or emergency shelter). This safely led us away from the summit and prevented us from accidentally straying over the steep drops into Gardyloo Gully on the mountain’s north side.

After pacing out the 150 metres, I switched to a grid bearing of 282°. Following this line, we threaded our way safely between the North Face cliffs and Five Finger Gully before picking up the top of the Mountain Track’s zigzags at the 1,200-metre contour.

A few glissades down the snow and ice patches, and we were soon making rapid progress back down the mountain.

Before long, the glen came back into view. We crossed the over-engineered bridge to the youth hostel on the opposite bank and ordered a couple of well-earned pints.

It wasn’t the glorious, exposed ridge scramble we’d travelled north for, but the lingering snow, challenging conditions and wild Highland weather still combined to make it a memorable day in the mountains.

The West Wall Traverse – Scafell

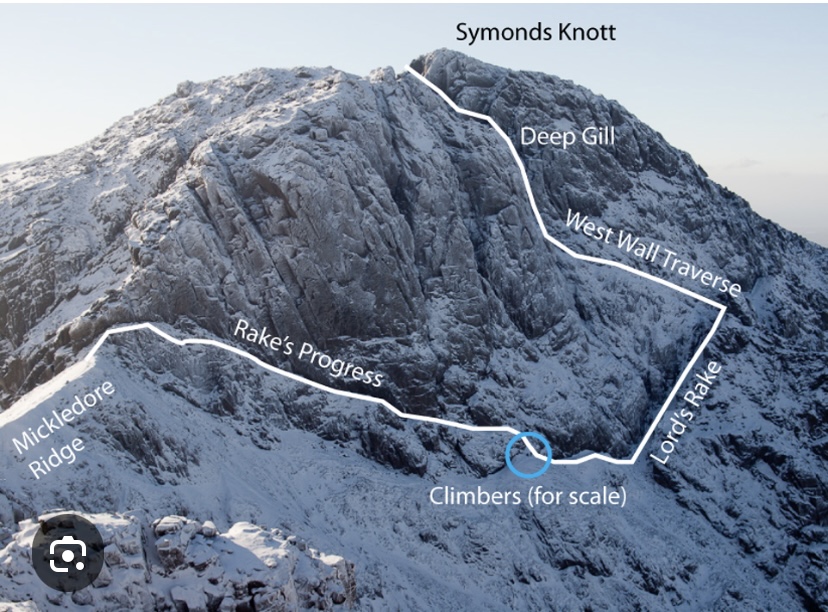
The West Wall Traverse is a legendary Grade 1 scramble located on Scafell in the Lake District, England, offering a dramatic alternative to the dangerous Broad Stand pass. It serves as a spectacular ledge system that bridges Lord’s Rake and the upper reaches of Deep Ghyll.

I’d been fancying having a bash at this route for about 10 years. With the hottest day of the year so far forecast I tentatively set off on my mini quest!

Details about the climb and a hijacked route-map below to whet your appetite should anyone reading this want to have a go having read this short article. The only decent route-map image I could find was of it in winter but the route is no different. Maybe next time I’ll try it in those more testing conditions shown.

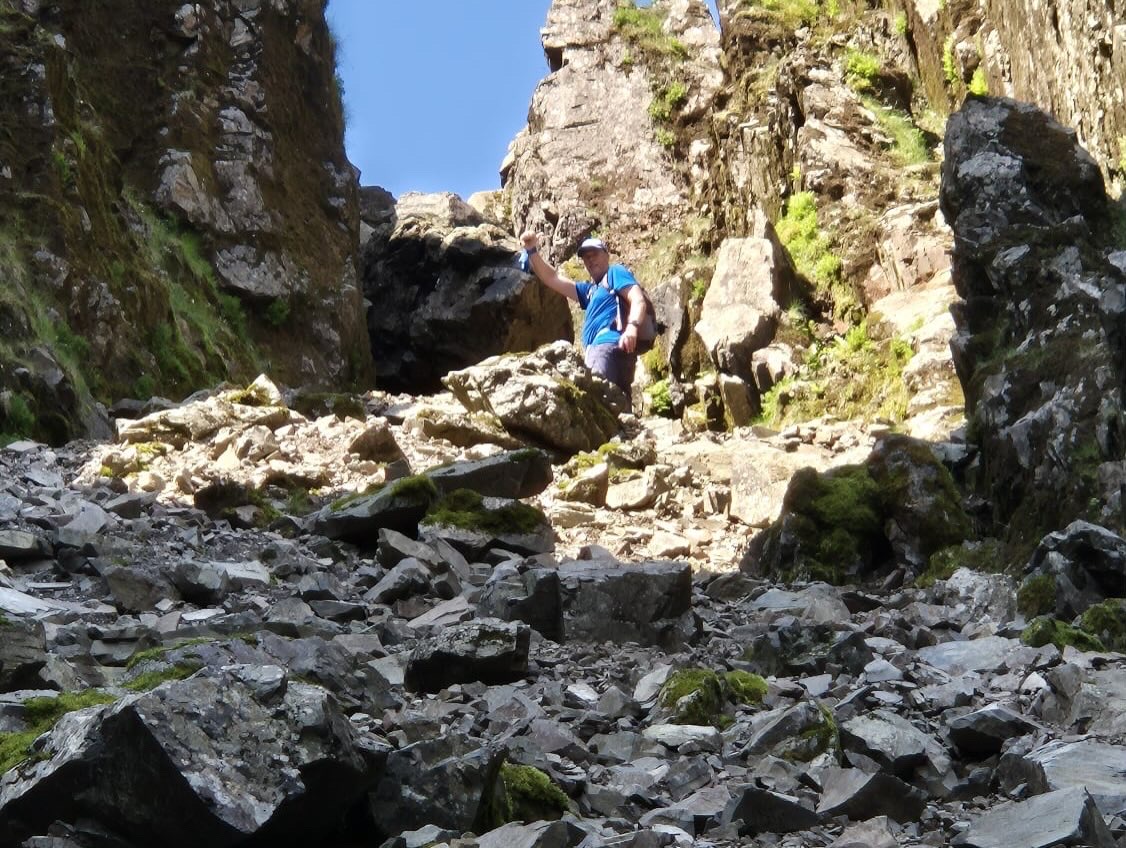
I started in the National Trust Wasdale Carpark at the lake head. Took the traditional route up towards Scafell Pike up Brown Tongue towards Mickeldore. Swung a right before Hollow Stones up to Lord’s Rake. Took the rake up the first section past where the old chockstone used to be wedged, and then took a left turn up a narrow path to the West Wall Traverse. Route back down was via Green How all the way to the carpark.

Difficulty: Serious and committing; involves loose rock, plunging drops, and high exposure.

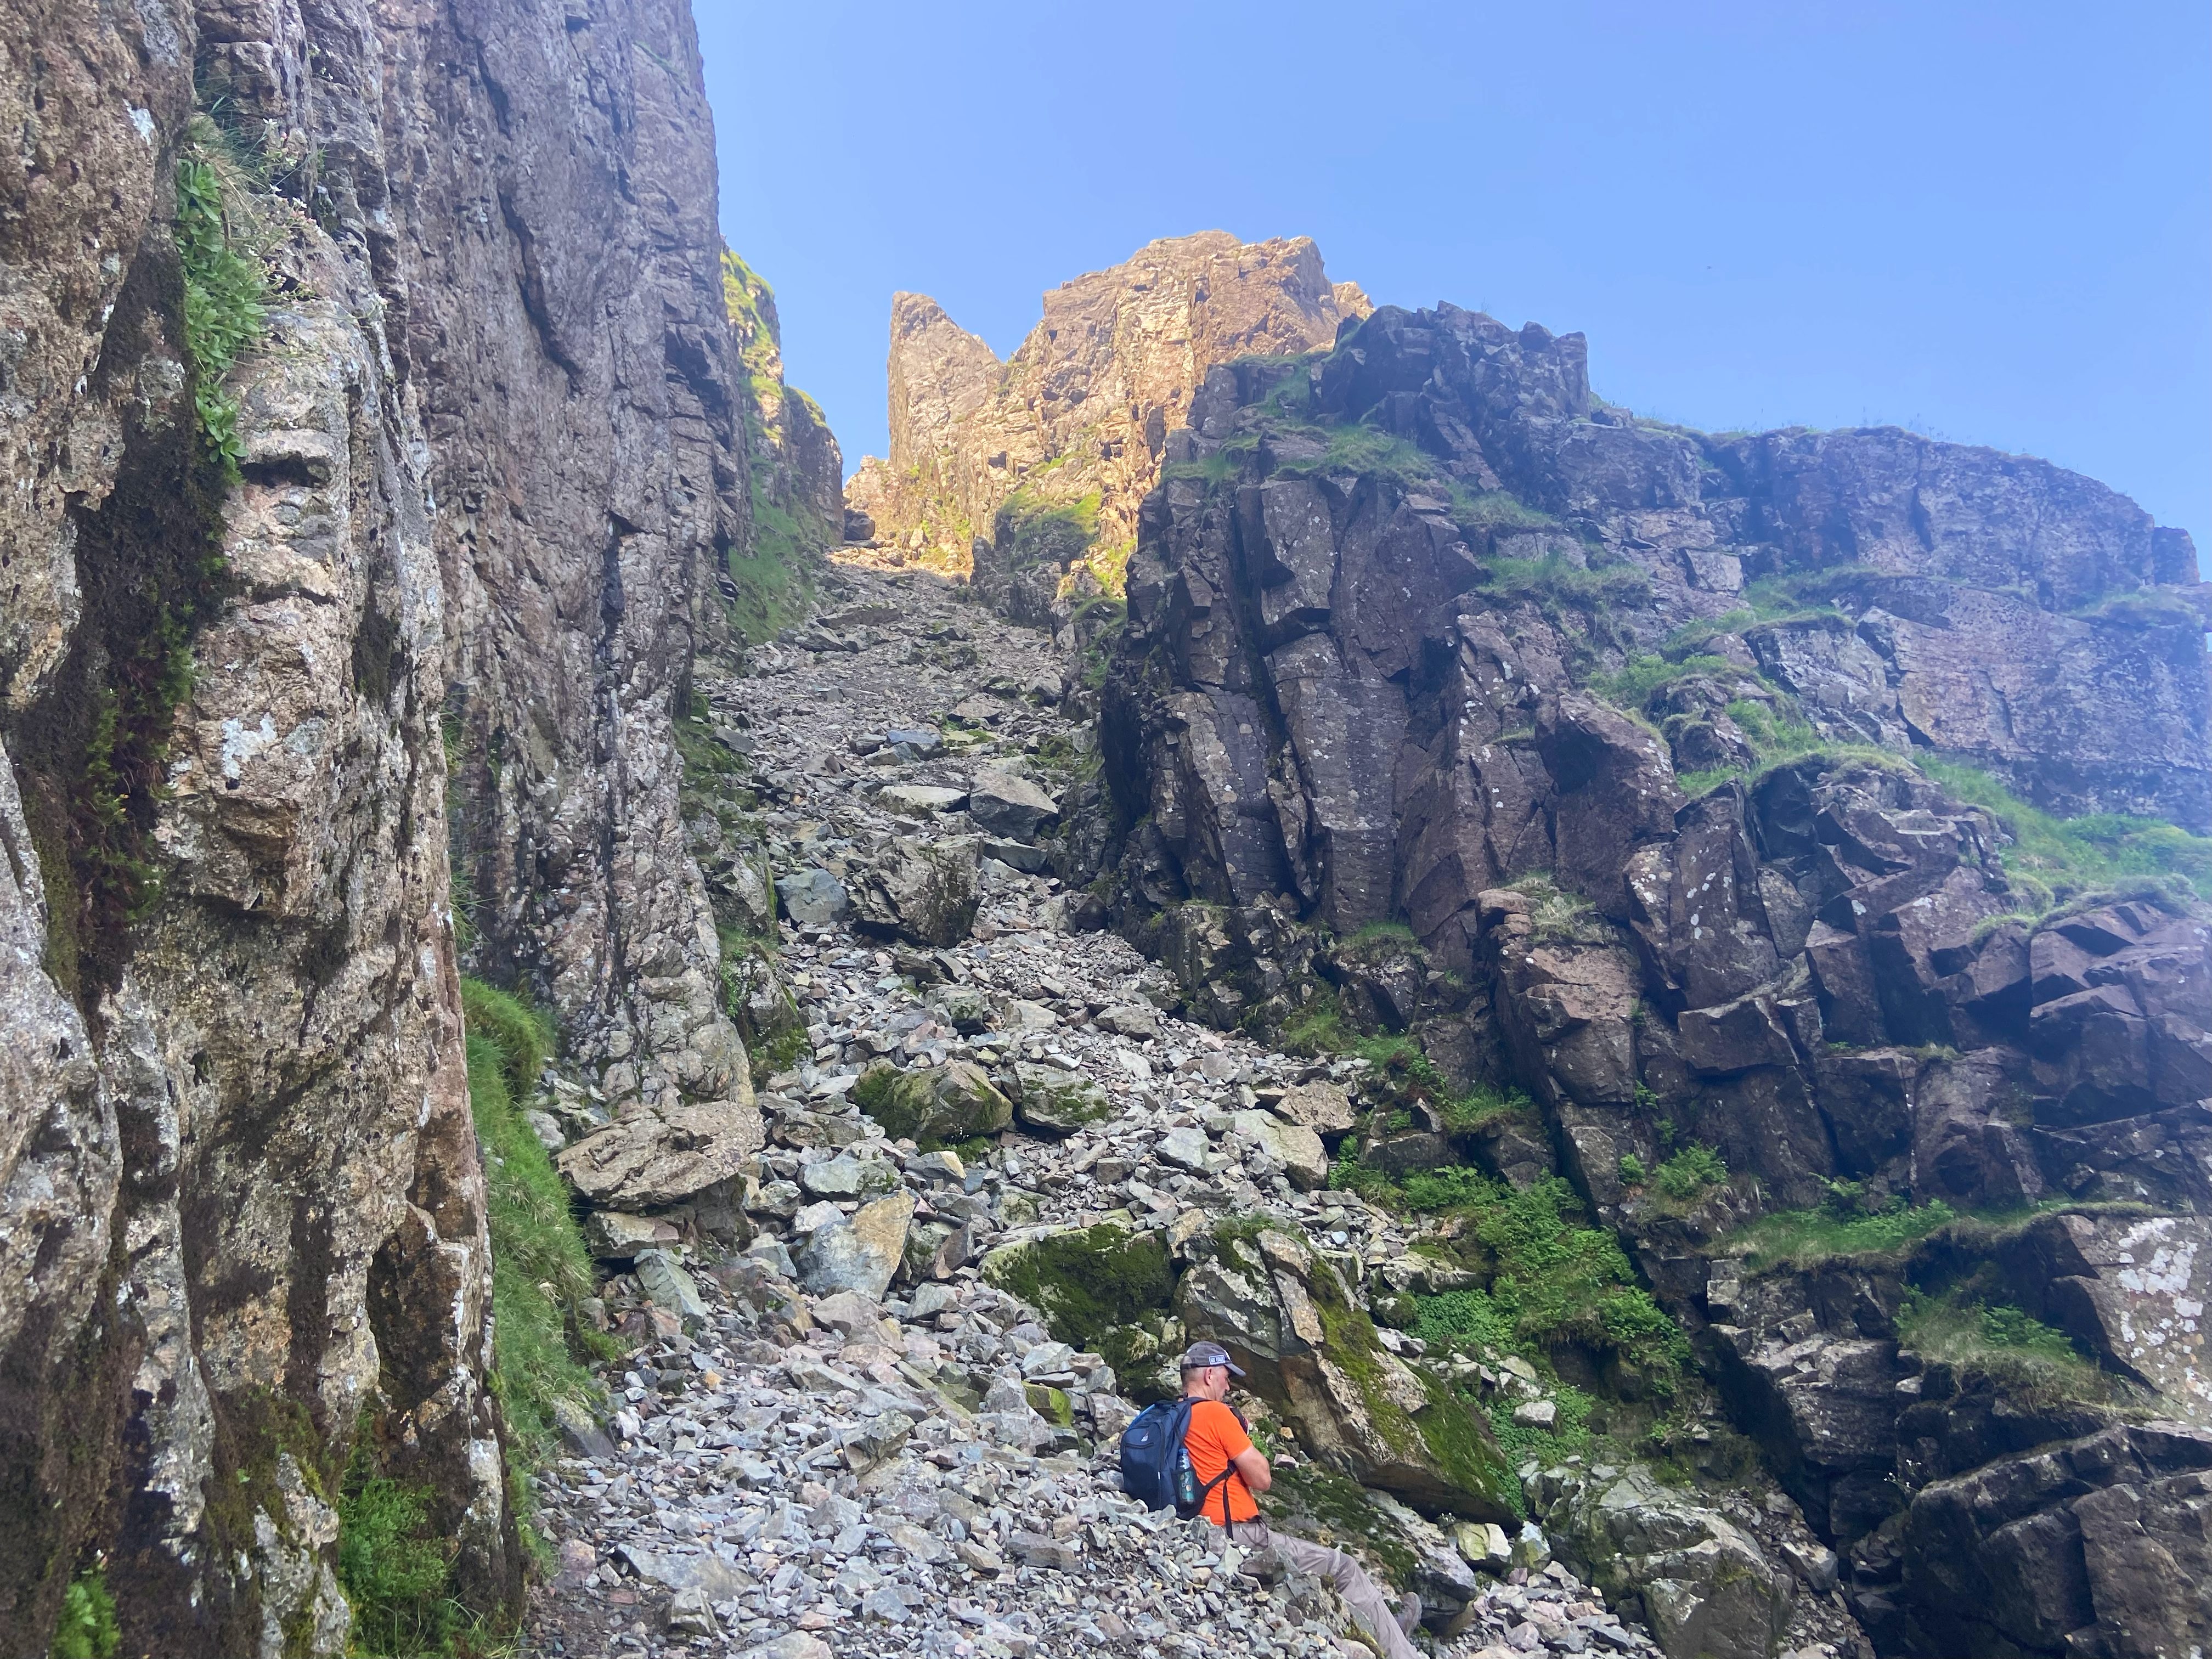
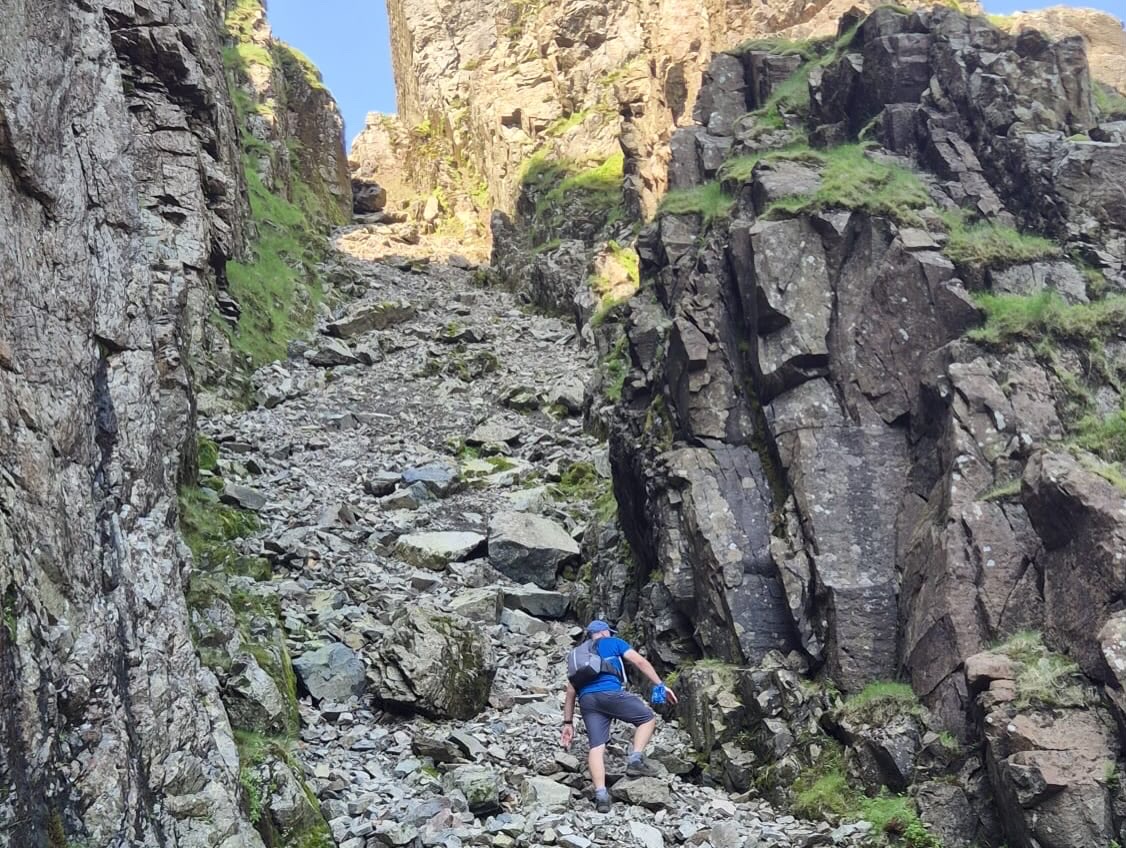
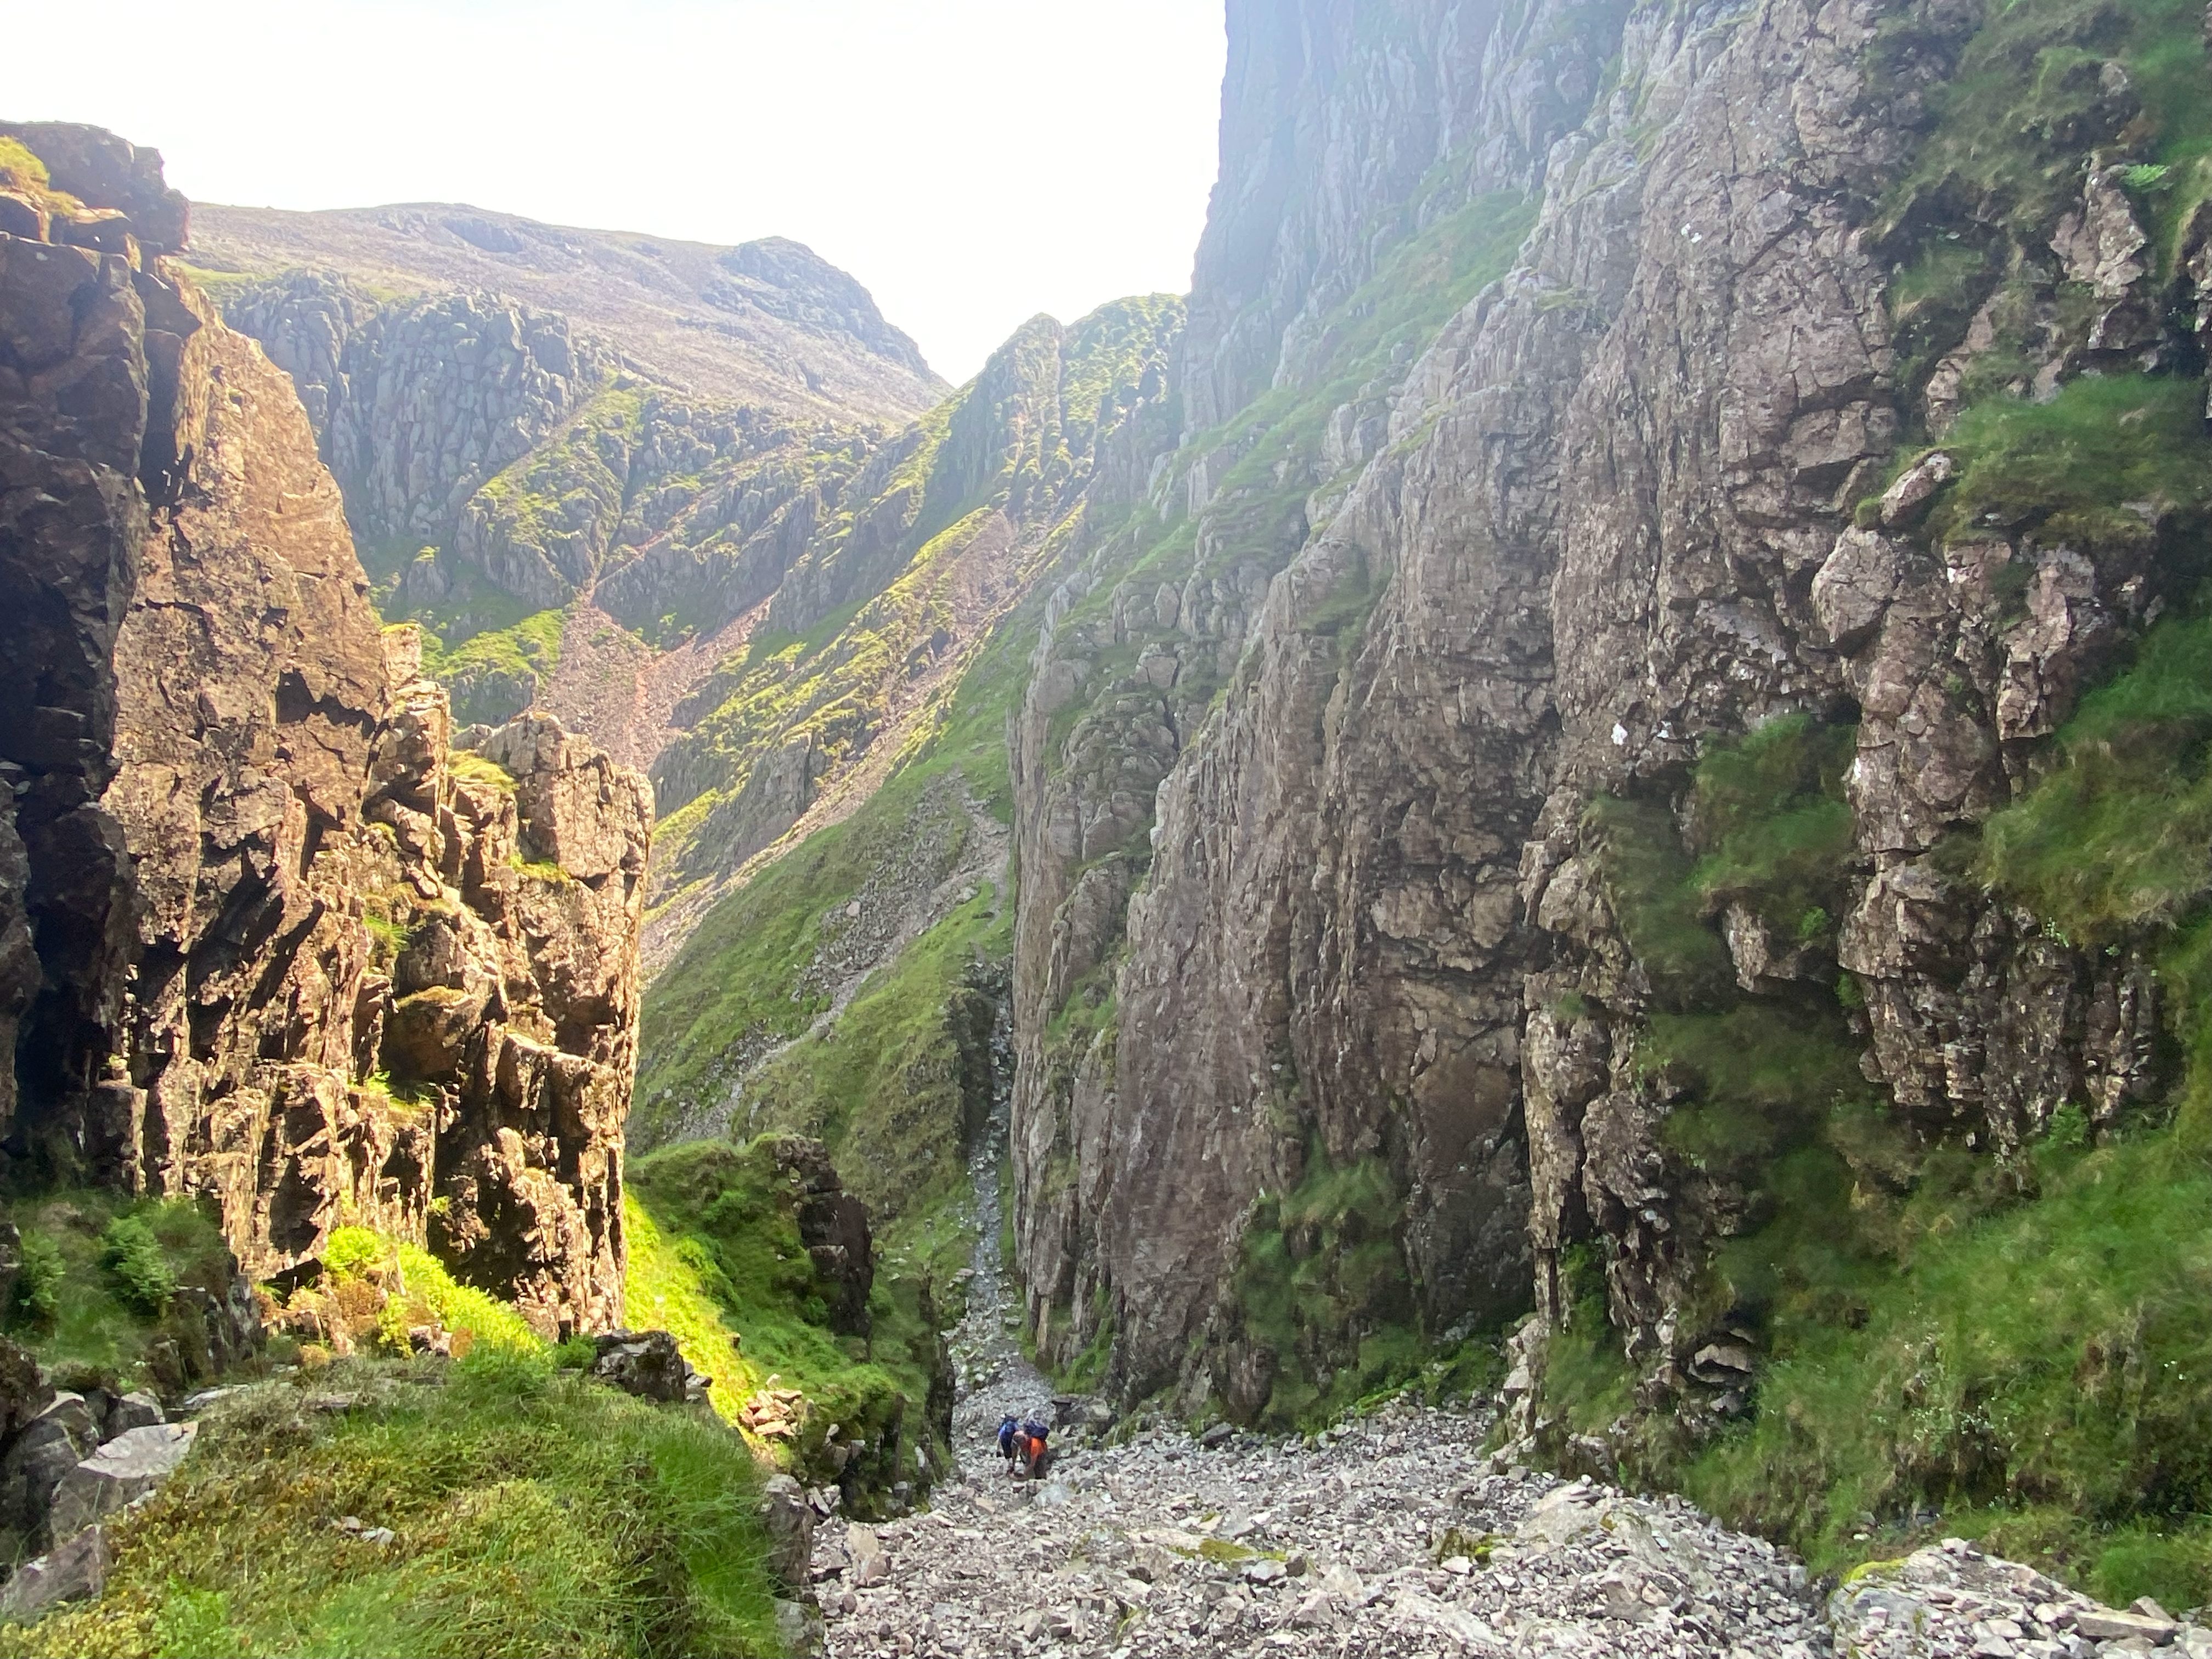
The Entrance: Climbers begin by ascending the steep, loose scree of Lord’s Rake. Just before the top of the first col (near a prominent fallen boulder), you turn left onto the traverse shelf.

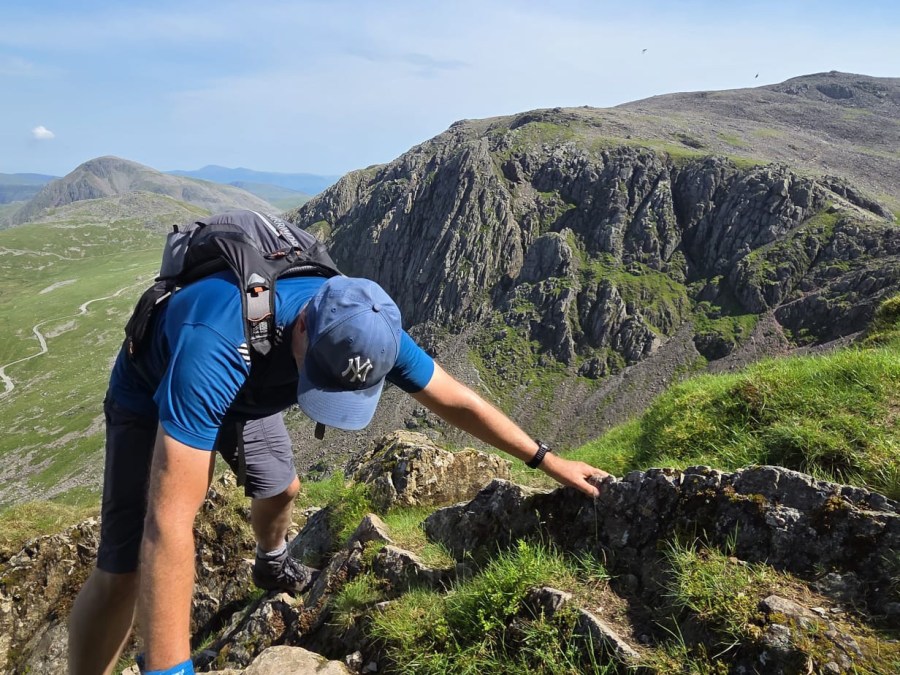
The Traverse: The path acts as a rising terrace cutting across the sheer west face of Scafell Crag. It provides breathtaking exposure but functions mostly as a steep footpath.

The Exit: The traverse feeds directly into the upper section of Deep Ghyll. From there, a final scree scramble leads directly to the mountain plateau near the summit.

Rockfall Hazard: Lord’s Rake is highly unstable and considered an accident blackspot by the Wasdale Mountain Rescue Team. Helmets are strongly recommended. Loose scree and rockfall hazards are common in the rake and gill. (I had no helmet!)

Experience: Requires a cool head, confident navigation, and scrambling experience.

Route-Map

Lord's Rake

Starting the scramble up Lord's Rake

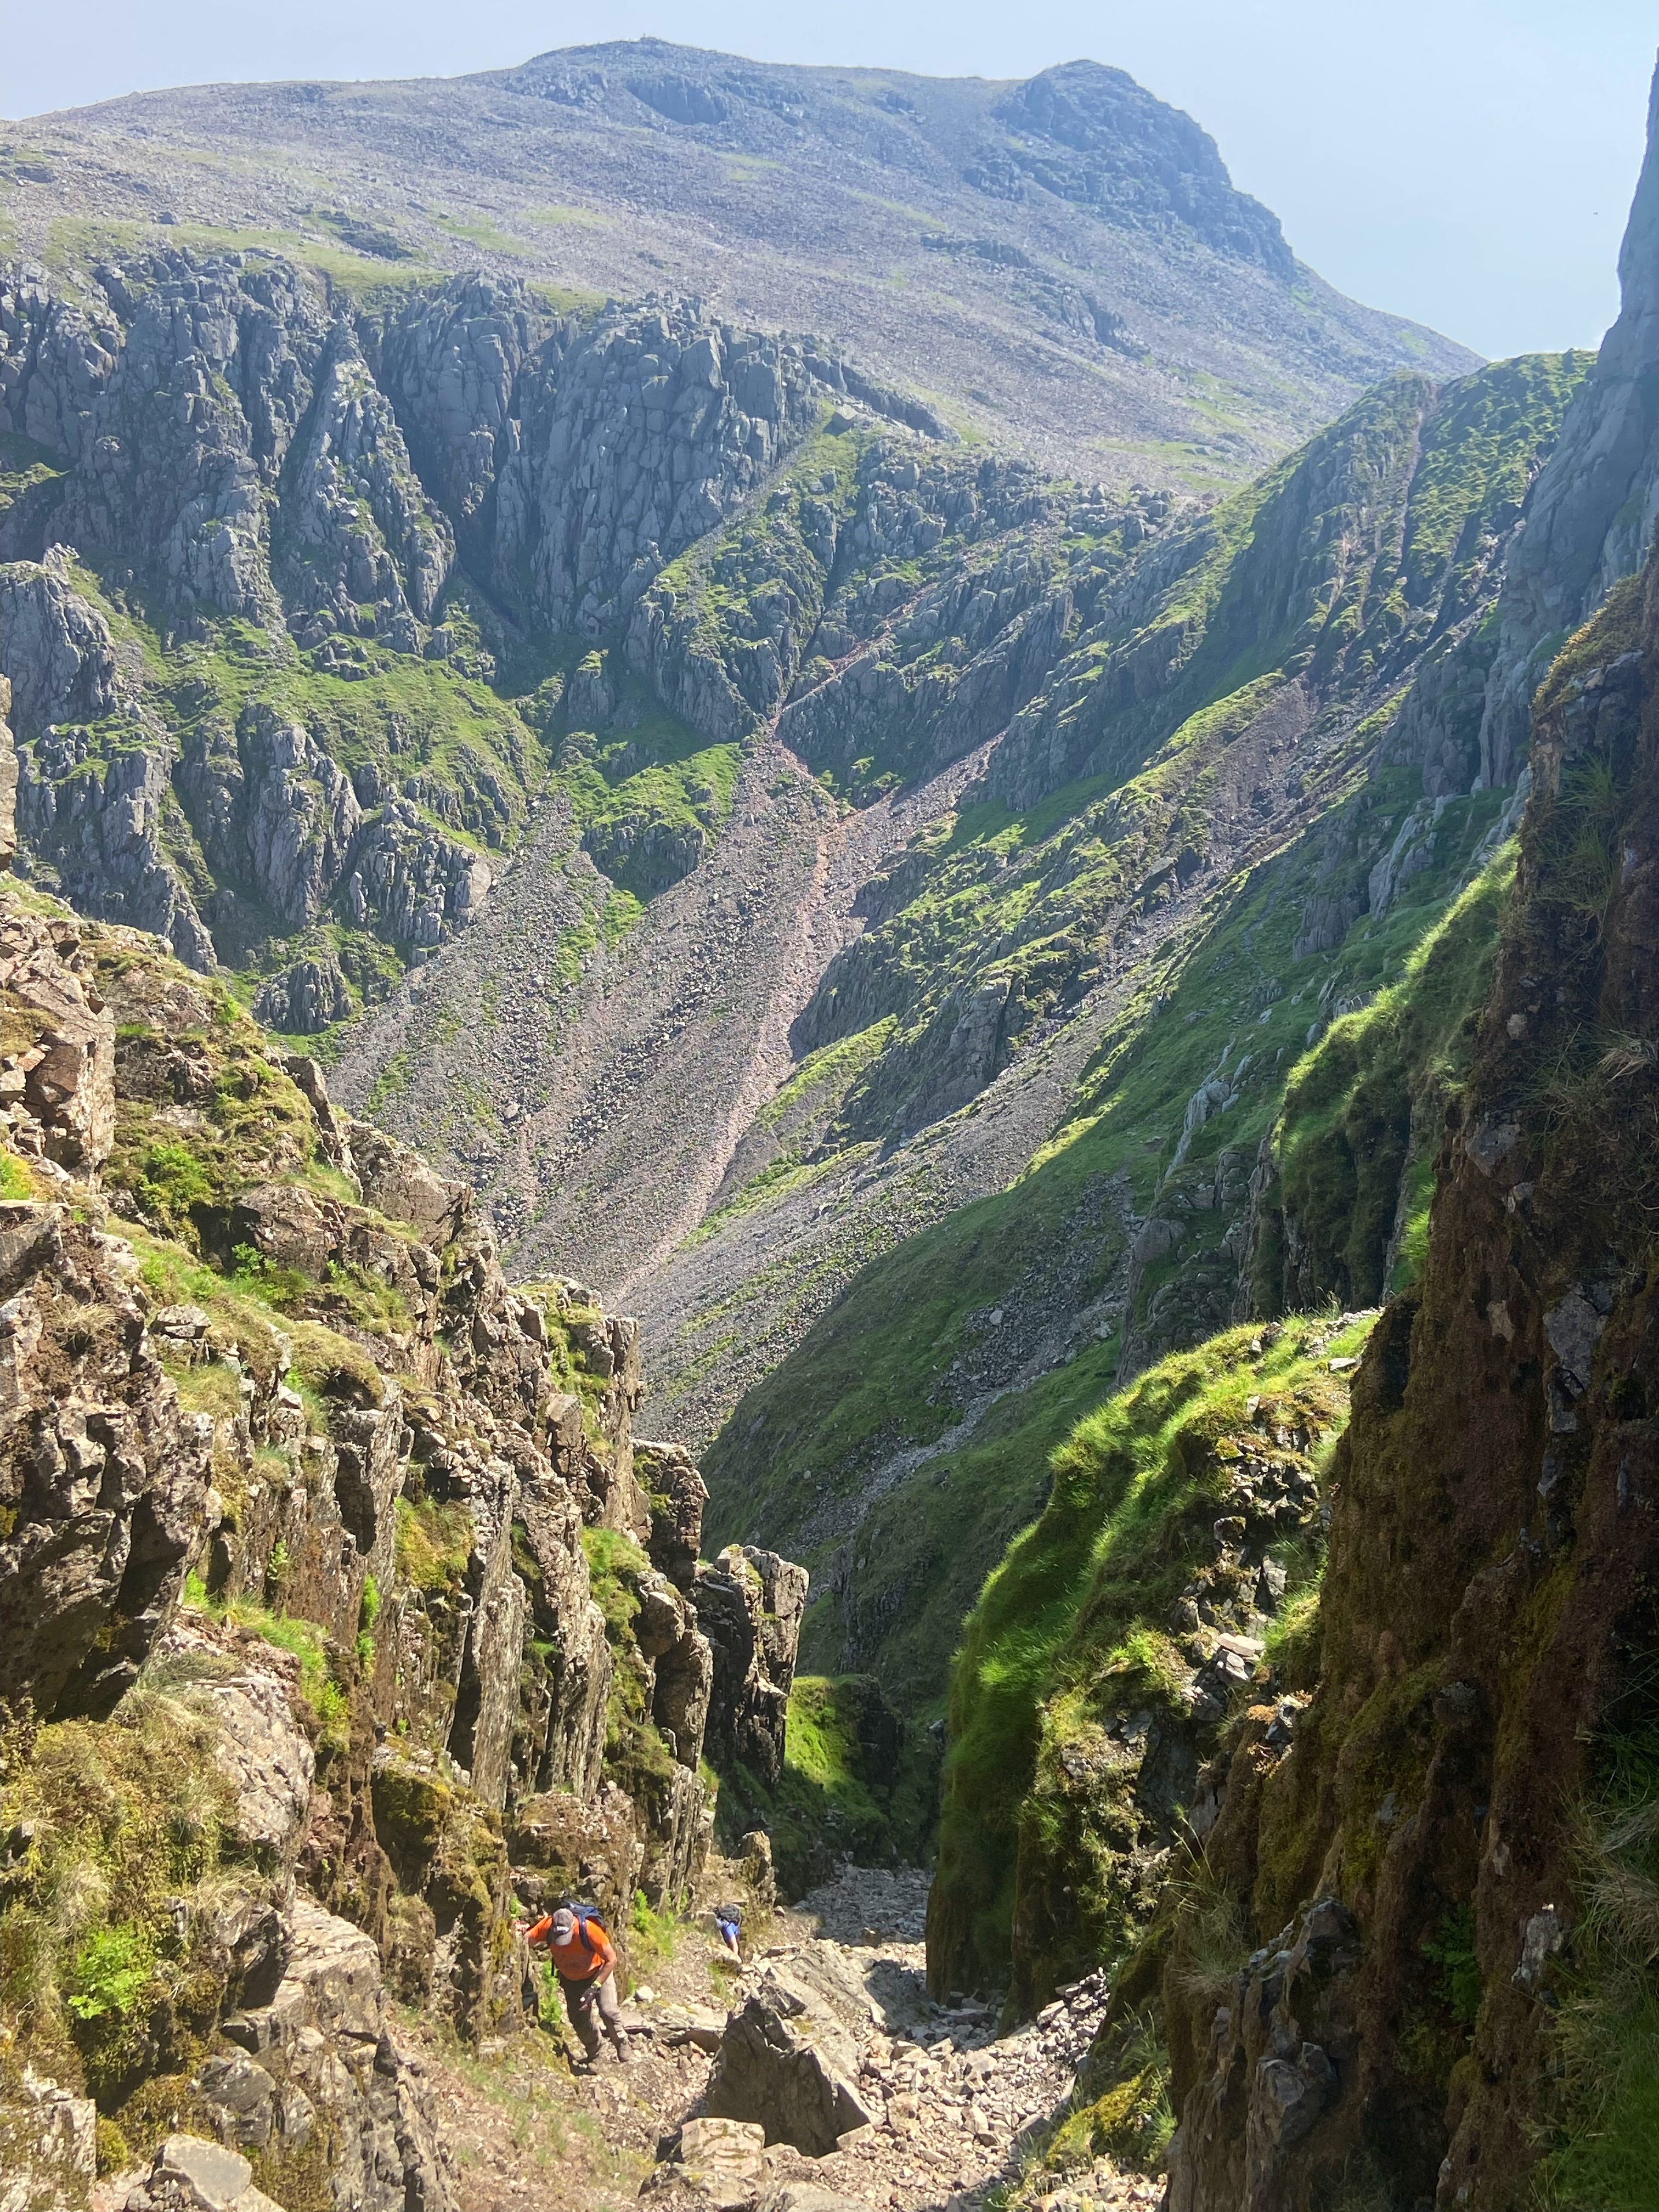
Looking down Lord's Rake

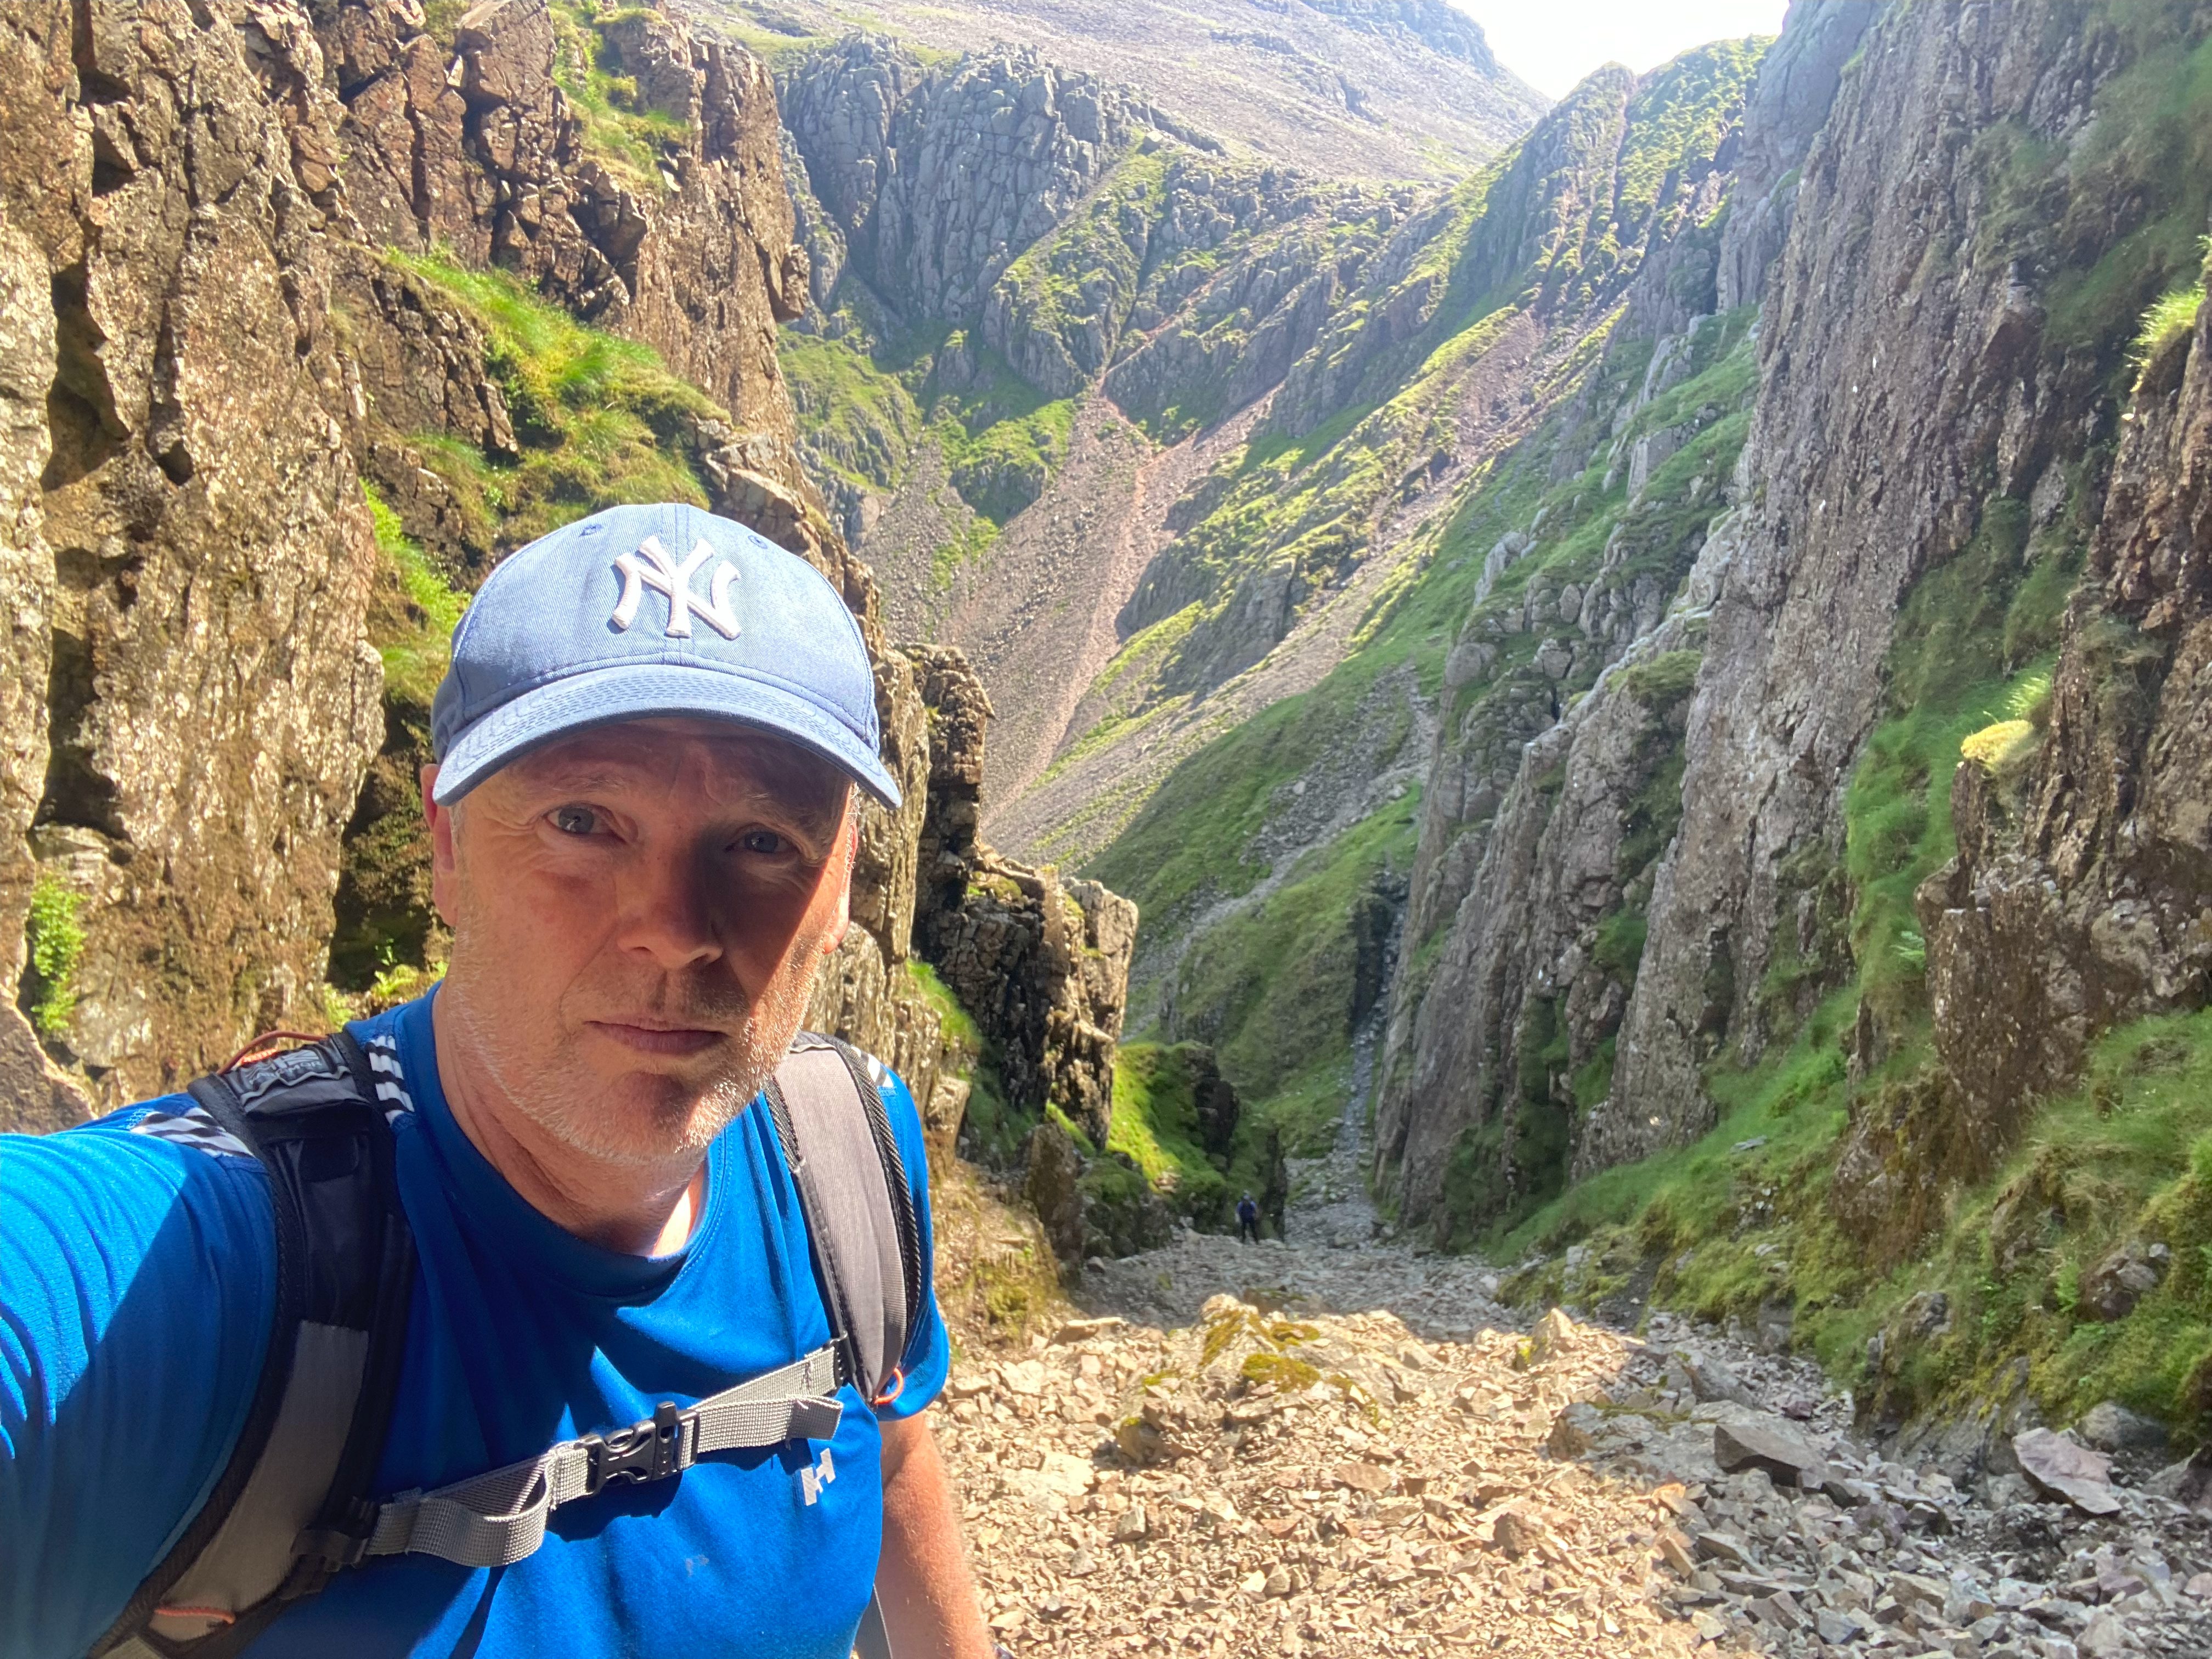
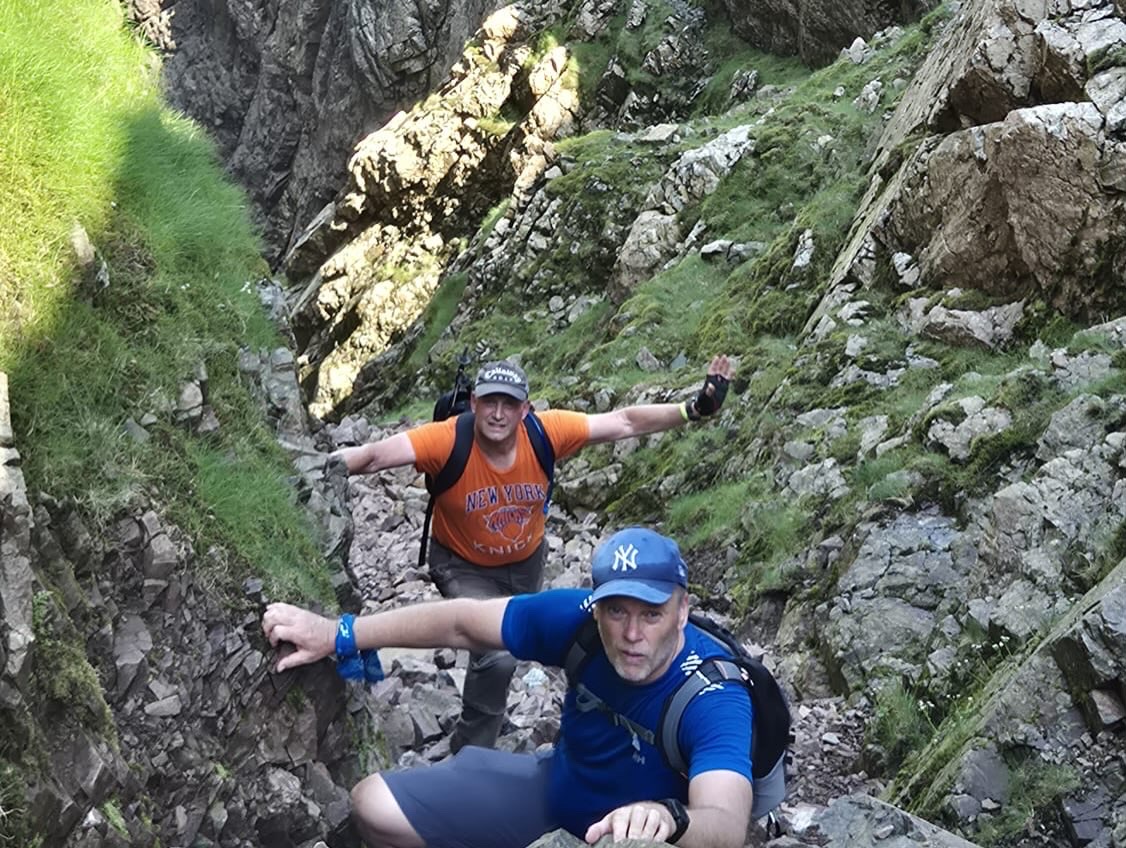
Me in Lord's Rake

The Chockstone in Lord's Rake

View down Lord's Rake

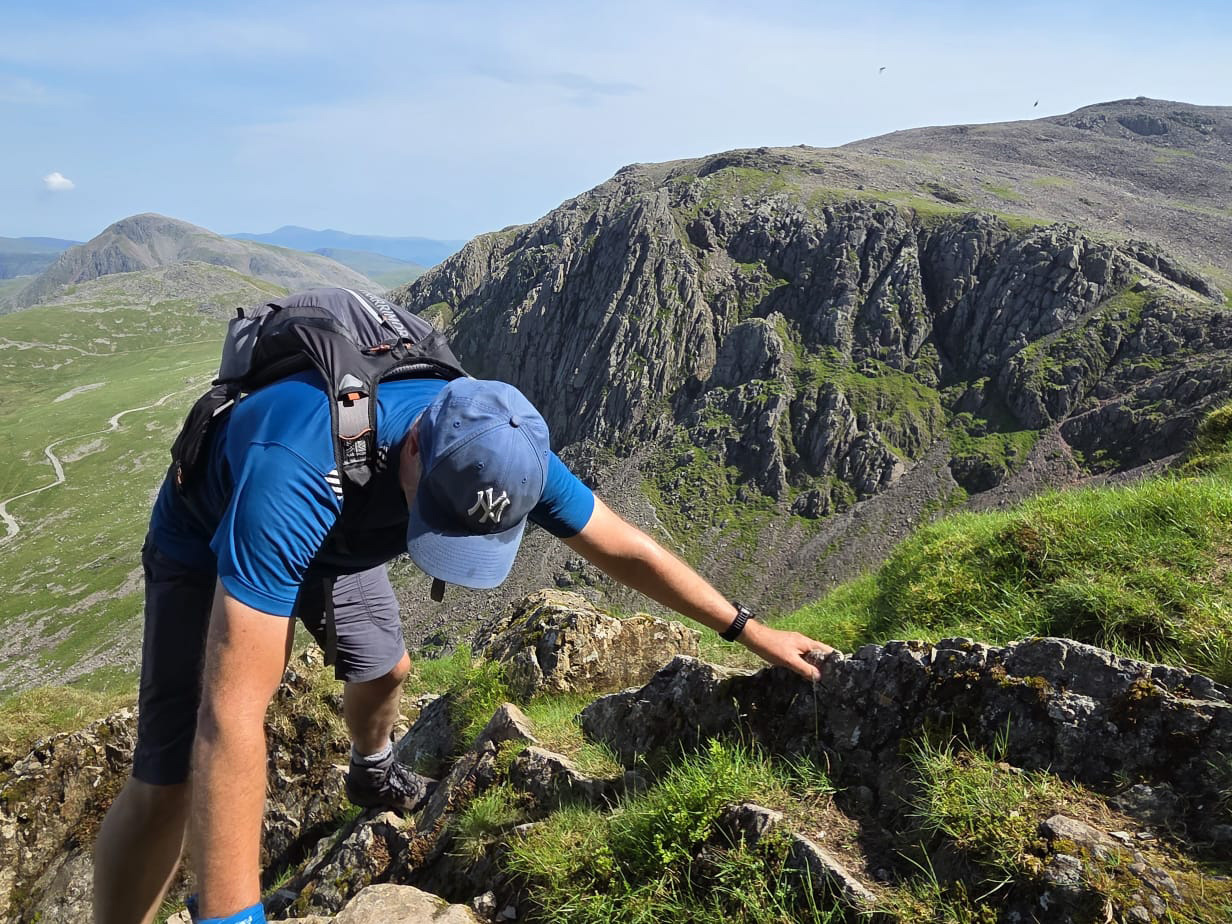
Climbing up The West Wall Traverse

Topping out of The West Wall Traverse

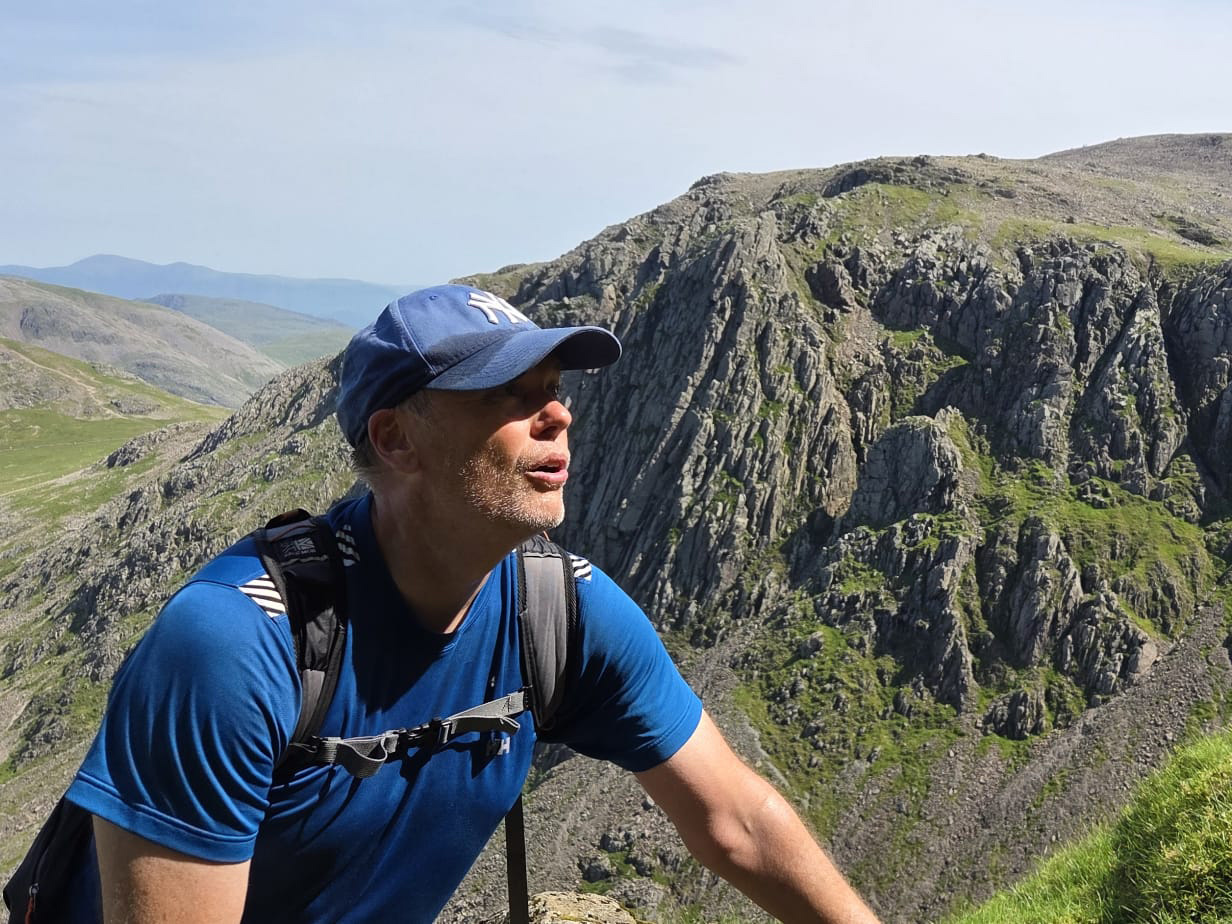
Scafell Pike in the background from the top of The West Wall Traverse

Revisit My Most Popular Post To Date